Figure 7
Figure 8
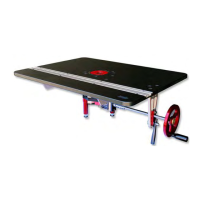
Step 9: ATTACH YOUR STAND - to the
Excel II top with fourteen (14) 10-24 x ½”
Philips Drive Self Tapping Screws and the
Torque Screwdriver provided and tighten.
(See Figure #9)
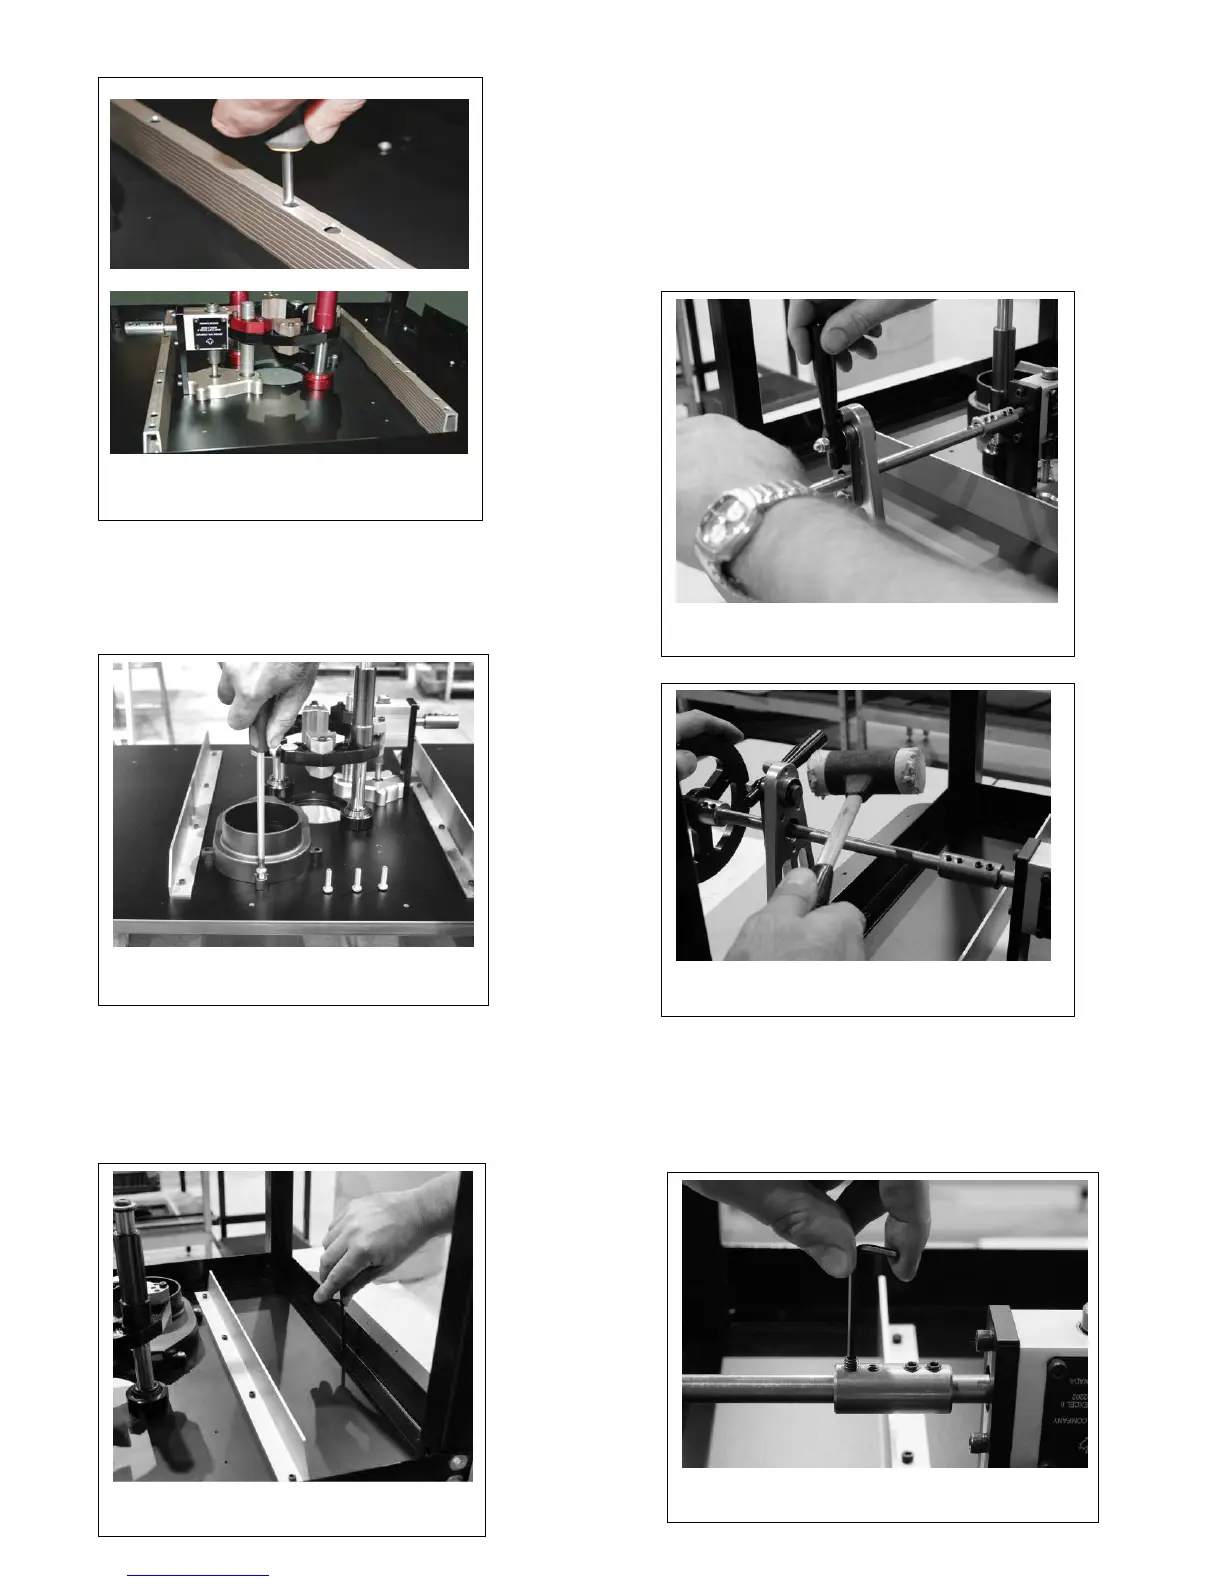
Step 10: Slide the handle assembly into the
handle bracket and line up the dimples in the
handle shaft to the set screw holes in the handle
shaft connector. (See Figure #10)
The tap of a soft head hammer on the inside of
the handle mount will ease the insertion of the
handle shaft. (See Figure #11)
Figure 9
Step 11: With the 1/8” hex key provided,
tighten the two ¼”-20 set screws in the
handle connector (See Figure #12)
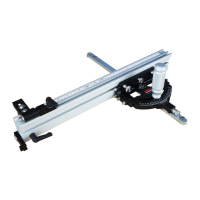
Step 8: Using a #3 Phillips Drive Screwdriver,
secure the 1/4-20 x 1" Self Tapping Screws
provided to attach the vacuum shroud.
(See Figure #8)
 Loading...