Do you have a question about the JL Audio C1-650 and is the answer not in the manual?
Maximum continuous power the speaker can handle.
Suggested amplifier power range for optimal performance.
Speaker's sensitivity rating at different power and distance levels.
Speaker's sound pressure level output at a given power and distance.
Advise to turn off the system and disconnect the vehicle's negative battery terminal before installation.
Check clearances and potential obstacles before cutting, drilling, or inserting screws.
Safety recommendation to wear protective eyewear during installation.
Explains the electronic circuit that protects the tweeter from overload.
Recommends installing crossovers in a dry location, not inside doors.
Connect tweeter wires to crossovers and amplifier outputs, observing polarity.
Ensuring the speaker frame fits cleanly into the mounting hole without forcing.
Sealing air leaks around the mounting flange for optimal sound quality.
One-year warranty on materials and workmanship, not transferable.
Details on what is covered and what is excluded from warranty claims.
Instructions for obtaining warranty service and returning products.
| Speaker Type | Component |
|---|---|
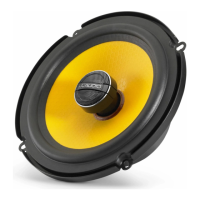
| Size | 6.5 inches |
| Power Handling (RMS) | 60 Watts |
| Power Handling (Peak) | 225 watts |
| Impedance | 4 ohms |
| Sensitivity | 91 dB |
| Tweeter Size | 0.75 inches |
| Mounting Depth | 2.50 inches |