EasyManua.ls Logo

JL Audio C2-690tx User Manual

JL Audio C2-690tx
8 pages
To Next Page IconTo Next Page
Page #1 background imageLoading...
Page #1 background image
OWNER’S MANUAL
Thank you for choosing a JL Audio EvolutionC2 Speaker System
for your automotive sound system.
These Evolution™ Speakers have been designed and manufactured to
exacting standards in order to ensure years of musical enjoyment in your
vehicle. For maximum performance, we highly recommend that you have
your new speakers installed by an authorized JL Audio dealer. Your
authorized dealer has the training, expertise and installation equipment
to ensure optimum performance from this product. Should you
decide to install the speakers yourself, please take the time
to read this manual thoroughly so as to familiarize yourself
with its installation requirements and setup procedures.
If you have any questions regarding the instructions in this
manual or any aspect of your amplifier’s operation, please contact your
authorized JL Audio dealer for assistance. If you need further assistance,
please call the JL Audio Technical Support Department
at (954) 443-1165 during business hours.
6 x 9-inch (150 x 230 mm) 3-Way Speaker System
Question and Answer IconNeed help?

Do you have a question about the JL Audio C2-690tx and is the answer not in the manual?

JL Audio C2-690tx Specifications

General IconGeneral
BrandJL Audio
ModelC2-690tx
CategoryCar Speakers
LanguageEnglish

Summary

Woofer Physical Dimensions

C2-690tx Specifications

Technical Specifications

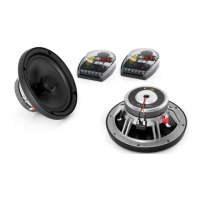
Covers woofer, mid-range, tweeter, crossover, power, efficiency, impedance, and frequency response details.

Included Components

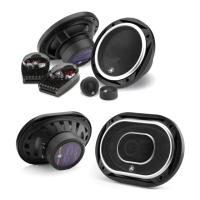
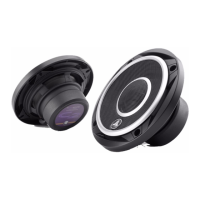
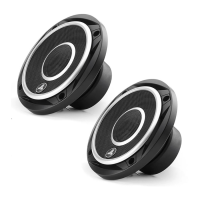
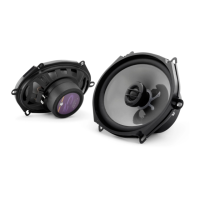
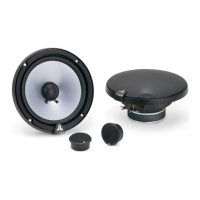
Lists all parts included with the C2-690tx speakers, such as grilles and screws.

Getting Started

Initial Setup Steps

Provides initial setup steps, including turning off the audio system and disconnecting the battery.

Speaker Placement Considerations

Mounting Location Advice

Discusses mounting locations, favoring lower positions for better soundstage.

Speaker Installation

Bottom-Mount Locations

Details connecting speaker wires and handling terminations for bottom mounting.

General Mounting and Sealing

Explains how to install speakers, seal air leaks, and hand-tighten screws evenly.

Top-Mount Installation

Custom Location Mounting

Guides on using templates, drilling holes, and cutting mounting openings for custom fits.

Secure Speaker Mounting

Ensures proper fit, seals air leaks, connects wires with correct polarity, and tightens screws evenly.

Limited Warranty

Warranty Coverage

Covers defects in materials/workmanship for one year; excludes damage from misuse or neglect.

Service and Returns

Details warranty return process, required proof of purchase, and contact information for service.

Related product manuals