Do you have a question about the JLab Audio INTRO and is the answer not in the manual?
Your Satisfaction is Guaranteed. Exchange or return merchandise within 30 days of the purchase date.
You may register your product at jlabaudio.com/register. All warranty claims are subject to JLab Audio authorization.
Reach out to us at support@jlabaudio.com or visit jlabaudio.com/contact for assistance.
Turn on the Bluetooth in your device settings to prepare for pairing.
When powered off, press and hold the Power Button for approximately 10 seconds. Fast blinking red/blue light indicates searching.
Select "JLab Intro BT" in your device settings to connect the headphones.
The included Micro USB cable is used to connect the headphone to a power source for charging.
Charge overnight with Micro USB cable for optimal performance. Solid red light indicates charging, solid blue means complete.
Control power, playback, calls, and voice assistants with single/double clicks and holds.
Manage volume levels and skip tracks using specific button press combinations.
Cycle through 3 EQ settings (Signature, Balanced, Bass Boost) by pressing VOL+ and VOL- simultaneously.
When power is off, press and hold the power button for 10 seconds to re-pair or connect to new devices.
Recommended 40 hours for optimal performance. Use app or website for burn-in method.
Avoid moisture, extreme temperatures, dropping, crushing, and sharp cable bends.
Clean wax buildup in headphone cups carefully with a cotton swab to improve sound quality.
Lower volume or discontinue use if discomfort or pain occurs. Consult a physician for regular discomfort.
Treat headphones like sunglasses; keep them in a safe location when not in use.
| Charging Time | 2 Hours |
|---|---|
| Wireless | Yes |
| Bluetooth | Yes |
| Microphone | Yes |
| Frequency Response | 20Hz-20kHz |
| Connection Type | Bluetooth |
| Foldable | Yes |
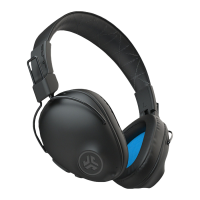
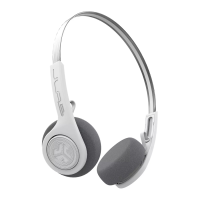
| Color Options | Black, Blue, Pink |
| Bluetooth Range | 30+ ft |
| Impedance | 32 ohms |
| Bluetooth Version | Bluetooth 5 |