3 The dishes shall face the water flow from the spray arm for free washing. Do not
place the dishes in an overlapped way.
4 Load heavy pans and large soup bowls downwards. If the upper racks are barred
from water flows, do not place articles on them any more.
5 Leave some space in the front of the wire basket so that the water flow may wash
out the dishwater detergent from the detergent trough in the inner door.
6 On the fork/knife rack, the tableware shall be placed with handle down evenly. Do
not load there the articles that may fall out from the bottom.
IV. Check of Performance: Detergent and Brightness Liquid
The water (pressure, hardness and temperature) and the detergent are the major
elements that affect the washing effect of the machine. Choose the right detergent and
dosage according to the local water condition, you will have satisfactory washing result.
1 Use only the fresh and dry detergent of the designated brand. Outdated detergent
will reduce the washing effect.
2 Contact the local water supply company for the water condition, if applicable. The
higher the water hardness is, the more detergent shall be used.
3 Check the brightness liquid in the dispenser and add without delay if it is
insufficient. The brightness liquid helps the water to drip, making the dishes easy to dry
and curbing the formation of water specks on the surface of the dishes.
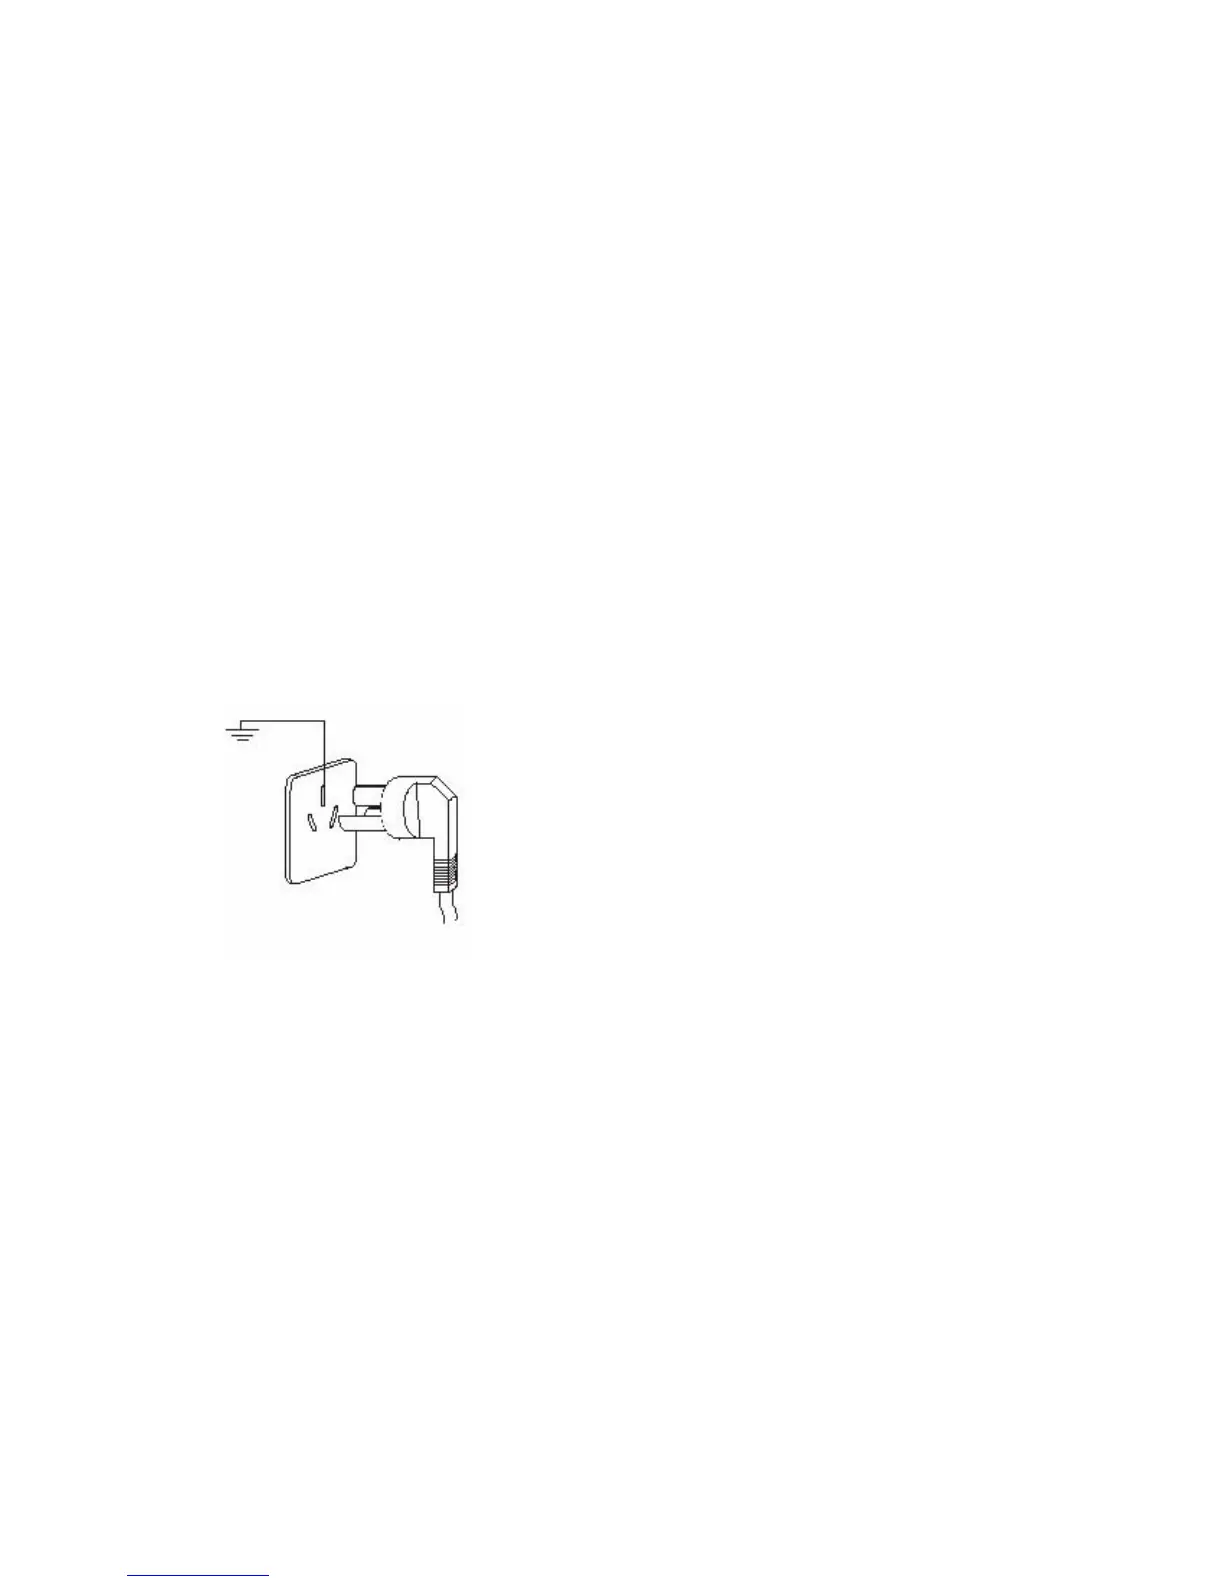
V. Power cord
The power cord of the dishwasher usually has a
three-pin plug. Connect the power supply as
instructed in the user's manual. If the dishwasher
does not work, the power cord might be in the
fault. Most of the power cord troubles arise from
damaged cord or loose connection, and are
visible.
Attention:
To avoid electric shock, the power socket and
power cord shall be well grounded. Never use two-hole
conversion connector that has no ground terminals.
Removal and replacement:
1 Disconnect the power prior to check.
2 Check the power plug. Improper connection may lead to bad contact.
3 Pull out the power plug in one stroke. Never pull at the power cord or use a knife
or other sharp tools that may cut the cord.
4 Check the power plug for overheat caused damage, corrosion or looseness. In
case of troubles, remove the outer casing first, then the rear panel and replace the
power cord (see Process 6).
5 Open the power cord clamp , remove the old power cord and replace a new one
with terminals. Secure the power terminals to the connection terminals, and replace the
power cord clamp.
6 Replace the rear panel and the outer casing.
VI. Removal of Outer Casing, Control Panel, Rear
 Loading...