Check permanent magnets and make sure they
ELECTRICAL
ELECTRIC STARTER SERVICING
Assembly
9.9/15
MODELS
Lubricate the armature shaft bearing surface with
Moly Lube. Lubricate the armature shaft on and
above the pinion
helix with Starter Pinion Lube,
PIN
337016.
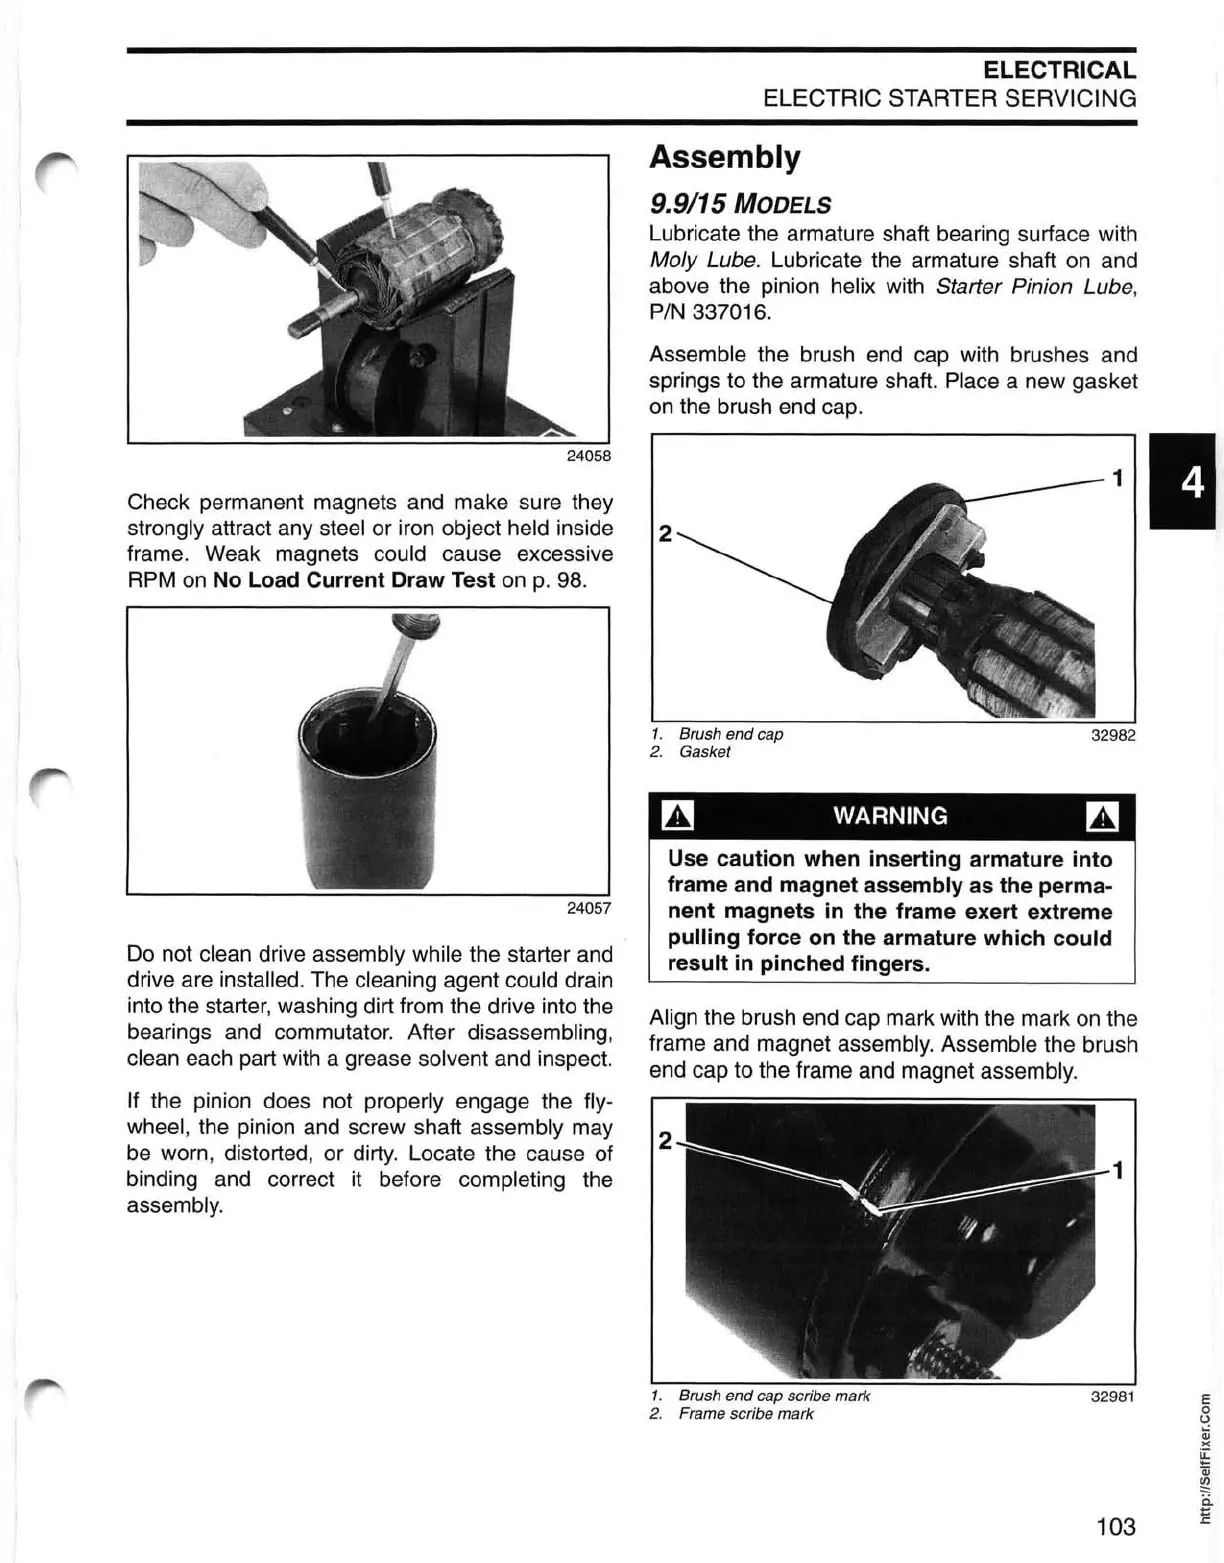
Assemble the brush
end
cap with brushes and
springs to the armature shaft.
Place a new gasket
on
the brush end cap.
1
strongly attract any steel or iron object held inside 2
frame. Weak magnets
could cause excessive
RPM
on
No Load Current Draw Test on
p.
98.
24057
Do
not clean drive assembly while the starter and
drive are
installed. The cleaning agent could drain
into the starter, washing dirt from the drive into the
bearings and commutator. After disassembling,
clean each part with a grease solvent and inspect.
If
the pinion does not properly engage the fly-
wheel,
the pinion and screw shaft assembly may
be
worn, distorted, or dirty. Locate the cause of
binding and correct
it
before completing the
assembly.
1. Brush
end
cap
32982
2.
Gasket
~
WARNING
~
Use caution when inserting armature
into
frame and magnet assembly as the perma-
nent magnets in the frame exert extreme
pulling force on the armature which
could
result in pinched fingers.
Align the brush end cap mark with the mark on the
frame and magnet
assembly. Assemble the brush
end cap to the frame and magnet
assembly.
1. Brush
end
cap scribe mark
2.
Frame scribe mark
103