11 12
10
1
2
12
12
13
1
2
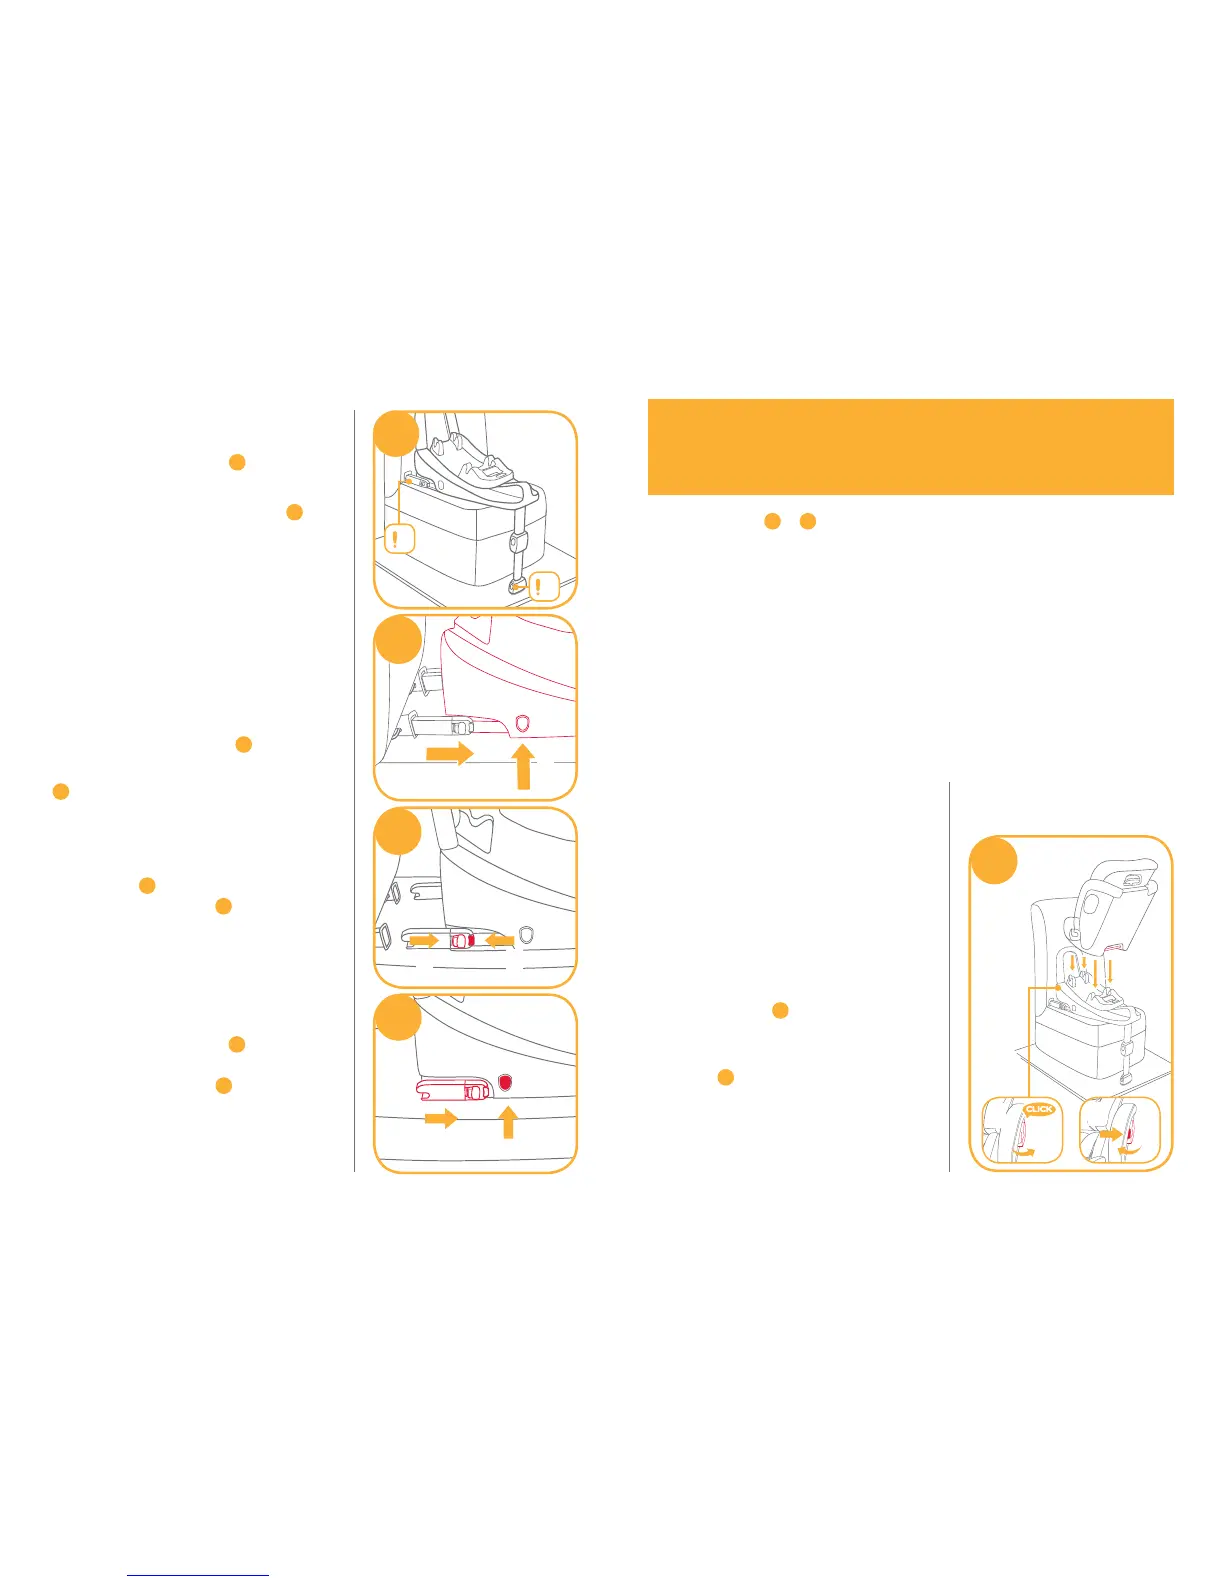
!
The ISOFIX connectors must be
attached and locked onto the
ISOFIX anchor points.
10
-1
! The load leg must be installed
correctly with green indicator.
10
-2
Please refer to baby mode and
toddler mode and junior mode in
section to use the stages™ isofix.
Removing the base
To remove base from the vehicle
press the release button
11
-1 and
pull the base back from the seat.
11
-2
Then press
12
-1 and pull back on
the ISOFIX connector
12
-2
! For transporting base, press
ISOFIX release button
13
-1 and
move back ISOFIX connector so it
is folded completely
13
-2
.
11
1
2
Installing the stages™ isofix seat
in the Base
see images
14
-
38
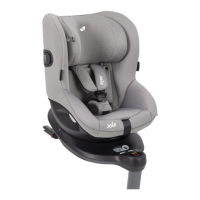
Baby Mode (Rearward Facing Mode)
Rearward Facing Newborn - 4 years old
Recline position Position 1-7
! Please install the base on the vehicle seat (with rebound bar
attached), then install the shell, and then put the child in the stages™
isofix.
! Ensure rebound bar is fitted to base.
! The most convenient way to install the shell is when the base is in
the 7
th
position.
14
1
2
! Pull up on the stages™ isofix seat
to be sure it is securely latched into
the base.
! Please ensure that there is no gap
between the vehicle seat upper
surface and the bottom of the
base.
! Make sure to open the side impact
protection shield for more side
impact safety.
14
-1 The side impact
shield opposite the vehicle door can
be closed to allow more seating
space.
14
-2
 Loading...