Do you have a question about the JUKI LZ-2290A-SR/IP-100D/SC-916 and is the answer not in the manual?
| Model | LZ-2290A-SR/IP-100D/SC-916 |
|---|---|
| Stitch Type | Zigzag |
| Max Stitch Length | 5mm |
| Needle Bar Stroke | 30.7mm |
| Max Zigzag Width | 10mm |
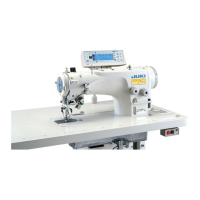
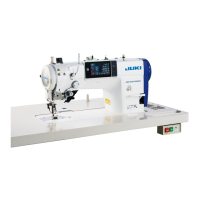
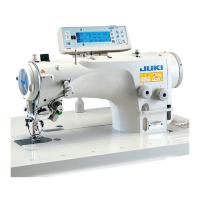
| Type | Electronic Zigzag Stitch Sewing Machine |
| Needle | DPx5 |
| Motor | AC Servo Motor |
| Needle System | DP×5 |
| Sewing Speed | 5000 stitches/minute |
Instructions for installing the sewing machine head onto the machine table, including under cover setup.
Instructions for installing the electrical box onto the underside of the table.
Details on connecting the power switch cord for Japan and general export areas.
Overview of the operation panel, identifying each switch and its function.
Important warnings and settings to consider before selecting a sewing pattern.
Description of the basic screens and how they change with switch operations.
Visual guide to pictographs displayed on various operation panel screens.
Detailed instructions on selecting and setting various sewing patterns.
How to set parameters for sewing shapes like standard, 2-step, 3-step zigzag, and scallop.
Explanation of how to set and use reverse feed stitching for various patterns.
Options for selecting stitching types: free, overlapped, and programmed stitching.
Guide to creating, editing, registering, copying, and deleting custom sewing patterns.
Instructions for setting up and editing condensation custom stitching patterns.
How to register, copy, and delete patterns for various sewing shapes.
Procedure for creating and editing continuous stitching patterns by combining different patterns.
Steps for creating and editing cycle stitching patterns, allowing pattern combination.
Information on using thread trimming and bobbin thread counters.
How to check and manage sewing data, including maintenance and warning information.
Guide to changing operation settings and function parameters on the panel.
Detailed instructions for adjusting needle thread, thread take-up spring, and bobbin thread tension.