Home
Jumbuck
Grill
CB001
Page 10
Jumbuck CB001 - Page 10
13 pages
Manual
Save Page as PDF
To Next Page
To Next Page
To Previous Page
To Previous Page
Loading...
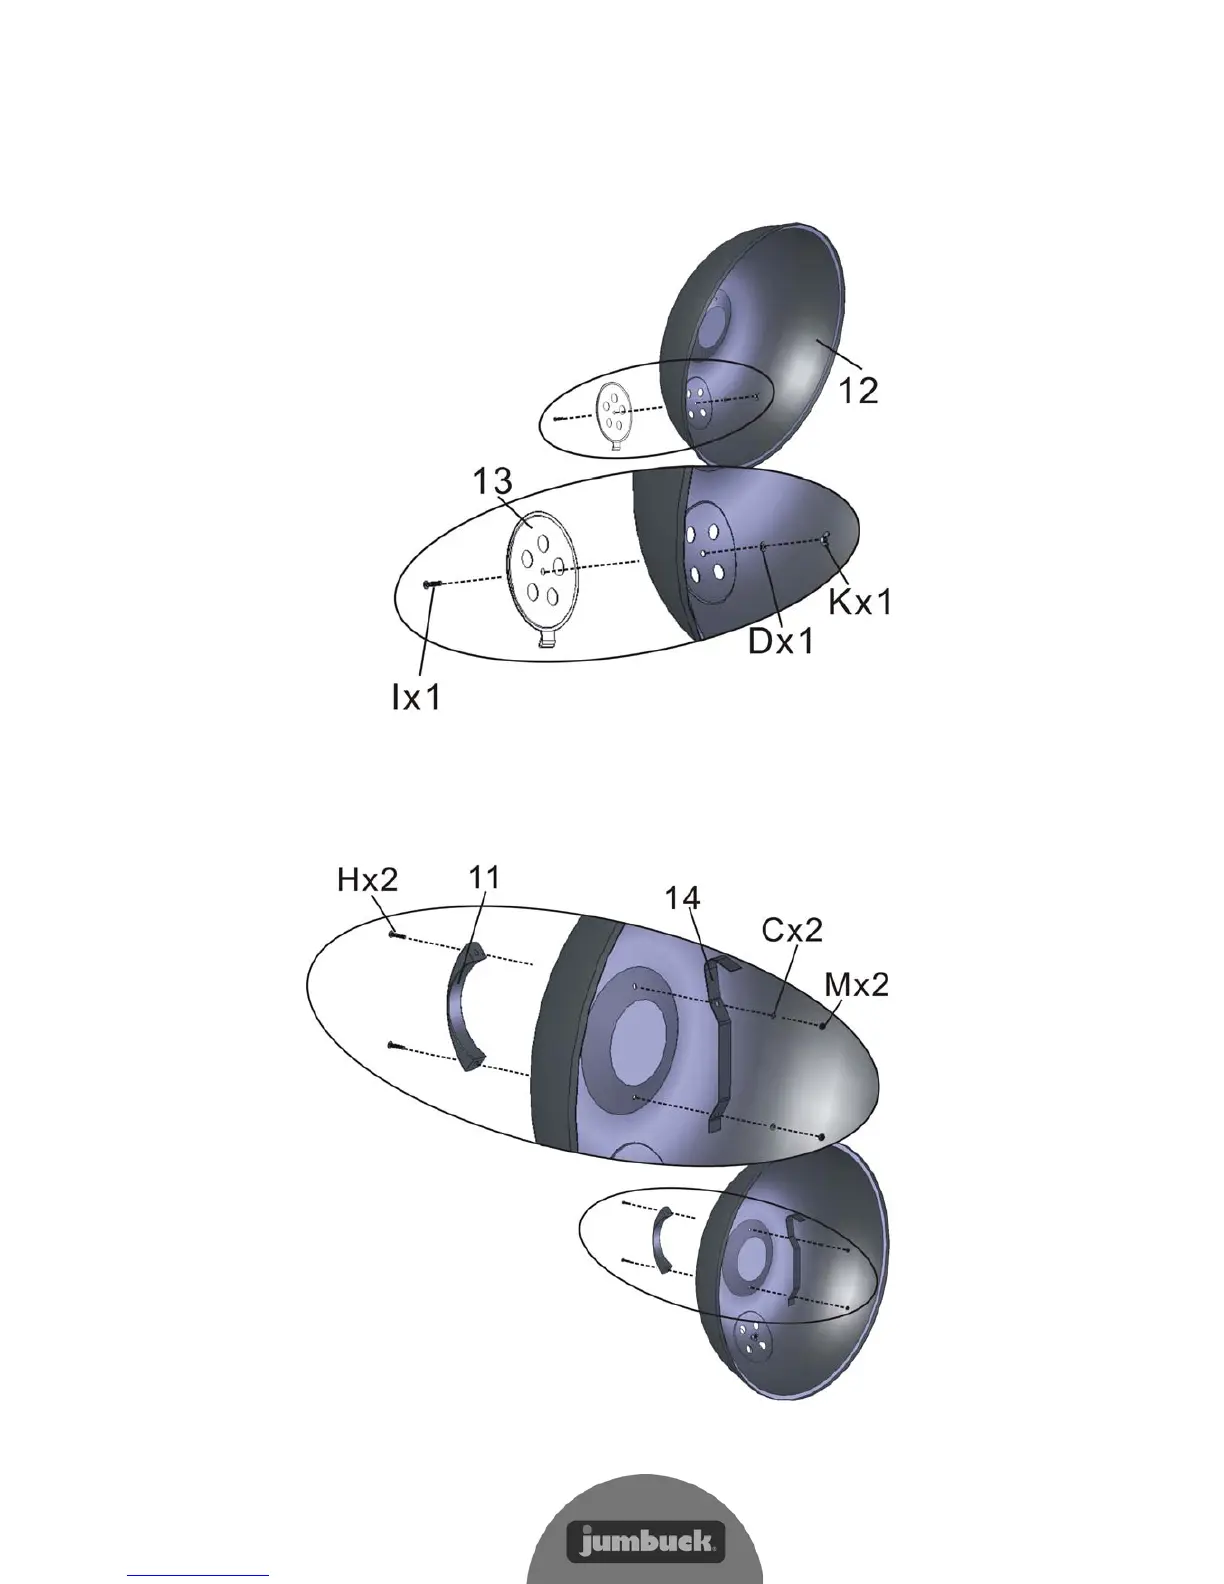
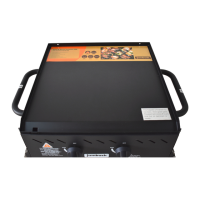
STEP 8
Assemble Cover air valve (Par
t 13) to the Top cover (Par
t 12)as shown, use bolt I (x,
1), Flat washer D(x, 1) and
Wing nut K (x, 1) to tighten.
STEP 9
Assemble Cover handle (Part 14) as show
n, use Bolt H(x, 2) and Nut M(x, 2) to
tighten.
9
11
Related product manuals
Jumbuck 0173343
19 pages
Jumbuck HS-UM011SB
32 pages
Jumbuck HS-UM006AS
32 pages
Jumbuck DELTA 2
23 pages
Jumbuck Fineline JBPB219
19 pages
Jumbuck Stardom HS-884302
8 pages
Jumbuck JBPB19
16 pages