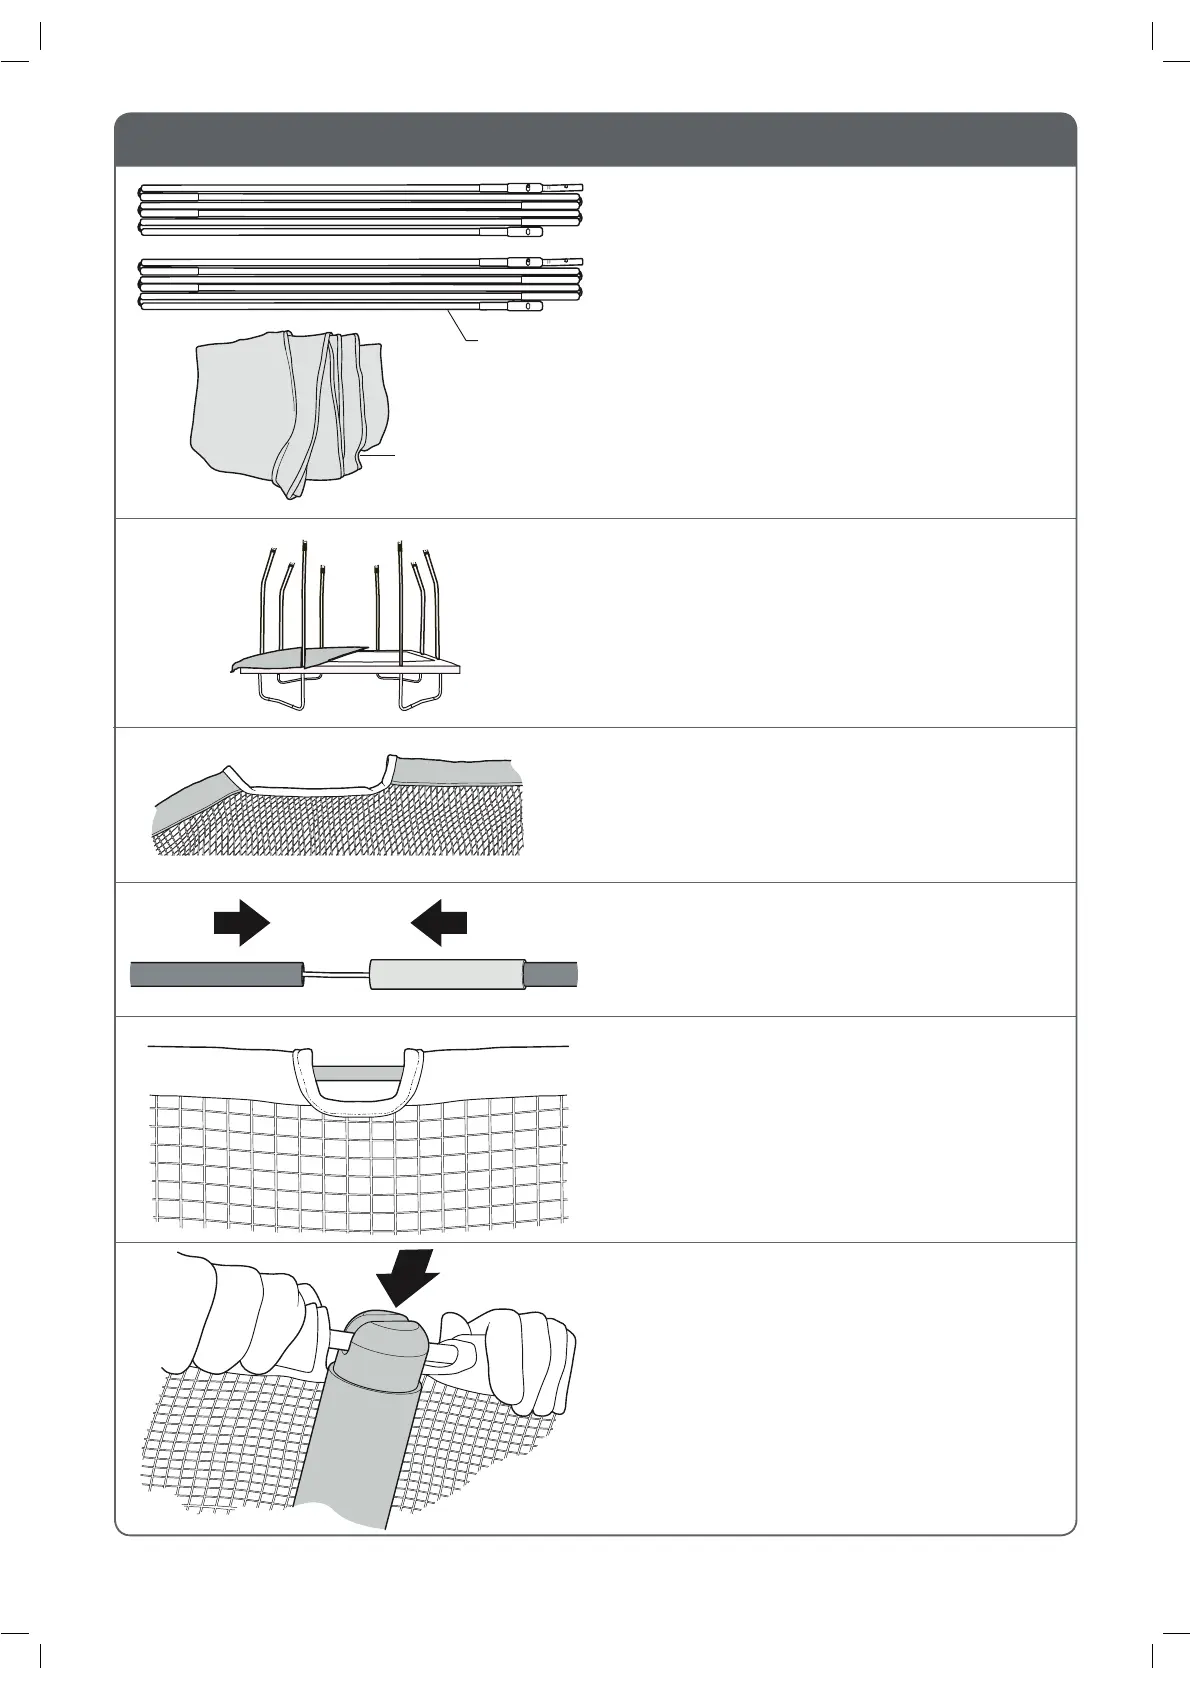
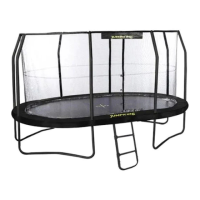
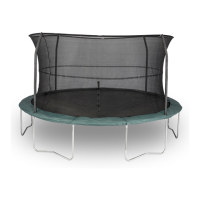
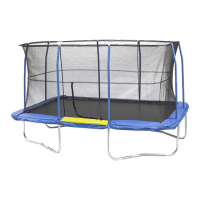
STEP 6 : FITTING THE ENCLOSURE NETTING
You will need the following parts to complete step 6:
1 x Enclosure netting - Part 15
Lay the enclosure netting out on the trampoline.
Enclosure
netting
15
2 x Black G3 poles
(2 x Long Sections, 2 x Short Sections)
- Part 14
Find the sleeves that run along the top of the
enclosure netting.
Slot the thin sections on the two black G3 poles
into the metal ends so the poles become two long
sections.
Black G3
poles
You may need to slide the connected poles around
in the nettings sleeves until the thin black sections
are aligned with the gaps between sleeves.
Connect the 4 Corner Connectors - Part 22 to
the G3 Poles.
Please Note: The corner connectors will sit in a
larger gap in the netting.
The zip of the door is on the long side of the
trampoline.
insert one of the exposed sections of the Black
G3 pole into a plastic grip on top of one of the
enclosure tubes.
With the netting hanging on the inside of the
enclosure poles, stand on the trampoline and
4 x G3 Connectors - Part 22