Getting Started Guide
Getting Started Guide
Use the instructions in this guide to help you install the AX411 Access Point. For details, see the AX411 Access
Point Hardware Guide and the JUNOS Software WLAN Configuration and Administration Guide at
http://www.juniper.net/techpubs/a072.html
.
For translated documentation in Arabic, German, Spanish, French, Chinese, Korean, Russian, and Japanese, see the URL below.
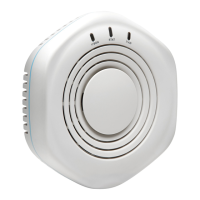
AX411 Access Point
AX411 Access Point Front Panel
1. Power Connector
2. PoE Ethernet Port
3. Console Port
4. Lock Slot
5. LEDs:
• Power (Green = Power OK)
• Status (Green = Managed)
• 5 GHz Radio (Blue = Enabled)
• 2.4 GHz Radio (Green = Enabled)
AX411 Access Point Rear Panel
1. Antennas (3)
2. Mounting Bracket Locking Screw
CONNECTING THE ACCESS POINT AND CONFIGURING THE SRX SERIES DEVICE
Use the instructions below to connect the AX411 Access Point to the SRX Series Services Gateway that
manages it and to configure the SRX Series device.
Step 1
Install the antennas and connect the access point to an Ethernet port
on the SRX Series Services Gateway. If you are not using a Power
over Ethernet (PoE) port on the services gateway, also connect the
device to the optional power supply.
Note: The services gateway must be running JUNOS Software
Release 10.0 or later.
g033103
Omit the power
supply if connecing
the access point to a
Power over Ethernet
(PoE) port.
http://www.juniper.net/techpubs/a073.html