Do you have a question about the juwel Rio 240 and is the answer not in the manual?
Follow numbered steps for cabinet, placement, filter setup, substrate, filling, connections, and temperature.
Detailed steps for assembling the Bioflow filter, including pump, outlet, heater holder, and sponge placement.
Filter maturation takes 6-8 weeks. Add a few hardy fish to aid the process and monitor water weekly.
Schedule for replacing filter wool, carbon sponge, coarse blue sponges, and fine blue sponges.
Steps for pump maintenance: disconnect, remove nozzles, housing, impeller, clean, and reassemble.
Never operate pump out of water; always unplug before removing from filter.
Steps to install the heater holder and attach the heater inside the filter housing.
Connect heater only when water level is sufficient. Never use outside aquarium.
Unplug heater before removal. Never open or repair. Replace if damaged.
Ensure tube holders are connected firmly. Place light unit on frame, connect to power, and fit flaps.
Disconnect power. Unscrew holders, remove old tube, attach new holders, insert new tube, and tighten.
Always disconnect power before changing tubes. Never repair cords or plugs.
Never use the light system under water. Do not attempt to open or repair.
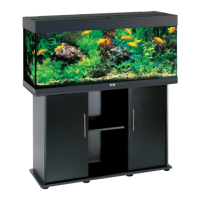
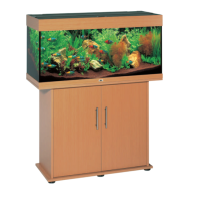
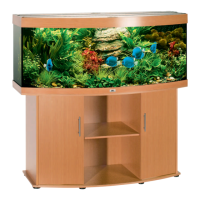
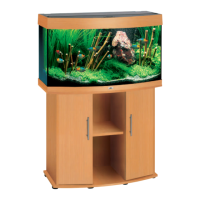
| Aquarium Volume | 240 liters |
|---|---|
| Dimensions | 121 x 41 x 55 cm |
| Material | Glass |
| Filter System | Bioflow M |
| Heater | 200 Watt |
| Weight | Approximately 50 kg (empty) |