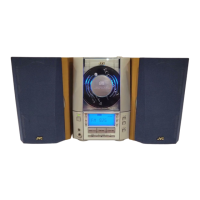
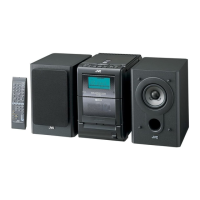
1-20 (No.MB355)
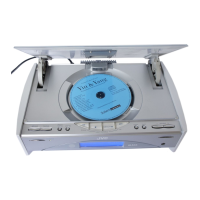
3.1.13 CD changer mechanism assembly section
3.1.13.1 Removing the CD changer mechanism assembly
(See Fig.31 to 34)
• Prior to performing the following procedure, remove the side
panel (R)/(L), the top panel, the main board, the power (single)
board, the amp board.
(1) From both side of the body, remove the four screws G' at-
taching the CD changer mechanism cover and detach it in
the direction of the arrow.
(2) From the front side of the body, remove the two screws H'
attaching the CD changer mechanism assembly.
(3) From the back of the body, remove the two screws J' at-
taching the CD changer mechanism assembly.
(4) Remove the CD changer mechanism assembly in the di-
rection of the arrow while pulling the front and rear brackets
outward.
Caution:
To reattach the CD changer mechanism assembly, firstly fit the
point e of the bracket on the front side of the body to the notch
f of the CD changer mechanism assembly and reattach the
front side of the assembly.
Fig.31
Fig.32
Fig.33
Fig.34
CD changer mebhanism cove
CD changer mebhanism
assembly
Base chassis
G'
G'
CD changer mebhanism cover
CD changer mebhanism
assembly
Base chassis
G' G'
H'
H'
e
CD changer mechanism bracket
CD changer
mechanism bracket
f
Base chassis
CD changer mechanism assembly
CD changer mechanism assembly
CD changer mechanism bracket
J'
J'
 Loading...