EN53
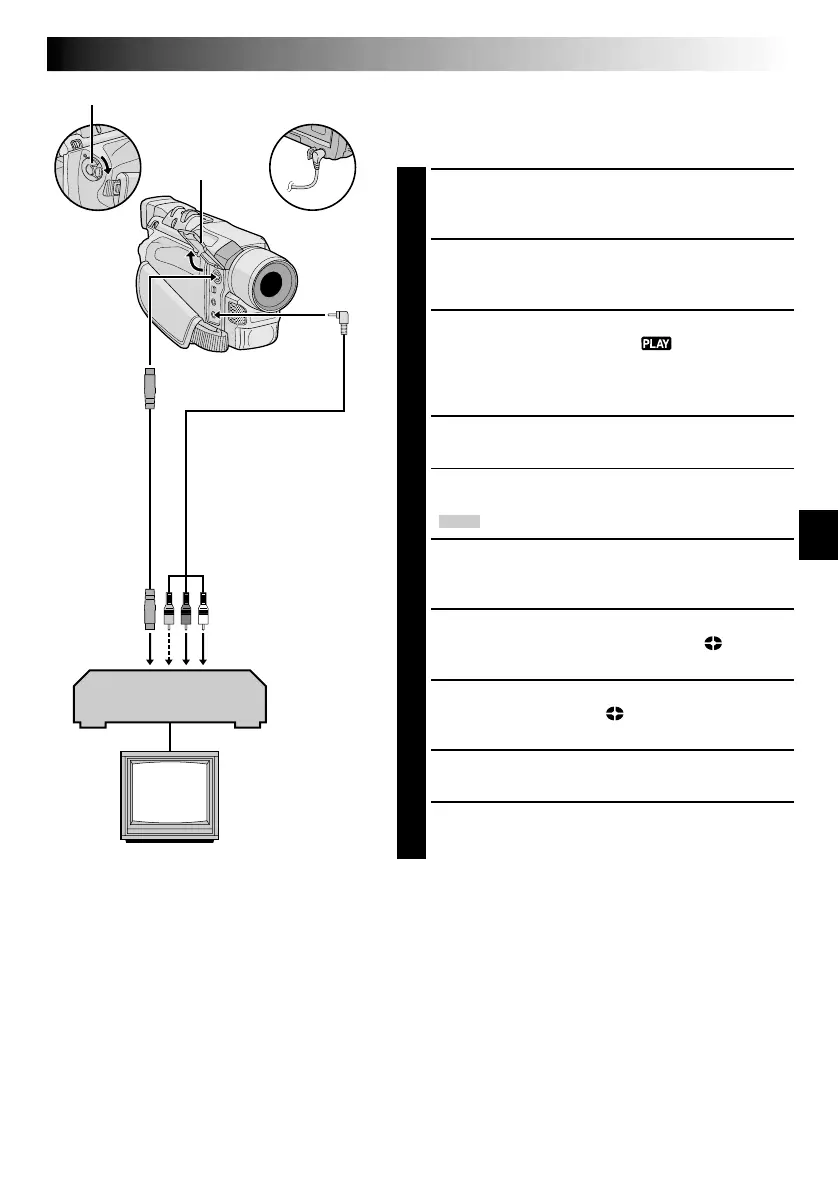
* Connect when an S-Video cable is not used.
** When connecting the cables, open this cover.
VCR (Playback deck)
TV
Audio/Video cable
[mini-plug to RCA plug]
(provided)
Dubbing From A VCR
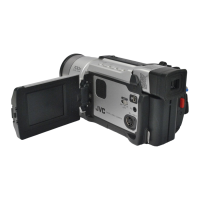
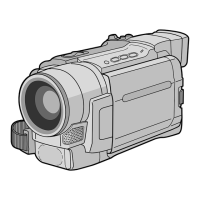
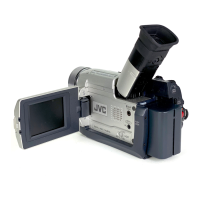
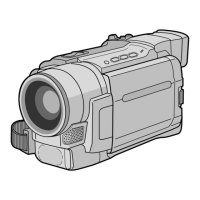
[To use this camcorder as a recorder:
GR-DVL915/DVL715 only]
1
Make sure all units are turned off, then connect the
camcorder and the VCR as shown in the illustration.
Also refer to pg. 22 and 23.
2
Set “SOUND MODE” to “12 BIT” or “16 BIT” and
“REC MODE” to “SP” or “LP” in the Menu Screen
depending on your preference (墌 pg. 50).
3
Set the VIDEO/DSC Switch to “VIDEO”, then set the
camcorder’s Power Switch to “ ” while pressing
down the Lock Button located on the switch, turn on
the VCR’s power, and insert the appropriate cassettes
in the camcorder and the VCR.
4
Set “S/AV INPUT” to “ON” in the Menu Screen to
engage the analogue input mode (墌 pg. 50).
5
Press the Recording Start/Stop Button on the
camcorder to engage the Record-Pause mode.
“
AV. IN
” appears on the screen.
6
Engage the VCR’s Play mode, then engage the Still
Playback mode when you have found a spot just
before the edit-in point.
7
Press the Recording Start/Stop Button on the
camcorder to engage the Record mode. rotates
on the screen. Engage the VCR’s Play mode.
8
To stop dubbing, press the Recording Star/Stop Button
on the camcorder so that stops rotating, then
engage the VCR’s Stop mode.
9
Repeat steps 6 through 8 for additional editing.
10
Set “S/AV INPUT” back to “OFF” in the Menu Screen
to disengage the analogue input mode (墌 pg. 50).
NOTES:
●
It is recommended to use the AC Adapter as the power
supply instead of the battery pack (
墌
pg. 9).
●
Analogue signals can be converted to digital signals with
this procedure.
●
It is also possible to dub from another camcorder.
To AUDIO, VIDEO*
and S-VIDEO OUT
connectors
Connector
cover**
To AV
To S
S-Video
cable
(optional)
Power Switch



 To Next Page