EN
5
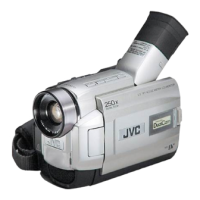
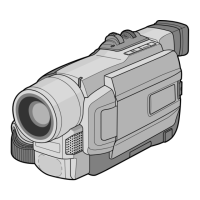
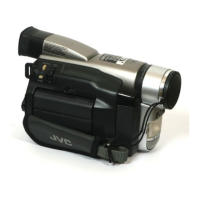
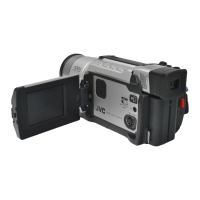
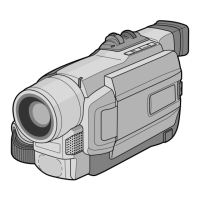
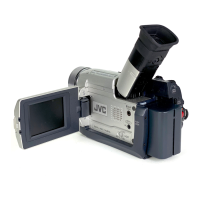
PROVIDED ACCESSORIES
NOTE:
In order to maintain optimum performance of the camcorder, provided cables may be equipped with one or more
core filter. If a cable has only one core filter, the end that is closest to the filter should be connected to the camcorder.
Remote
Control Unit
RM-V717U
AAA (R03) Battery
x 2 (for remote
control unit)
Audio/Video Cable
(ø3.5 mini-plug to
RCA plug)
Editing Cable
GR-DVL167/DVL160:
One plug has 3 rings
around the pin, and the
other has 1 ring around
the pin.
GR-DVL867/DVL865/
DVL767/DVL765/DVL567/
DVL367/DVL365:
Both plugs have 1 ring
around the pin.
Shoulder Strap
Memory Card 8 MB
(GR-DVL867/DVL865/
DVL767/DVL765/
DVL567/DVL367/DVL365
only) (Already inserted
in the camcorder)
USB Cable (GR-DVL867/
DVL865/DVL767/DVL765/
DVL567/DVL367/DVL365 only)
Battery Pack
BN-V408U
AC Adapter AP-V10EG,
AP-V11EG or AP-V12EG
Lens Cap
(See below for
attachment)
PC Connection Cable
(GR-DVL167 only)
Power Cord
Cable Adapter
Lens hood (Already
attached to the camcorder;
GR-DVL867/DVL865/
DVL767/DVL765 only)
How To Attach The Lens Cap
To protect the lens, attach the provided lens cap to the camcorder as shown in the illustration.
NOTE:
To confirm the lens cap is on correctly make sure the cap is flush to the camera.
Core Filter x 1
(for PC Connection cable
provided with optional
HS-V16KITE software;
GR-DVL160 only
pg. 6
for attachment)
Core Filter x 1
(for optional S-Video
cable
pg. 6 for
attachment)
1 2 3
For GR-DVL867/
DVL865/DVL767/
DVL765 Owners:
The lens cap can be
attached only when
the lens hood is
attached to the
camcorder.
CD-ROM
(GR-DVL867/DVL865/
DVL767/DVL765/
DVL567/DVL367/
DVL365/DVL167 only)
or
or