EN 29
MANUAL
PAUSE
– – –
MANUAL
REC
444
A
M
5S
OFF
P
L
A
Y
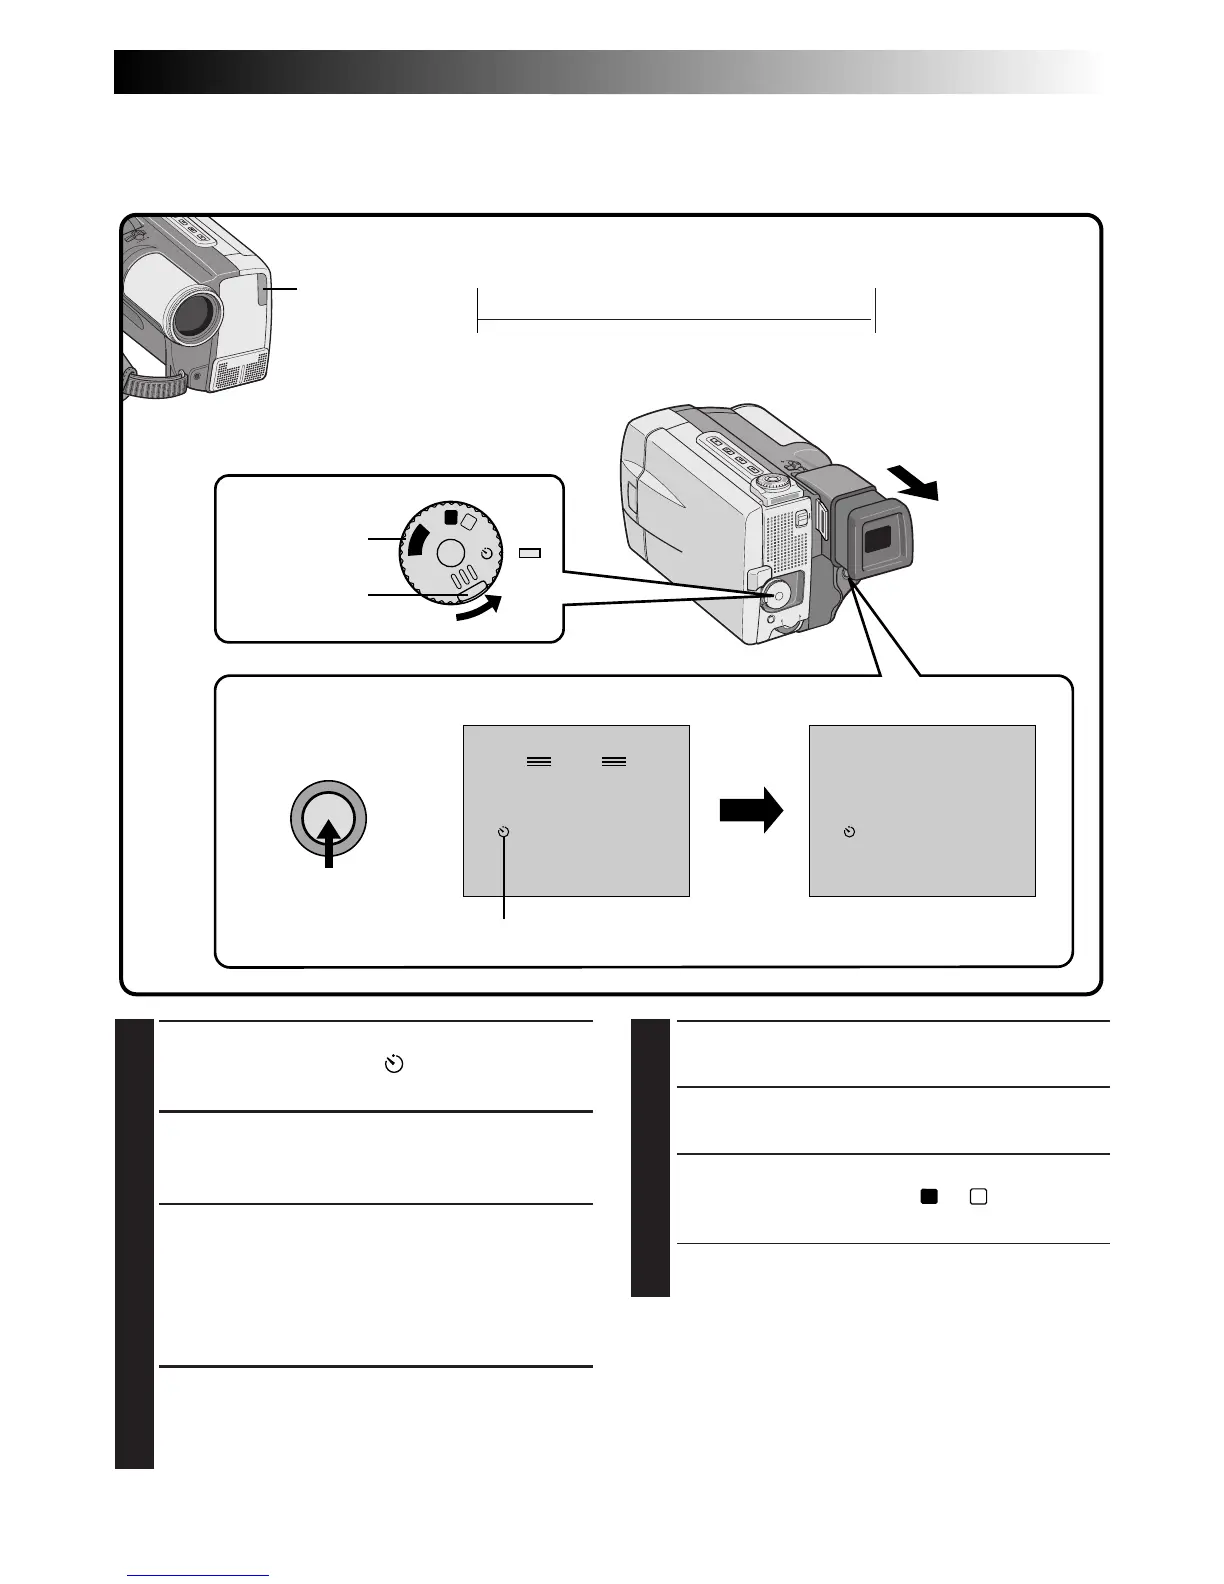
Self-Timer
Once the camcorder is set, the camcorder operator can become part of the scene in a more natural way
adding the final touch to a memorable picture.
1
SELECT OPERATION MODE
Turn the Power Dial to “ ” while pressing
down the lock button located on the dial.
2
PULL OUT VIEWFINDER OR OPEN
LCD MONITOR
Pull out the viewfinder fully.
•The camcorder enters the Record-Standby
mode.
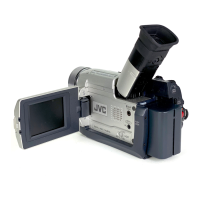
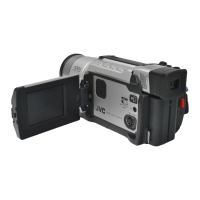
•You can tilt the LCD monitor upward to 180
degrees so that it faces forward and view
yourself while self-recording (with the
viewfinder pushed back).
3
ENGAGE SELF-TIMER MODE
Press START/STOP.
After 15 seconds, the beep sounds and
recording begins.
4
STOP SELF-TIMER RECORDING
Press START/STOP.
•The camcorder re-enters Record-Standby
mode.
5
END SELF-TIMER RECORDING
Set the Power Dial to the “
”, “
M
” or “OFF”
position.
•When turning to “OFF”, it is not necessary to
press down the lock button.
To Take A Pro Snapshot In The Self-Timer Mode . . .
.... in step 3, turn the Progressive Dial to any Pro
Snapshot mode, then press the Progressive
Button (
Z pg. 30). After approx. 15 seconds, a
snapshot will be taken.
NOTE:
When the Progressive Dial is set to “VIDEO”, the
Self-Timer records using the Progressive Mode.
Power Dial
Display
During recording
Lock button
START/STOP button
Self-Timer indication
After
15 sec.
When the START/
STOP button is
pressed, the tally
lamp changes as
shown at right:
Blinks quickly
(Self-Timer shooting
starts soon)
Stops blinking and
stays on
(Self-Timer shooting
starts)
Begins blinking
(Self-Timer starts)
After approx. 15 sec.
¥¥
4

 Loading...