Do you have a question about the JVC HX-GX7 and is the answer not in the manual?
Covers electrical shock, fire, moisture, opening unit, and general cautions.
Details for U.S.A. regarding digital device compliance with FCC rules.
Warnings and precautions regarding Class 1 Laser Product operation.
Covers installation, power sources, moisture, internal heat, and other important notes.
Explains the methods used for clear and easy-to-understand instructions.
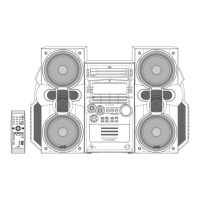
Instructions for unpacking the system and verifying all supplied items.
Steps to insert batteries correctly into the remote control.
Initial diagram showing component hook-up connections.
Detailed diagrams for connecting FM antenna and AM loop antenna.
Details on connecting AM loop antenna, speaker cords, and other equipment.
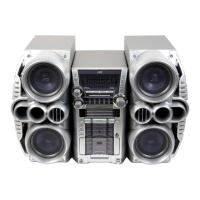
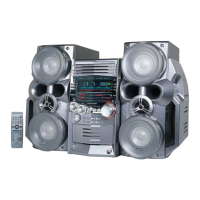
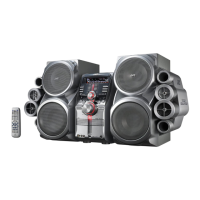
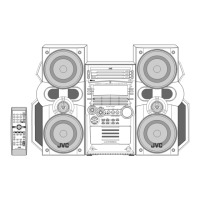
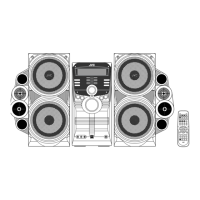
Identifies buttons and controls on the remote control and main unit.
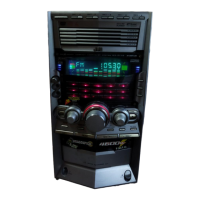
Illustrates the main display window and its numbered sections.
Explains the meaning and function of various indicators on the main display.
Covers turning the system on/off, volume adjustment, and private listening.
Instructions on how to cancel the automatic demonstration mode.
Steps for tuning stations, storing presets, and improving FM reception.
Guide for inserting discs and selecting tracks for playback.
Instructions for inserting tapes, changing direction, and locating recordings.
Covers volume adjustment, subwoofer level, and bass reinforcement.
Explains how RHYTHM AX emphasizes bass and affects subwoofer level.
Guide to choosing preset sound modes like DANCE, HALL, ROCK, etc.
Instructions for creating and storing personalized sound modes (USER 1-3).
Instructions for turning the key-touch tone (beep sound) on or off.
Guide to setting the built-in clock and activating the sleep timer.
How to arrange and program the playing order of tracks before playback.
Instructions for playing discs and tracks in a random order.
How to prohibit disc ejection and lock the disc trays.
Guide to setting repeat modes for tracks, discs, or all discs.
Steps for inserting a cassette and starting tape recording.
How to start and stop disc play and tape recording simultaneously.
Guide to setting Daily Timer and Recording Timer for wake-up or auto-recording.
Instructions for canceling timers and understanding timer priority.
Tips for handling discs and cassette tapes to maintain quality.
Instructions on how to clean the main unit and its components.
Common issues like settings canceled, operations disabled, or no sound.
Solutions for poor radio reception or noise issues.
Addresses problems like discs not playing or discontinuous sound.
Solutions for issues related to tape playback or recording.
Technical details for the amplifier section, including output power and impedance.
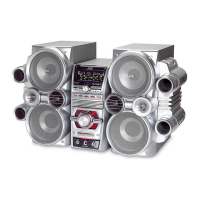
Technical details for the speaker section, including type, size, and power handling.
Information on warranty period, service procedures, and what is not covered.
How to find your nearest JVC authorized service center.
Caution against self-service and information on purchasing accessories.
| Type | Speaker System |
|---|---|
| Manufacturer | JVC |
| Output Power | 20W |
| Bluetooth | Yes |
| Battery Life | 10 hours |
| Battery Type | Lithium-ion |
| Power Output | 20W |
| Signal-to-Noise Ratio | 75 dB |
| Input | 3.5mm AUX, USB |
| Features | Portable |