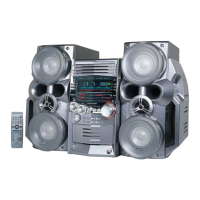
1-5
HX-Z3
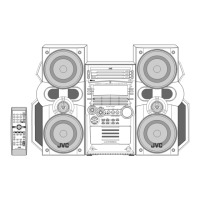
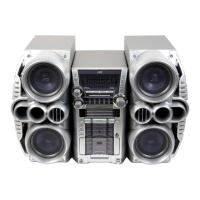
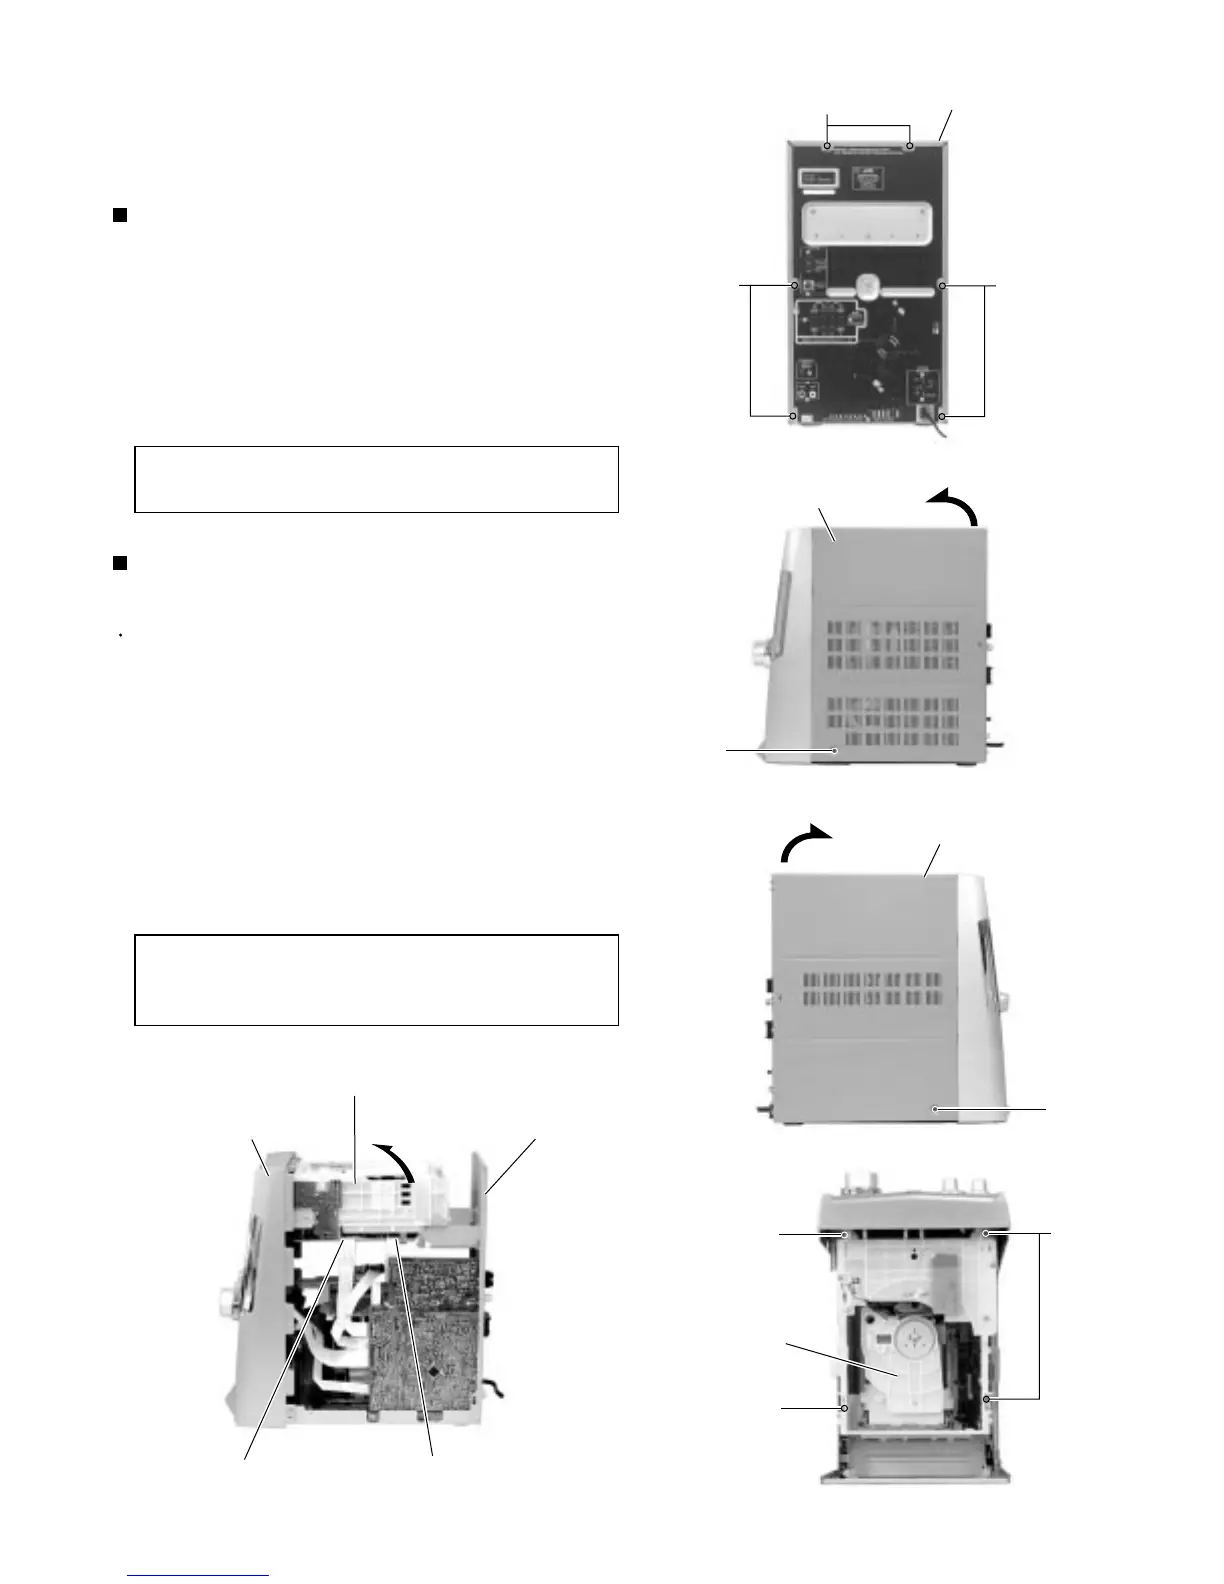
Remove the six screws A on the back of the body.
Remove the screw B on each side of the body.
Remove the metal cover from the body by lifting the
rear part of the cover.
1.
2.
3.
Removing the metal cover
(See Fig.1 ~ 3)
Prior to performing the following procedure, remove
the metal cover.
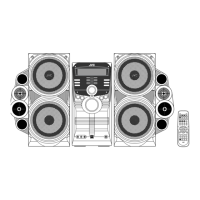
Disconnect the card wire from connector CN151 and
CN651 on the CD servo control board on the right
bottom of the CD changer mechanism assembly.
Remove the four screws C attaching the CD
changer mechanism assembly on top of the body.
Remove the CD changer mechanism assembly while
lifting the rear part.
1.
2.
3.
Removing the CD changer mechanism
assembly (See Fig.4, 5)
Do not break the front panel tab fitted to
the metal cover.
CAUTION:
Do not damage the CD fitting when
removing the CD changer mechanism
assembly.
CAUTION:
<Main board>
Disassembly method
Metal cover
Metal cover
Metal cover
A
A
B
B
C
C
C
A
Fig.1
Fig.2
Fig.3
Fig.5Fig.4
Front panel assembly
CD changer mechanism assembly
Rear part
CD changer
mechanism assembly
CD servo control board
CN651
CN151
 Loading...