ENGLISH
17
EXTERNAL DEVICES
1
Select “SIRIUS” or “XM.”
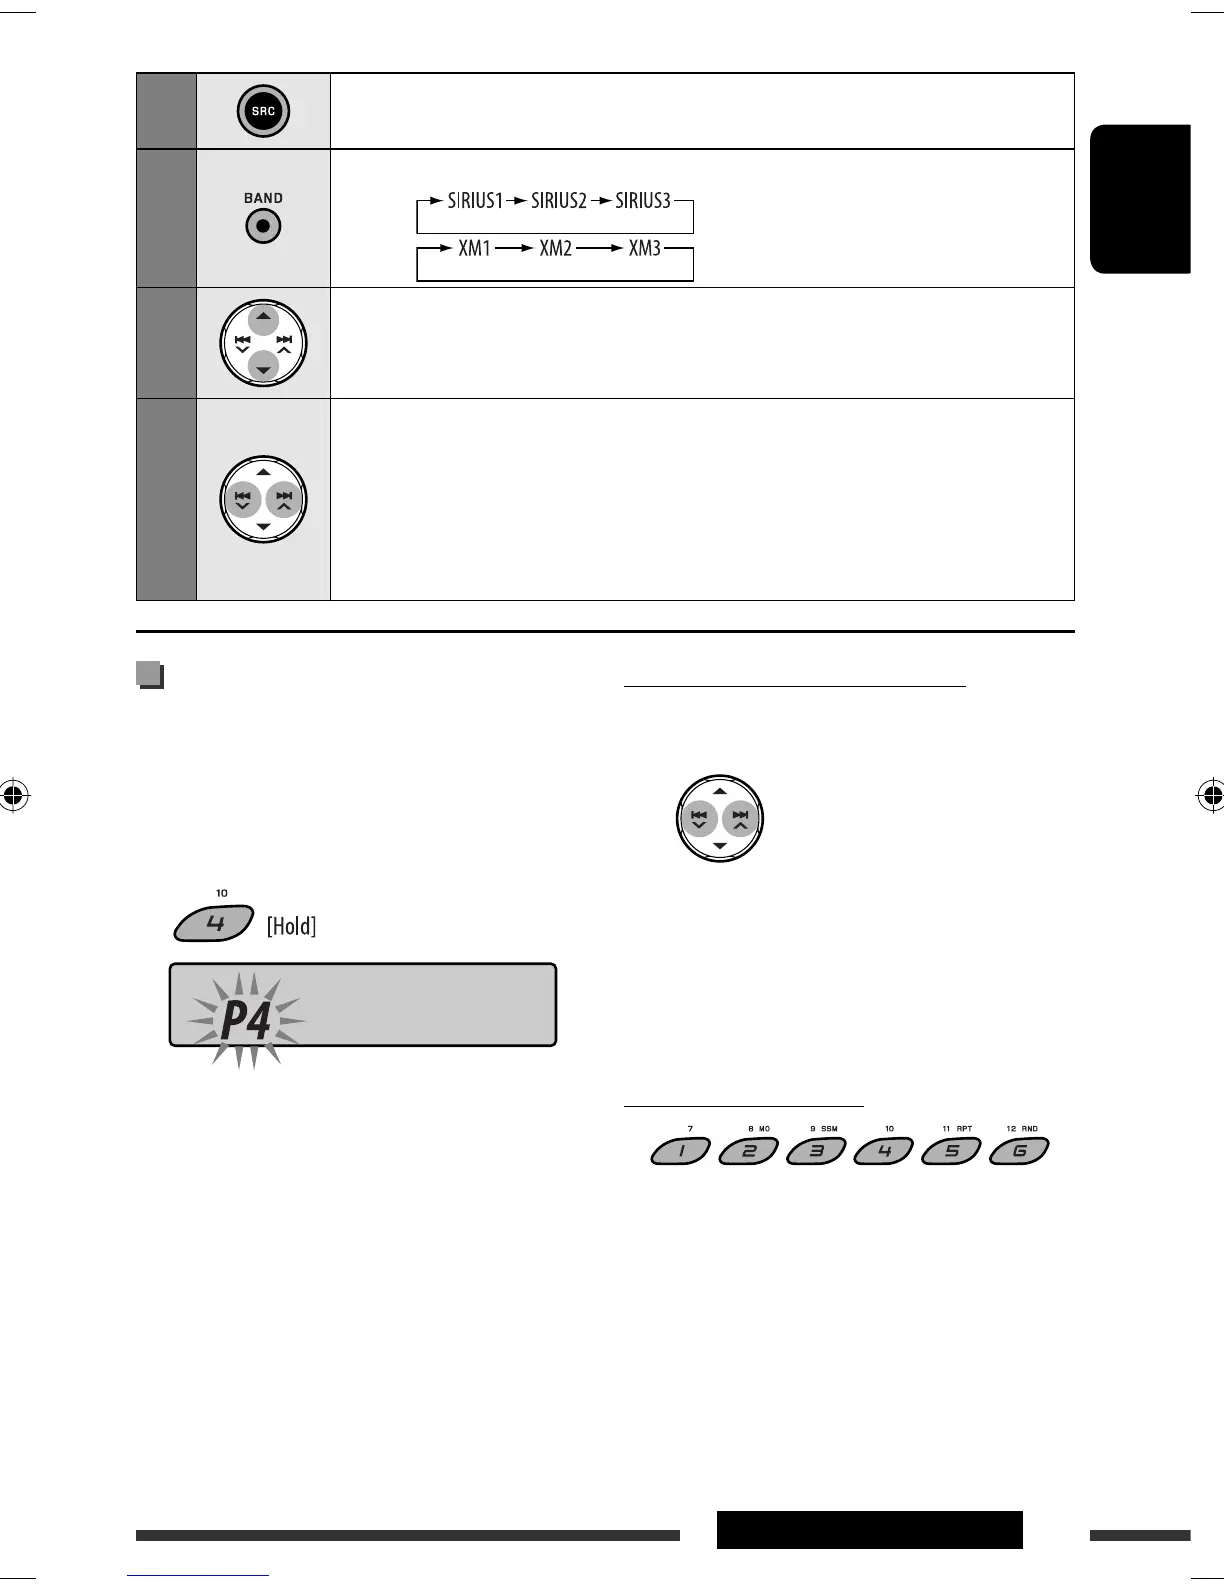
2
Select the bands.
SIRIUS:
XM:
3
Select a category.
SIRIUS: If you select “ALL,” you can tune in to all the channels of all categories.
4
Select a channel to listen.
• Holding the button changes the channels rapidly.
• While searching, invalid and unsubscribed channels are skipped.
XM: If you do not select a channel within 15 seconds, category selected in step 3
is canceled. You can select all channels of all categories now (including non-
categorised channels).
Storing channels in memory
You can preset six channels for each band.
Ex.: Storing channels into preset number 4
1 Tune in to a channel you want.
2
Checking the XM Satellite radio ID
While selecting “XM1,” “XM2,” or “XM3,” select
“Channel 0.”
The display alternately shows “RADIO ID” and the
8-digit (alphanumeric) ID number.
To cancel the ID number display, select any channel
other than “Channel 0.”
To select preset channel
ROCK
EN14-19_KD-AR390[J]f.indd 17EN14-19_KD-AR390[J]f.indd 17 9/24/07 4:37:01 PM9/24/07 4:37:01 PM

 Loading...