2
*
1
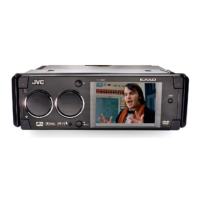
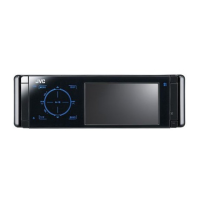
When you stand the unit,
be careful not to damage
the fuse on the rear.
*
1
৹ʹጅçʮ˻ʿ࠱
๑ᖢנ௰ڄۘᎳീé
*
1
‡¡◊ËÕ§ÿ≥µ—Èß™ÿ¥ª√–°Õ∫¢÷Èπ
√–«—ßլ˓∑”„ÀÈø‘«Ï∫√‘‡«≥
Ë«π∑È“¬‡’¬À“¬
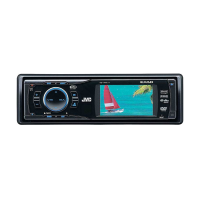
Do the required electrical connections.
නмᄔڄྐཔé
µËÕ“¬‰øµ“¡∑’Ë°”À𥉫È∑—ÈßÀ¡¥
Bend the appropriate tabs
to hold the sleeve firmly
in place.
Ҿᛮጅೋڄߴдçӕࢭጅೋ
ԕ֣Ϛᄭڷػ˖é
ßÕ·ºËπ‡æ◊ËÕ¬÷¥ª≈Õ°„ÀȵËÕ°—π‡¢È“∑’Ë
When using the optional stay / ࠝΈᆊނ /
‡¡◊ËÕ„™Èµ—«¬÷¥·∫∫‡≈◊Õ°‰¥
When installing the unit without using the sleeve / ࠝˀՠΈࢮጆೌϰ༬͵ጆ /
‡¡◊ËÕµ‘¥µ—Èß™ÿ¥ª√–°Õ∫‚¥¬‰¡Ë„™Èª≈Õ°ÀÿÈ¡
In a car having the “Required space for installation” (see page 1), first remove the car radio and install the unit in its place.
ϚЉ“ϯ༫ᄔ
࠱
ڏ” ڄԆԾ(ቁኌ୶1 ࡗ)çζ؛ԆԾለྐЂࡖጅ݈અЂϯ༫ϚЉᘕтé
„π√∂¬πµÏ∑’Ë¡’ “æ◊Èπ∑’Ë«Ë“ß∑’˵ÈÕß„´È„π°“√µ‘¥µ—Èß” (¥ŸÀπÈ“ 1) °ËÕπÕ◊Ëπ„ÀÈ∂Õ¥«‘∑¬ÿ√∂¬πµÏÕÕ°·≈È«µ‘¥µ—È߇§√◊ËÕ߇¢È“‰ª·∑π
Screw (option)
ᒘീ(·ڄ)
°√Ÿ (‡≈◊Õ°‰¥È)
Stay (option)
ᆉށ(·ڄ)
µ—«¬÷¥ (‡≈◊Õ°‰¥È)
Fire wall
Վػ
ºπ—ß°—π‰ø
Dashboard
ᄭڷػ
·ºßÀπÈ“ª— ∑¡á
Bracket *
2
Ёࣙ*
2
·∑Ëπ√Õß√—∫*
2
*
2
Not included for this unit.
*
2
ʿᎲʹጅಏաé
*
2
‰¡Ë‰¥È„ÀÈ¡“°—∫™ÿ¥ª√–°Õ∫π’È
Flat type screws—M5 x 8 mm*
2
Ꮓᒘീ—M5 x 8 mm*
2
°√ŸÀ—«‡√’¬∫—M5 x 8
¡¡.
*
2
Bracket *
2
Ёࣙ*
2
·∑Ëπ√Õß√—∫*
2
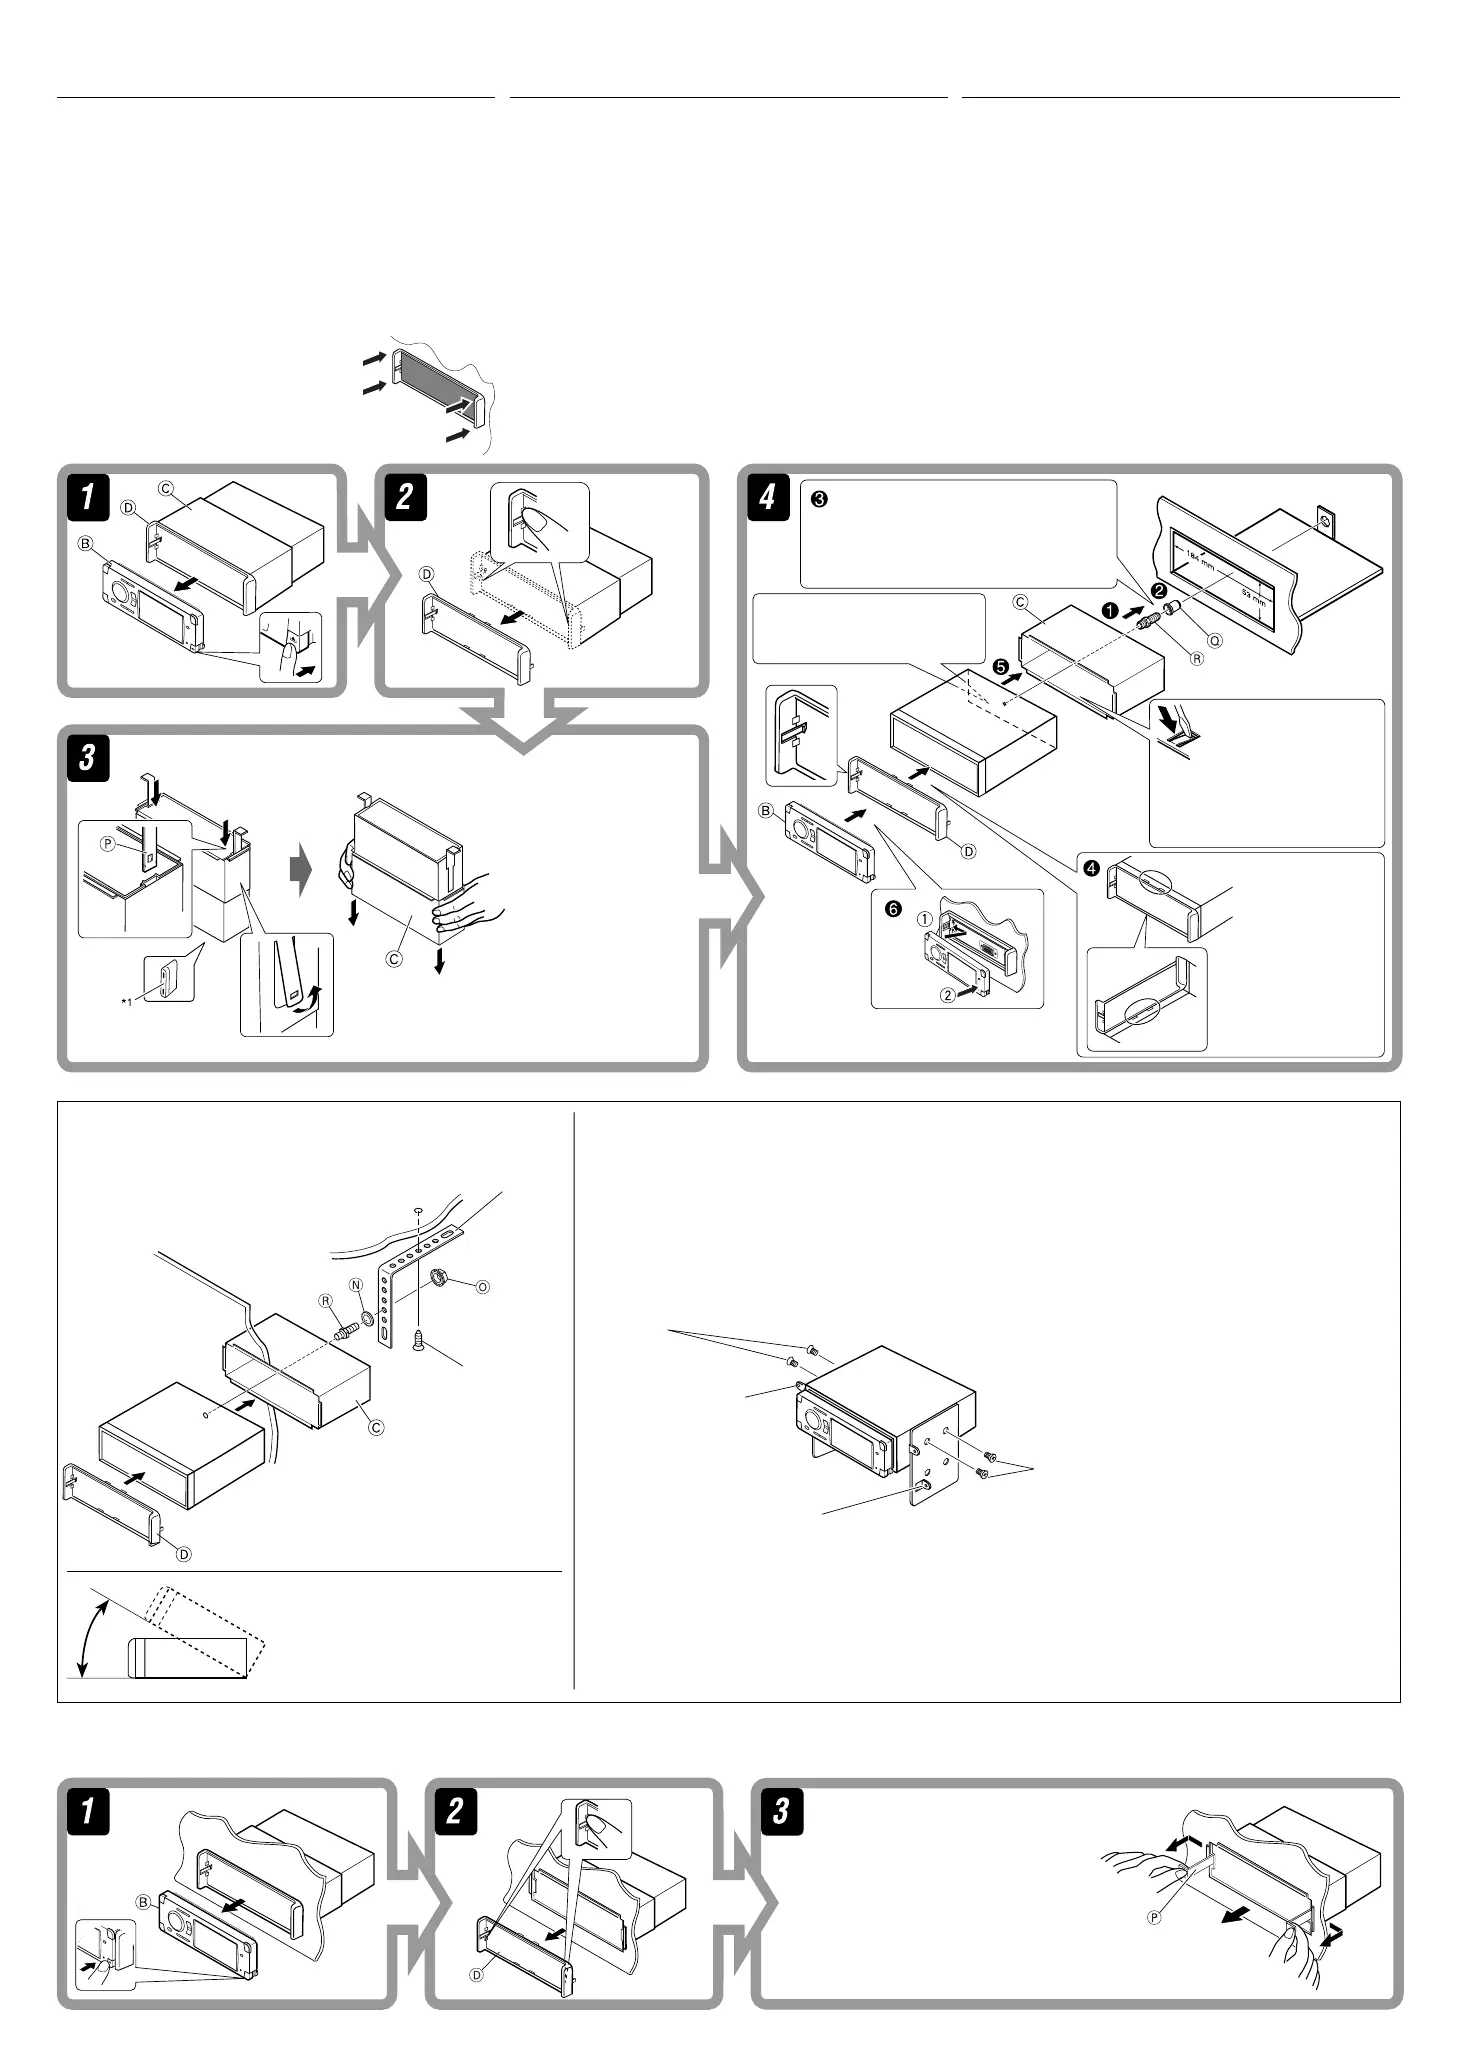
Install the unit at an angle of less than 30˚.
અʹጅϯ༫Ϛ˲ؠ30˚ڄԴܾé
µ‘¥µ—Èß™ÿ¥ª√–°Õ∫∑’Ë¡ÿ¡µË”°«Ë“ 30˚ Õß»“
Note: When installing the unit on the mounting bracket, make sure to use the 8 mm-long screws. If longer screws are
used, they could damage the unit.
ٍิ: ӕʹጅϯ༫ϚЁࣙʕç՟·8 mmۂڄᒘീéϨ՟·ཫۂڄᒘീç๑ᖢʹጅé
À¡“¬‡Àµ:
‡¡◊ËÕµ‘¥µ—Èß™ÿ¥ª√–°Õ∫≈ß„π·∑Ëπ√Õß√—∫‰«È „ÀÈ„™È°√Ÿ¬“«¢π“¥
8
¡¡. ∂È“„™È°√Ÿ¬“«°«Ë“π’ÈÕ“®∑”„ÀÈ™ÿ¥ª√–°Õ∫‡’¬À“¬‰¥ô
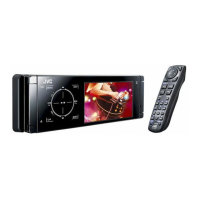
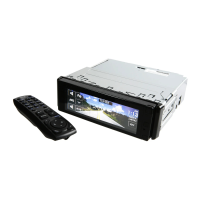
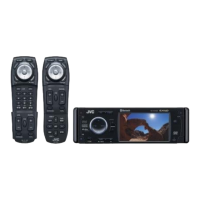
Removing the unit
Before removing the unit, release the rear section.
Insert the two handles, then pull them as
illustrated so that the unit can be removed.
ݝ࿌Εçઅղػܓӕ˾ʈᆥç
݈ძᗌ
ϙનղώղӕ˾ç
ʹጅᎲ˃é
„˧—π∫—ߧ—∫ 2 Õ —π≈ß„π√ËÕß”À√—∫„™Èæ—π≈«¥ ¥—ß¿“æ ®“°π—Èπ
„Àȇ≈◊ËÕπ™ÿ¥ª√–°Õ∫ÕÕ° „π¢≥–∑’˧ËÕ¬ Ê ¥÷ߧ—π∫—ߧ—∫∑—Èß Õß
Õ—πÕÕ°®“°°—π
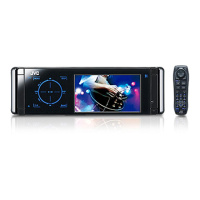
Do not block the fan.
ʿ࠱ۇᗉࡘ࣮é
լ˓°’¥¢«“ß∑“ß√–∫“¬Õ“°“»¢Õßæ—¥≈¡
INSTALLATION
(IN-DASH MOUNTING)
The following illustration shows a typical installation. If you have any
questions or require information regarding installation kits, consult
your JVC car audio dealer or a company supplying kits.
• If you are not sure how to install this unit correctly, have it installed
by a qualified technician.
• Make sure not to block the fan on the rear panel to maintain proper
ventilation when installed.
• You cannot install the unit on the car which has any obstacles in the
space shown in “Required space for installation” on page 1.
Caution when installing
Fit the unit into the mounting sleeve by using four corners of the trim
plate.
• DO NOT press the panel (shaded in the
illustration).
30˚
Flat type screws—M5 x 8 mm*
2
Ꮓᒘീ—M5 x 8 mm*
2
°√ŸÀ—«‡√’¬∫—M5 x 8
¡¡.
*
2
ϰ༬
(༬éׇ֤ϛᄮڸؼ˗)
ʓࡒڄ࿌༱ڷΕʄյܓڄϯ༫ദҺéϨسЉᖅçᄔ࠱Љᘕ
ࢭ˔άڄཊçቁώJVCԆԾࡖᛏ˜ኀࢭ˔άաᏻ˙
༿é
• Ϩسʿᇧ׆Ϩщᇧϙϯ༫ʹጅçᏻቁϐڄӑிʆ࢜գ
ϯ༫é
•
ᇧۘʿۇᗉ݈ࡒػڄࡘ࣮۔Ϛϯ༫݈ۘݠቱະڄ௫ܾé
•
ʿઅʹጅϯ༫ϚԆԾ˖Љέщۇᗉٵڄڏ
ç
Ϩ୶
1
ࡗ
“
ϯ༫ᄔ࠱ڏ
”
Εé
ϰ༬ٍิො
અʹጅ·ࡴԴڄ༫ྟ֣׆ռϯ༫ࢭ˖é
• ʿ࠱ᐅᏫࡒػ(࿌ˀڄఀᅬ௰˜)é
°“√µ‘¥µ—Èß
(°“√ª√–°Õ∫·ºßÀπÈ“ª— ∑¡Ï‡¢È“)
¿“æµ—«Õ¬Ë“ßµËÕ‰ªπ’È·¥ß∂÷ß°“√µ‘¥µ—Èß·∫∫∑—Ë«‰ª À“°§ÿ≥¡’ª—≠À“À√◊ÕµÈÕß°“√¢ÈÕ¡Ÿ≈‡°’ˬ«
°—∫™ÿ¥µ‘¥µ—Èß °√ÿ≥“ª√÷°…“° ∫ºŸÈ¢“¬‡§√◊ËÕ߇’¬ß√∂¬πµÏ
JVC
¢Õß∑Ë“πÀ√◊Õ∫√‘…
—
• ™ÿ¥ª√–°Õ∫ ∂È“§ÿ≥‰¡Ë·πË„®«Ë“µ‘¥µ—Èß™ÿ¥ª√–°Õ∫π’È∂Ÿ°µÈÕßÀ√◊Õ‰¡Ë
„ÀÈÀ“™Ë“ߺŸÈ‡™’ˬ«™“≠‡ªÁπºŸÈµ‘¥µ—Èß
•
¥Ÿ„ÀÈ¥’«Ë“‰¡Ë¢«“ß∑“ßæ—¥≈¡∑’Ë·ºß¥È“πÀ≈—ß ‡æ◊ËÕ„Àȇ§√◊ËÕß“¡“√∂√
∫“¬§«“¡√ÈÕπ‰¥Èլ˓߇À¡“–¡ ‡¡◊ËÕµ‘¥µ—È߇ √Á®·≈È«
•
∑Ë“π‰¡Ë“¡“√∂µ‘¥µ—È߇§√◊ËÕß°—∫√∂¬πµÏ∑’Ë¡’‘Ëß°’¥¢«“ßµ√ßæ◊Èπ∑’Ë∑’Ë·¥ß„π
“
æ◊Èπ∑’Ë«Ë“ß∑’˵ÈÕß„´È„π°“√µ‘¥µ—Èß
” „πÀπÈ“
1
¢ÈÕ§«√√–«—߇¡◊ËÕ∑”°“√µ‘¥µ—Èß
µ‘¥µ—È߇§√◊ËÕ߇¢È“„πª≈Õ°ÀÿÈ¡ „Àȵ√ß°—∫¢Õ∫¢Õß·ºËπ∑’˵—¥·µËß∑—Èß’Ë
• ÀÈ“¡¥—π∑’Ë·ºß§«∫§ÿ¡ (Ë«π∑’Ë√–∫“¬’„π√Ÿª)
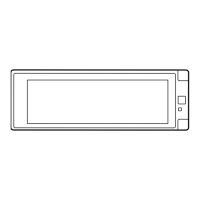
Fit the protrusions
outside the unit.
અ௰˜༫Ϛ
ጅé
µ‘¥Ë«π∑’ˬ◊ËπÕÕ°¡“¥È“ππ
Õ°‡§√◊ËÕß
°“√∂Õ¥™ÿ¥ª√–°Õ∫
°ËÕπ®–∂Õ¥™ÿ¥ª√–°Õ∫ „ÀȪ≈¥ÀπÈ“µ—¥Ë«π∑È“¬°ËÕπ
։͵ጆ
Ϛ؛ֈʹጅۮçᏻઅʹጅ݈௰ڄ֣׆֜௰˜ᖑළé
Instal1-3_KD-AVX33[U].indd 2Instal1-3_KD-AVX33[U].indd 2 2/27/07 4:46:13 PM2/27/07 4:46:13 PM