– 2 –
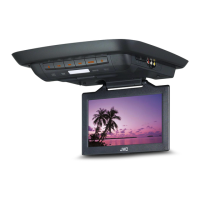
Wide color
monitor
Mounting the color monitor
Installation procedure varies among different cars. The following is an example.
It is recommended to have the monitor system installed by a qualified technician.
Before mounting the monitor to the ceiling:
• Perform the required electrical connections and external connections with the power cord first.
How to disconnect the connector
Release the stopper while pushing
down the top of the connector.
Push
down
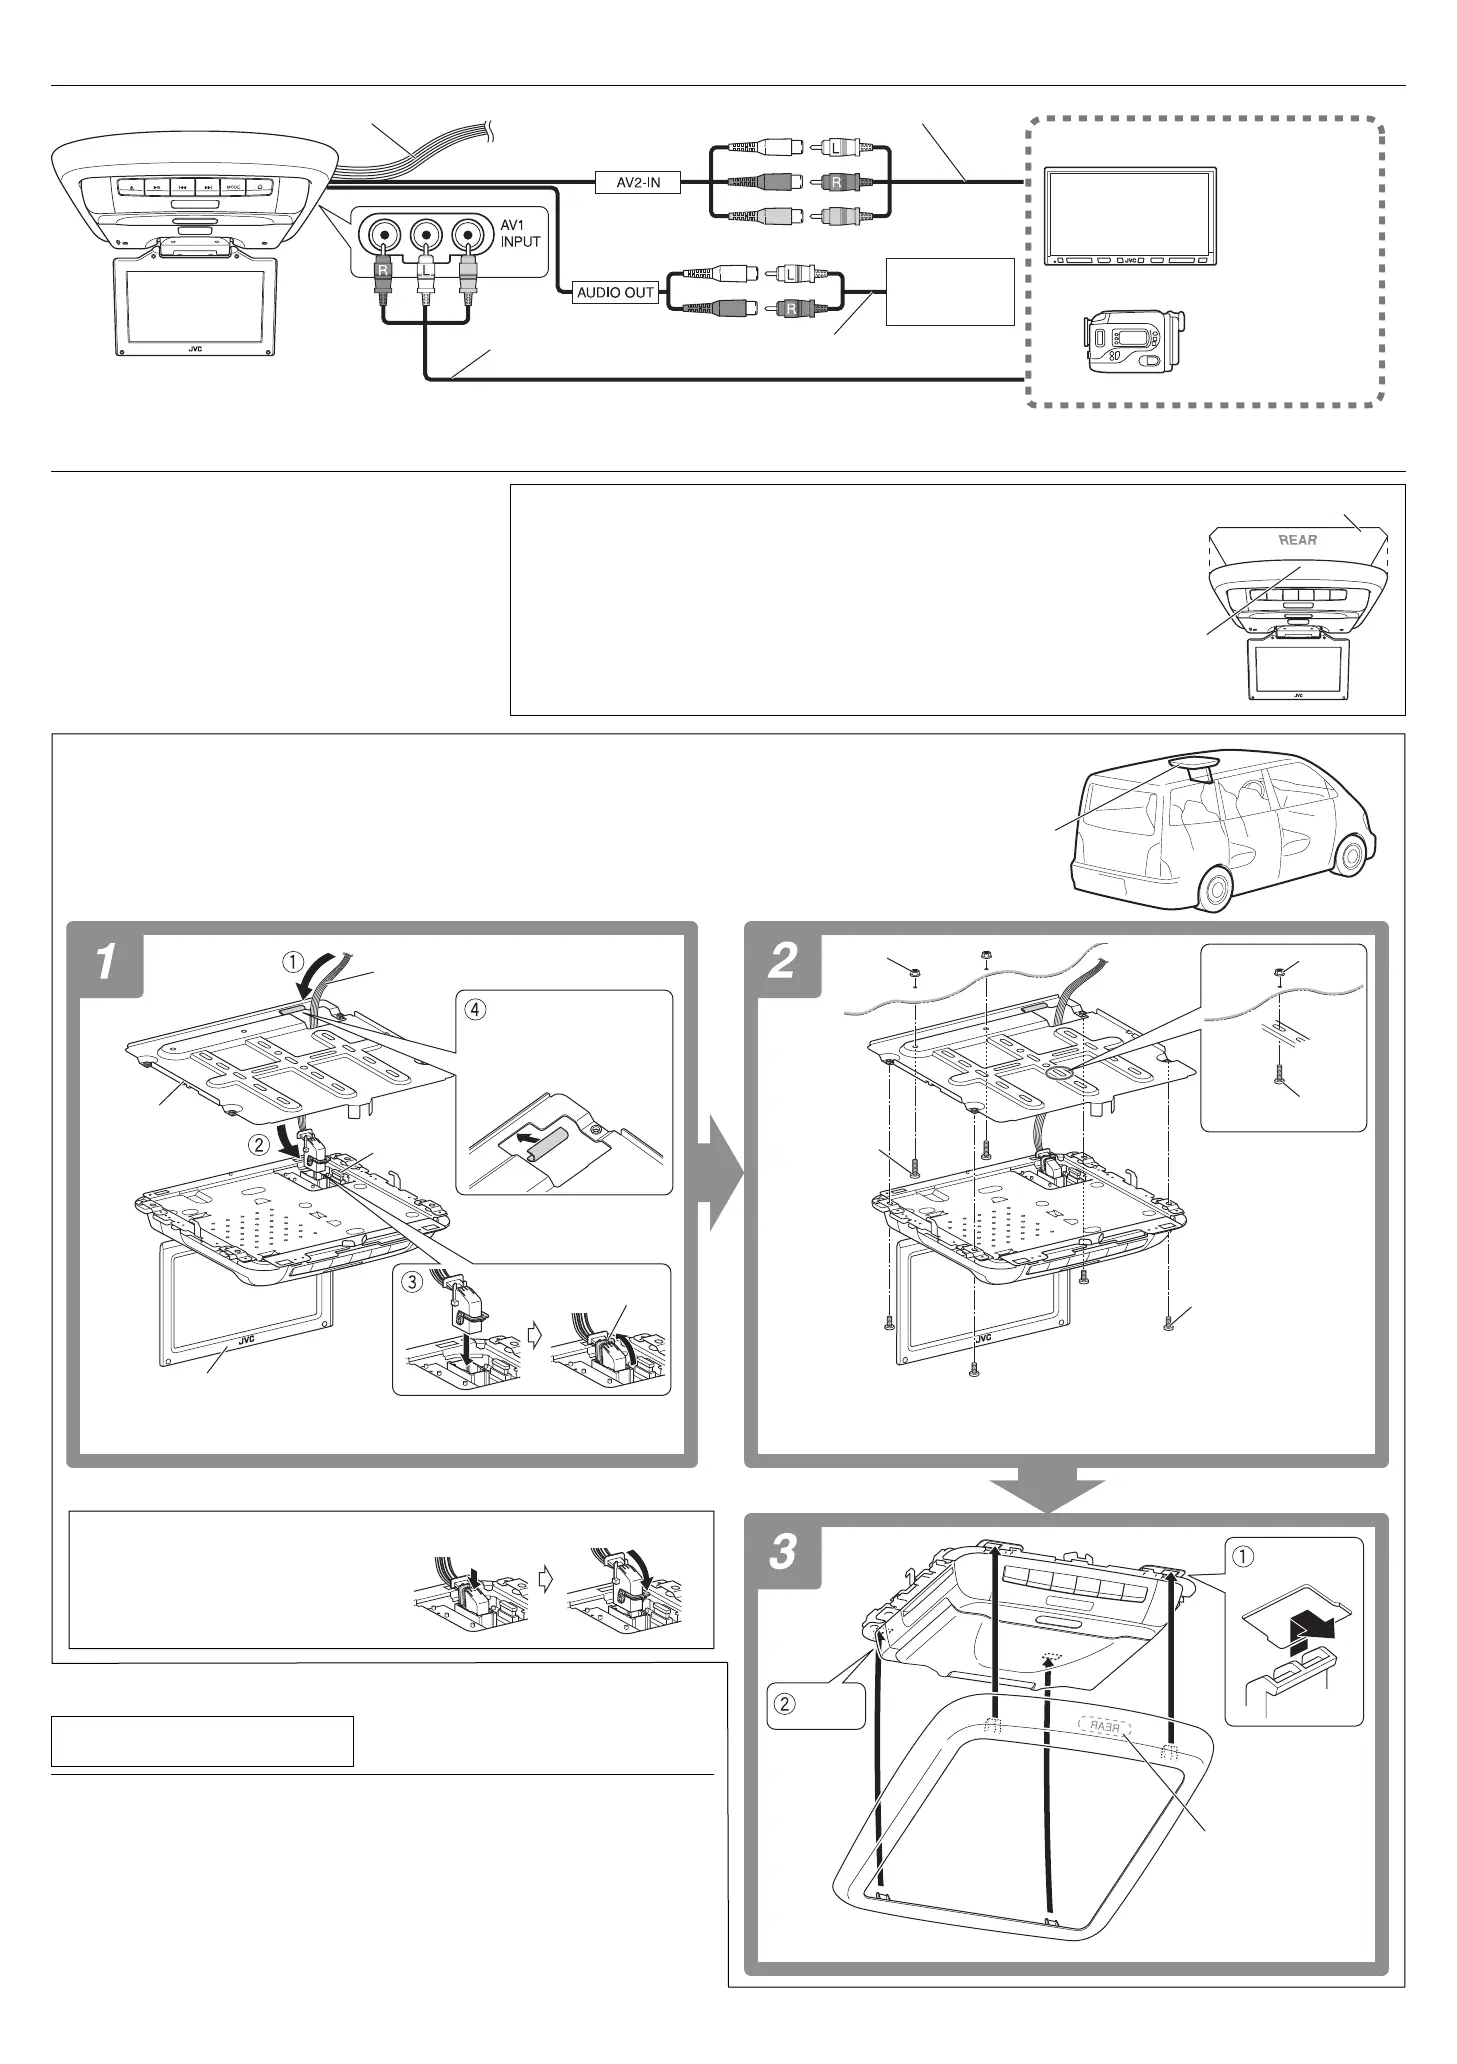
CONNECTING THE EXTERNAL COMPONENTS
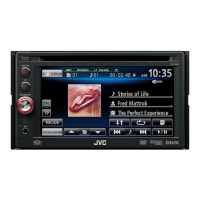
Camcorder
Playback source
Car receiver,
etc.
DVD/CD receiver
(KW-AVX820, etc.)
• The following illustration shows a typical
installation. However, you should make adjustments
corresponding to your specific car. If you have
any questions or require information regarding
installation kits, consult your JVC car audio dealer or
a company supplying kits.
Wide color monitor
The direction (REAR) of
the shroud is printed here.
• Make sure to face the
"REAR" side of the
shroud to the front of
the wide color monitor.
INSTALLATION
Power cord
TROUBLESHOOTING
• The fuse blows.
* Are the yellow and black leads connected correctly?
• Power cannot be turned on.
* Are the yellow and black leads connected?
• Picture does not come on screen.
* Is the connection correct?
* Is the cord connected firmly?
Metal plate
Power cord
Screw for fixing the
center unit
(M5 x 8 mm) x 4
Screw for fixing
the metal plate
(M5 x 10 mm)
x 3
*
2
Nut*
2
5 A fuse
Release
Cut and paste the
protection tape on
the side the cords are
routed.*
1
Preparation
1 Cut out the supplied paper template following the guideline.
2 Remove the dome light and interior headliner from the ceiling.
3 Cut out the headliner using the paper template.
• The direction "REAR" and "FRONT" printed on the paper
template indicates the direction in the car. Make sure to face the
"REAR" side of the paper template to the front of the wide
color monitor.
Audio and video cord
(not supplied)
Audio and video cord (not supplied)
Audio cord (not supplied)
Stopper
Paper template
The front side
of the wide
color monitor
*
1
Adjust the cutting-out size of the protection tape and change its pasting place
for cord protection depending on your wiring route of the cord.
Hook
Push
*
2
If you cannot fix the metal plate firmly using screws (M5 x 10 mm) and nuts by
following the above example, change the screw holes to use.
M5 x 10 mm*
2
*
2
Install_KS-JA0502-3[A].indd 2Install_KS-JA0502-3[A].indd 2 10.1.25 11:03:53 AM10.1.25 11:03:53 AM
 Loading...