Operate the connected
device and play a video
Select the video source
Operate the
VCR (DVD)
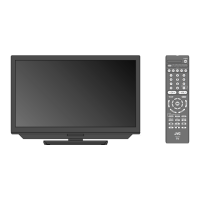
Operate JVC VCRs and other devices
Turn on the device
Select a channel (VCR mode)
Select a chapter (DVD mode)
Record / Display DVD top menu
Rewind / Playback / Fast-forward
Stop / Power OFF
1
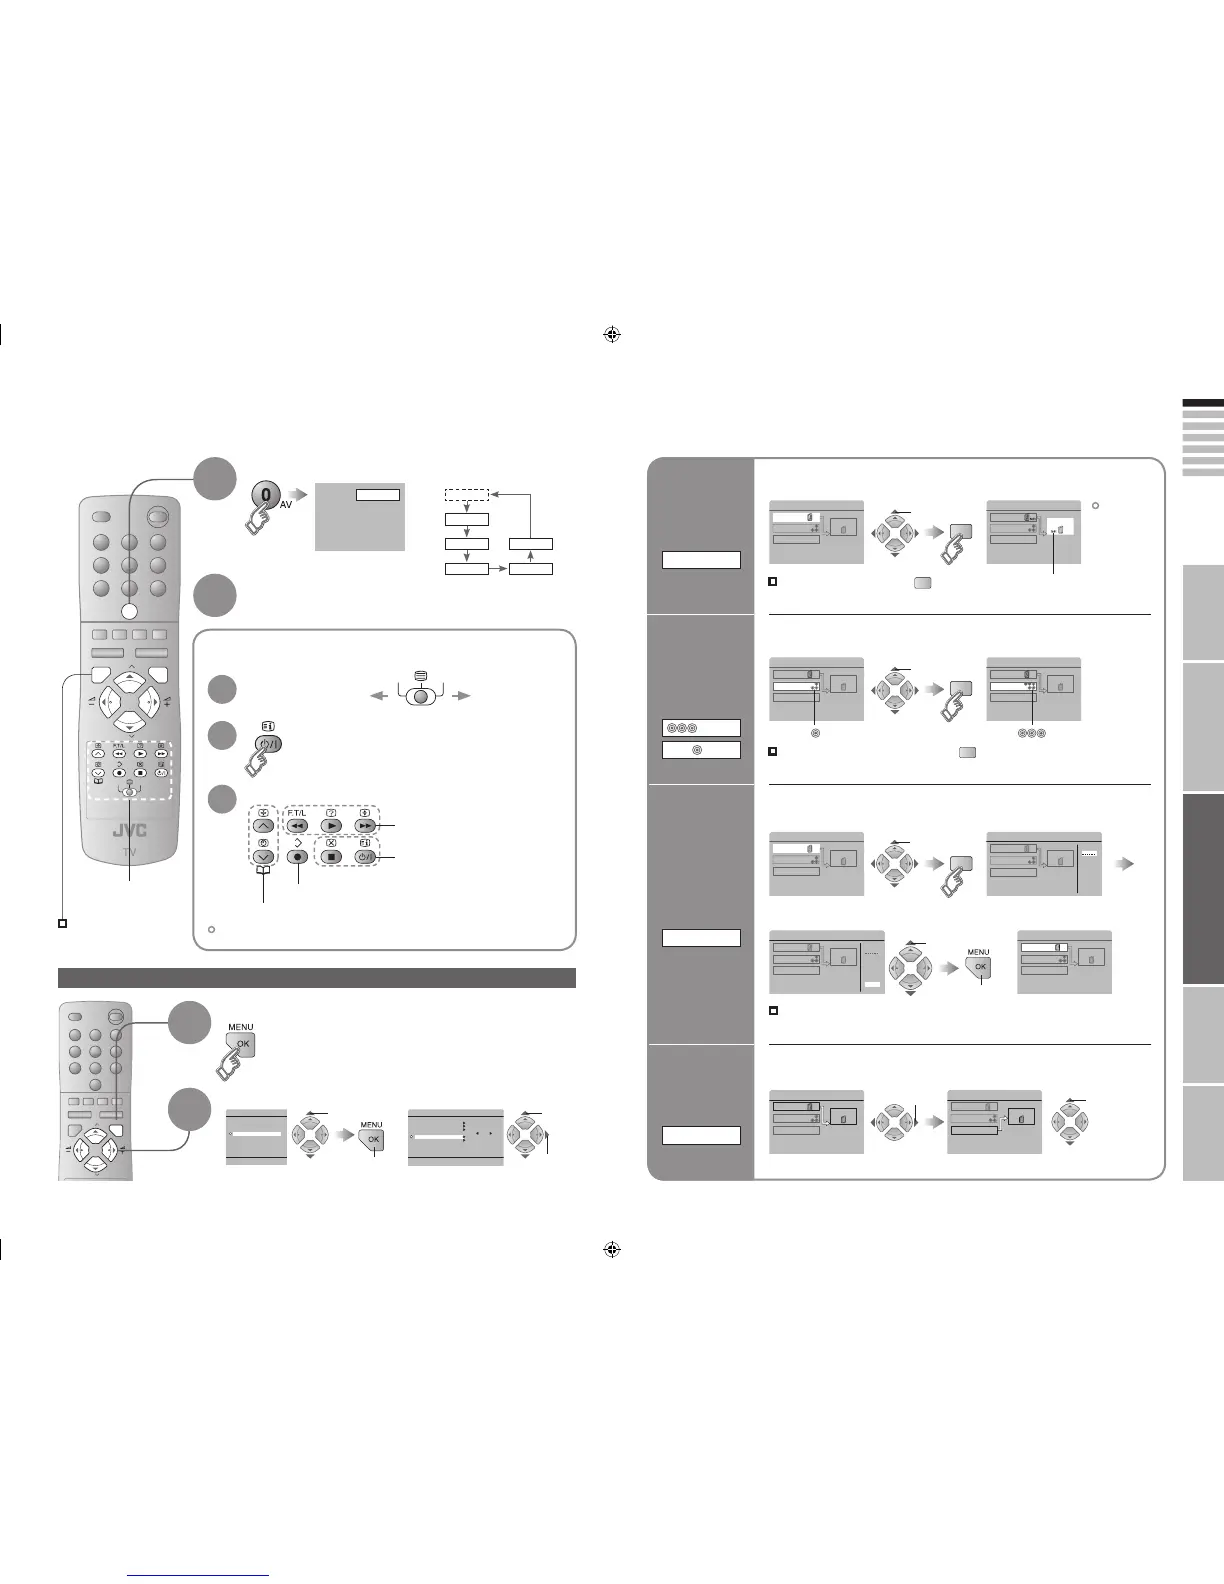
Watching videos / DVDs
To TV
1
Some models of JVC devices cannot be operated with this remote control.
2
2
3
select
Switch
to S-VIDEO
input
S-IN
The device
selection
display will
change from
“E2” to “S2”.
Cancel this mode
Set up
dubbing on
“EXT-2”
DUBBING
Edit names
of connected
devices
ID LIST
1
Select the “EXT-2”
2 Set the S-VIDEO mode
1 Select an “EXT” to assign a name to 2 Show the name list
1 Select the arrow 2 Select the dubbing source
3 Select a name from the list
select
select
1 select
select
y
DVD playersVCRs and DVD recorders
Press “ ” in 2 again
Clear the name
Select the blank space in 3
(Yellow)
(Yellow)
(Blue)
2 set
Display the menu
Select “SET UP”
Select “EXT SETTING”
1
2
1 select
1 select
2 next
Advanced functions
2 next
Switch
between
component
and
composite
input
Pr/Pb/Y
Return to composite input
1
Select the “EXT-3”
2 Set to component input
select
Press “ ” in 2 again
(Yellow)
E1 VCR
E1
E2
E3
*1: Only appears when AV
has been registered as
a channel.
E.g. For EXT-1
AV (PR 0)
*1
E5
E4
V
V Pr/Pb/Y