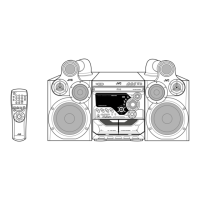
1-18 (No.MB011)
3.3 CD Changer Mechanism
• Remove the CD changer mechanism assembly.
3.3.1 Removing the CD Servo control board
(See Fig.1)
(1) From bottom side the CD changer mechanism assem-
bly,remove the four screws A retaining the CD servo con-
trol board.
(2) Absorb the four soldered positions a of the right and left
motors with a soldering absorber.
(3) Pull out the earth wire on the CD changer mechanism as-
sembly.
(4) Disconnect the connector CN854
on the CD servo control
board.
(5) Disconnect the card wire CN601
and the connector CN801
on the CD servo control board.
Fig.1
a
a
A
AA
CD servo control board
CN854
CN651
CN151
CN801
CN601