MX-GT91R
1-16
Prior to performing the following procedures, remove
the front panel.
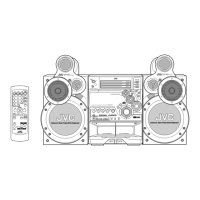
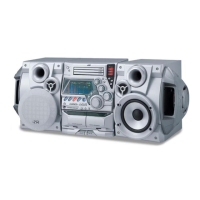
Remove the six screws D attaching the punch panel
on the front of the body.
Remove the four screws E attaching the speaker
(woofer) on the front of the body.
Pull out the speaker (woofer) toward the front and
disconnect the wire from the two speaker terminals.
1.
2.
3.
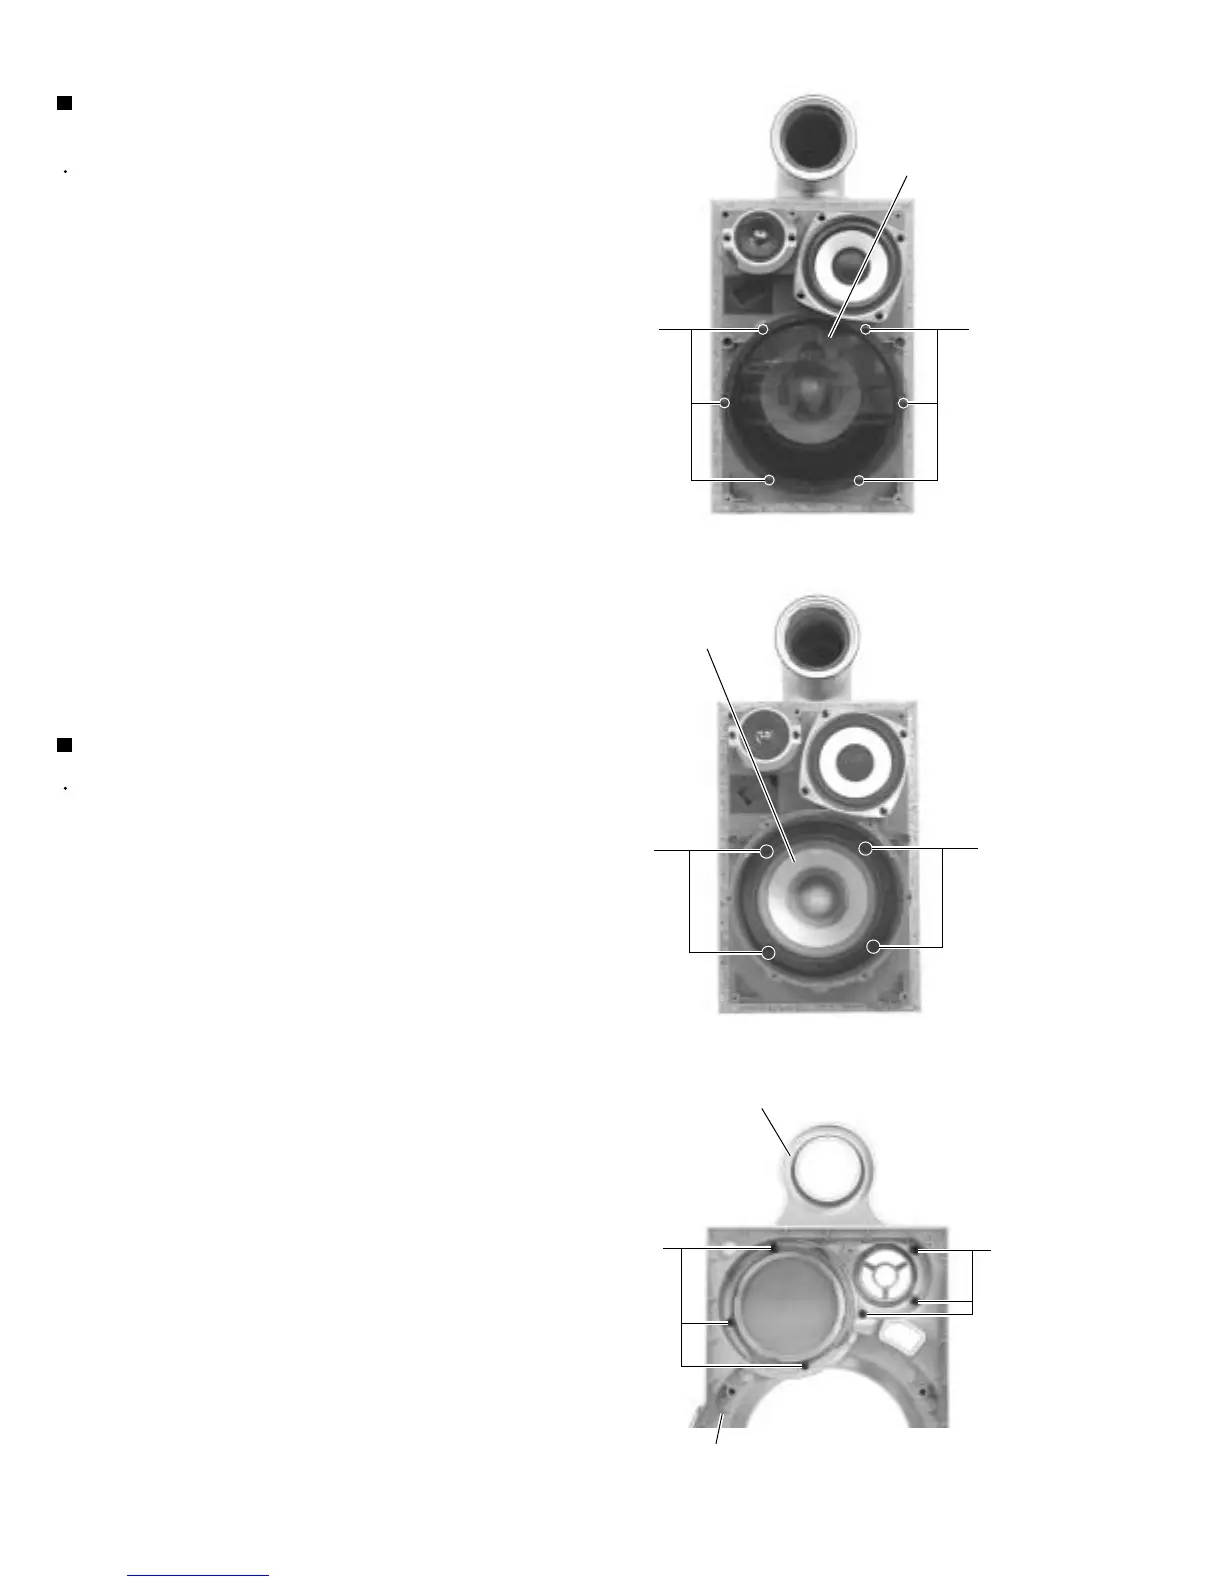
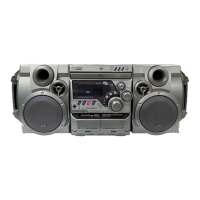
Removing the speaker (woofer)
(See Fig.4 and 5)
Prior to performing the following procedures, remove
the front panel.
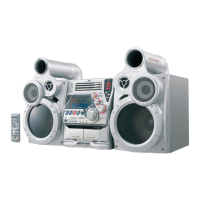
Remove the six screws F attaching the sub panel on
the back of the front panel
.
Remove the sub panel toward the front.
1.
2.
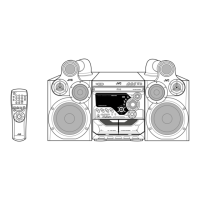
Removing the sub panel (See Fig.6 )
Attention : When reassembling the punch panel,
need to put glue all around. this is
important to prevent vibration.
Fig.4
Fig.5
Fig.6
D
Punch panel
D
EE
Speaker (woofer)
Sub panel
F
F
Front panel