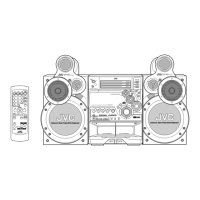
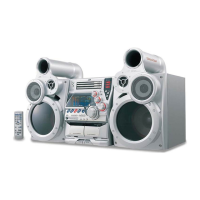
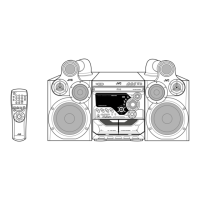
MX-GT91R
1-18
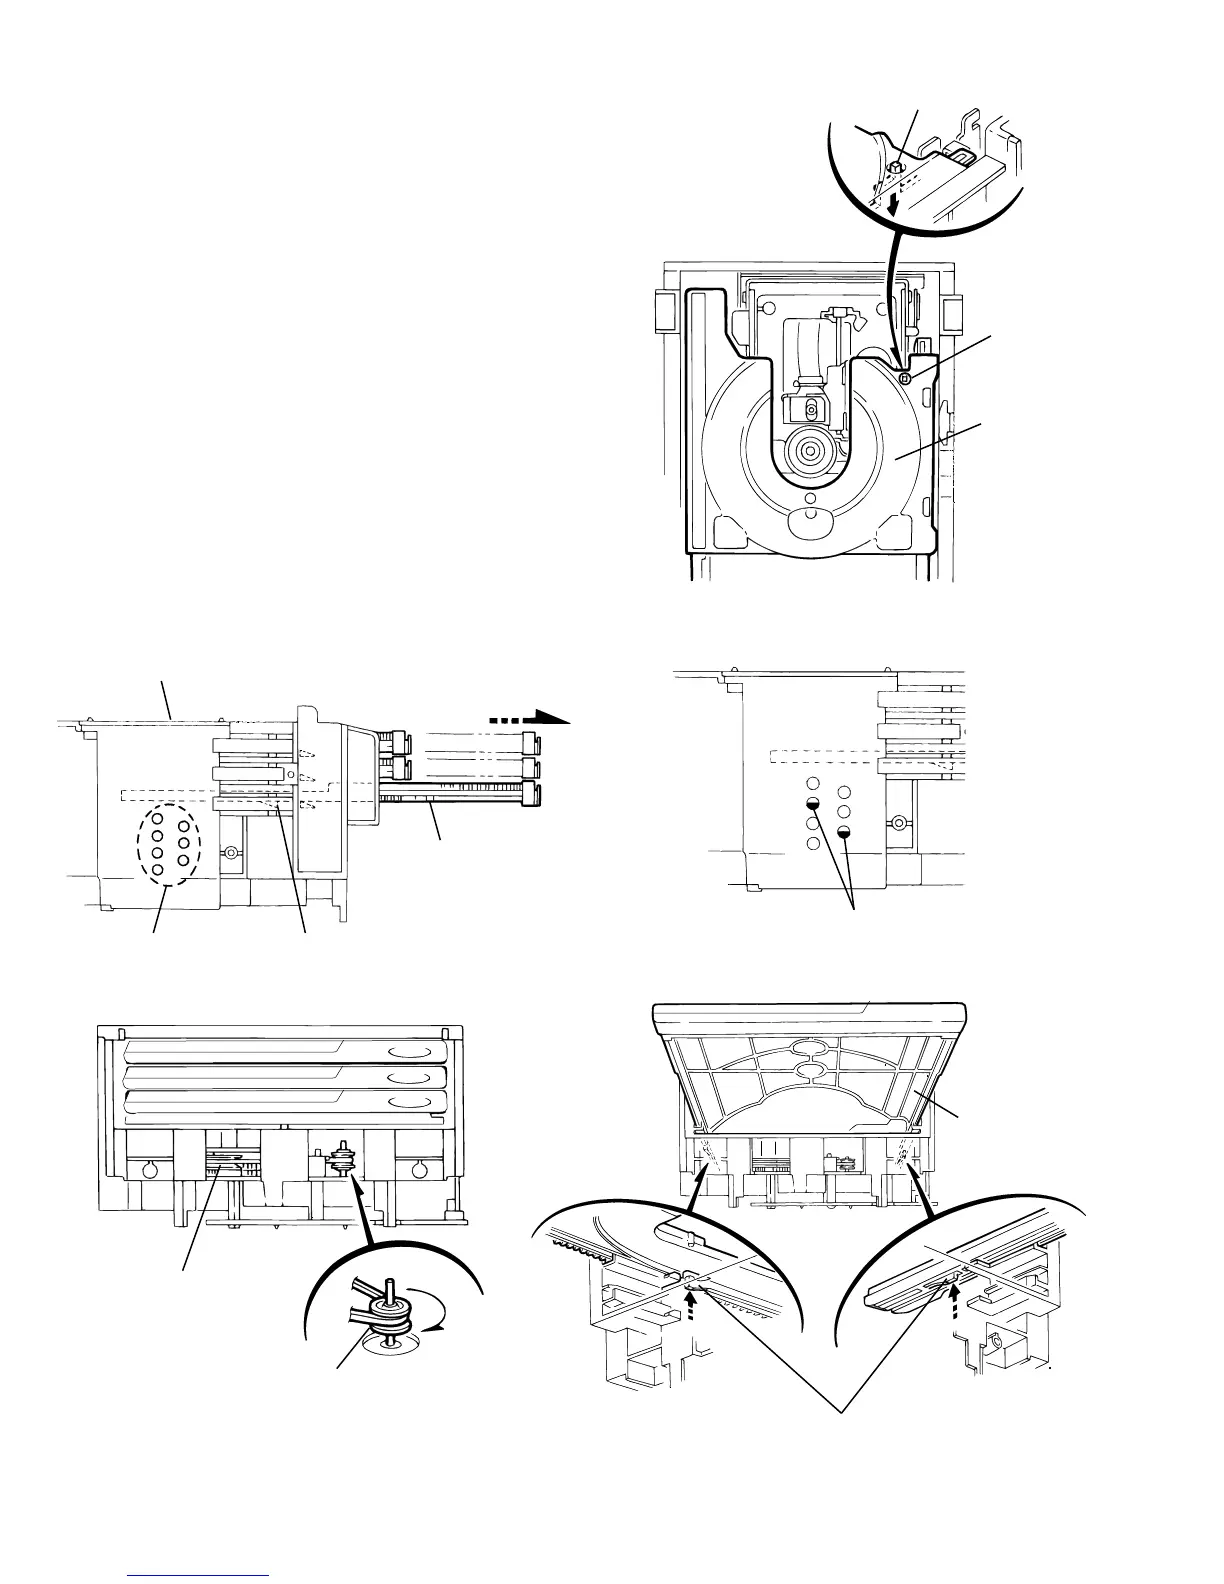
11.
12.
Check whether the lifter unit stopper has been caught
into the hole at the section "e" of CD tray assembly as
shown in Fig.5.
Make sure that the driver unit elevator is positioned as
shown in Fig.6 from to the second or fifth hole on the
left side face of the CD changer mechanism assembly.
Fig.5
Fig.7
Fig.6
Fig.8
Fig.9
[Caution]
In case the driver unit elevator is not at above
position, set the elevator to the position as
shown in Fig.7 by manually turning the pulley
gear as shown in Fig.8.
13.
14.
15.
Manually turn the motor pulley in the clockwise
direction until the lifter unit stopper is lowered from the
section "e" of CD tray assembly(See Fig.8).
Pull out all of the three stages of CD tray assembly in
the arrow direction "f" until these stages stop
(See Fig.6).
At the position where the CD tray assembly has
stopped, pull out the CD tray assembly while pressing
the two pawls "g and g' " on the back side of CD tray
assembly(See Fig.9). In this case, it is easy to pull out
the assembly when it is pulled out first from the stage
CD tray assembly.
CD
3
CD
2
CD
1
CD tray
assembly
e
Drive unit of elevator
CD tray assembly
f
Refer to Fig.7
Pawl
Chassis assembly
Pulley gear
Motor pulley
Pawl ,
CD tray assembly
Stopper
g
g
g'