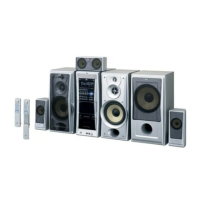
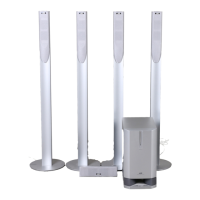
FS-SD1000R
1-9
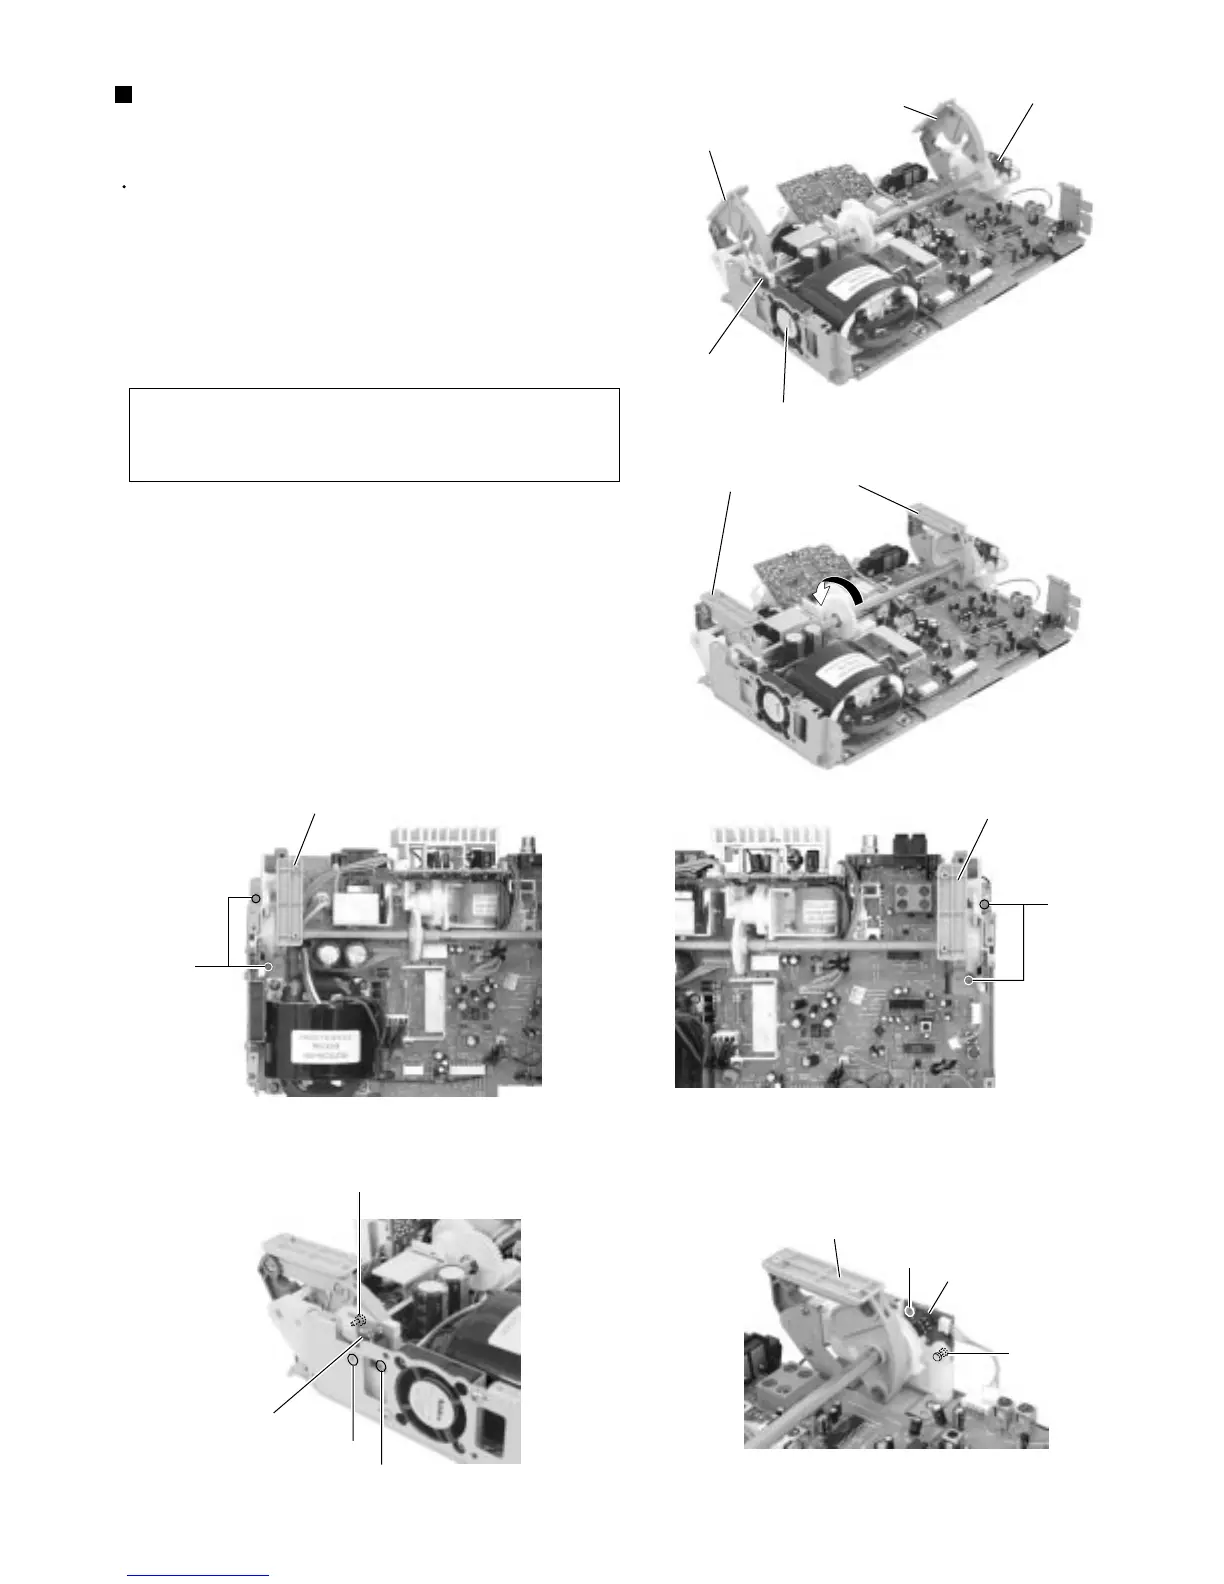
Prior to performing the following procedure, remove
the rear cover, the side covers, the front panel
assembly and the CD mechanism base assembly.
In case that the upper parts of the door arms
attached to the CD door are not level, let down them
to the level position by turning the gear a in the
direction of the arrow.
1.
Removing the door arm assembly / the
door arm board (R) and (L)
(See Fig.15 to 20)
When the door arms incline, the door
arm assembly and the door arm board
(R) and (L) may not be removed.
ATTENTION:
Remove the four screws H on the upper side and
the one screw I on the left side of the body.
Remove the four screws J attaching the door arm
board (L) and (R) on both sides of the door arm
assembly.
2.
3.
Fig.15
Fig.16
Fig.18
Fig.20
Fig.17
Fig.19
Door arm
Door arm board (L)
Door arm
Door arm board (R)
Door arms (Attached to the CD door)
H
H
Door arm assembly
Door arm assembly
J
J
I
Door arm board (L)
Door arm assembly
J
J
Door arm board (R)
Fan motor
 Loading...