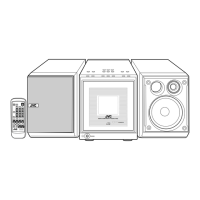
UX-A7DVD
1-34 (No.22013)
SECTION 3
Adjustment method
3.1 Method of setting DVD test mode
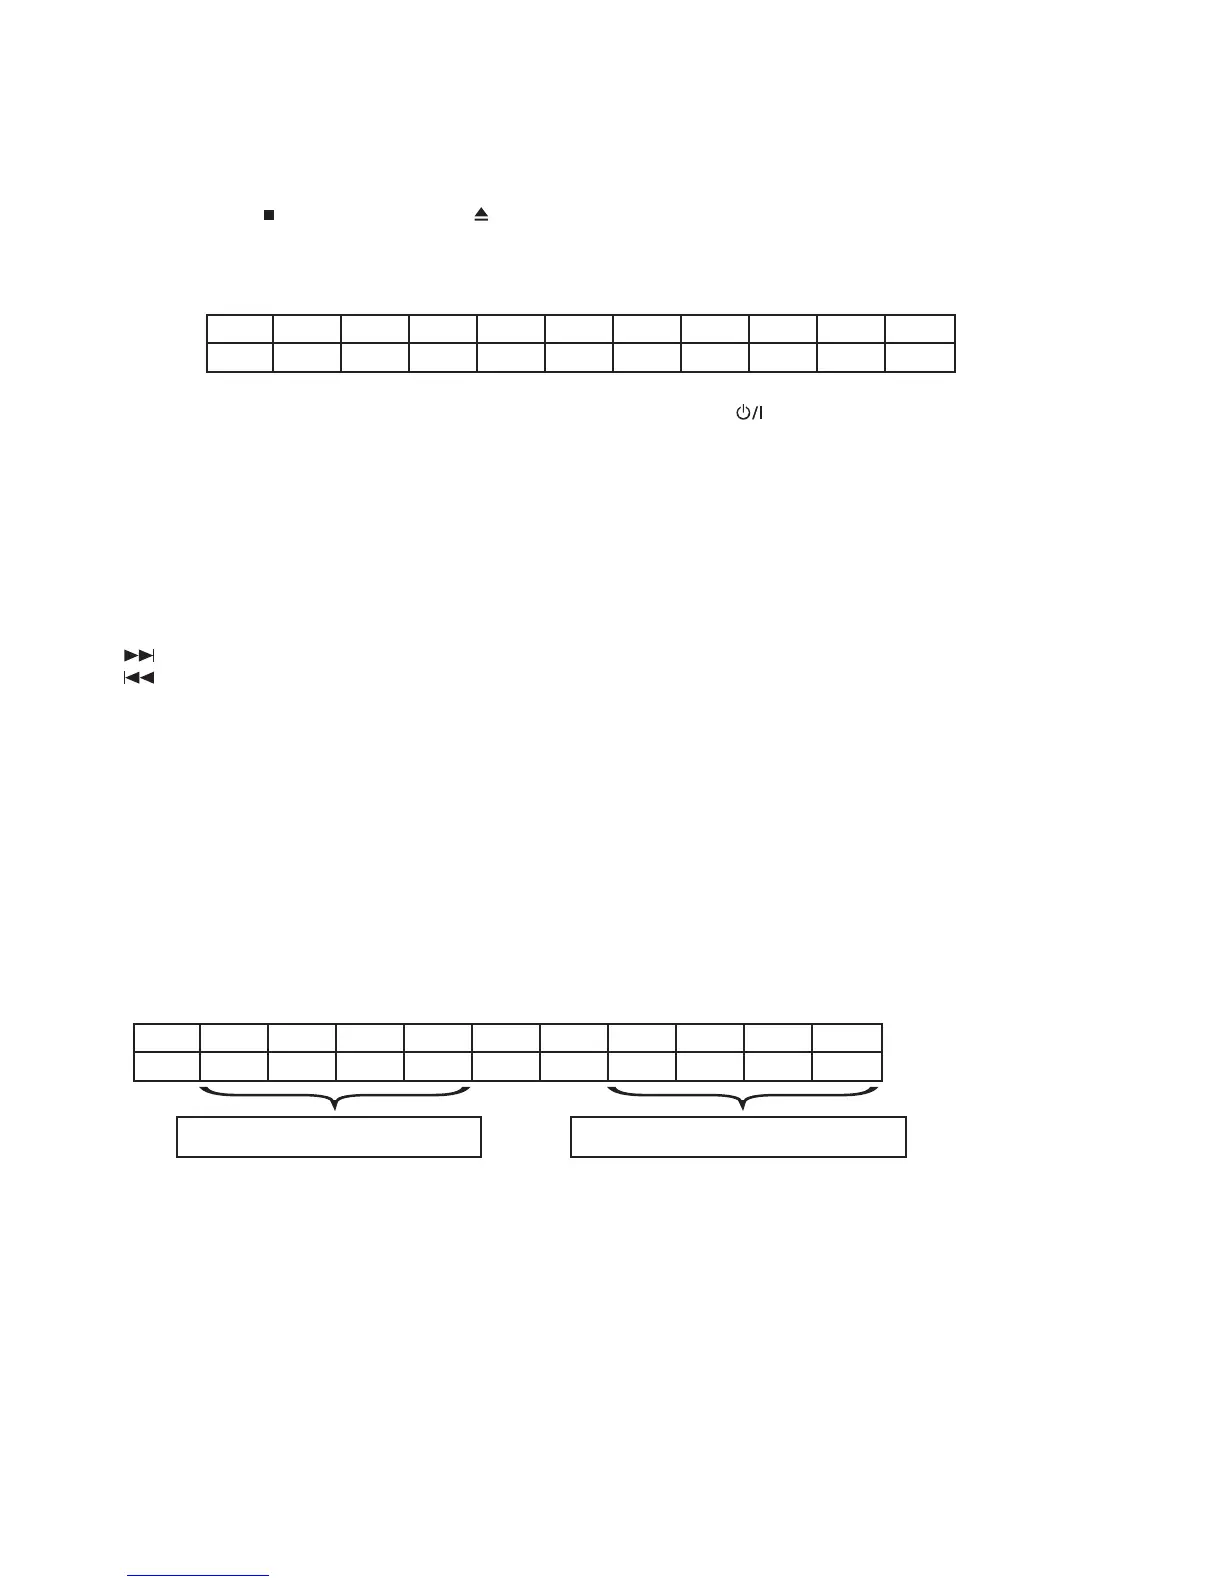
1.Main body "Stop button " and "DVD eject button " are pushed at the same time, and the power supply is turned on.
2.The display of the FL display becomes "TEST D", and becomes a test mode.
3.Comes off the test mode when the power supply is turned off by "STANDBY button ".
4.Use key in test mode
[STOP]+[DVD EJECT]+AC opening:Test mode
[STANDBY]:Test mode release
[ON SCREEN] : Self adjustment command for test
[DVD EJECT] : EJECT command for test
[STOP] : STOP command for test
[DVD PAUSE] : Self adjustment command for test
[DVD PLAY] : Jitter measurement command for test
[ENTER] : EEPROM initialization command
[ ] : Outer tracking OFF command
[ ] : Tracking OFF of surroundings on inside command
[1]~[9] : Servo relation examination command
[MENU] : Display of number of ROM
[TOP MENU] : Display of number of ROM
5.Content of processing
(1) A reproduction and posed inside display the jitter measurement value and the value of the current of the laser on the FL display
in the TEST mode.
TEST D R2
 Loading...