Kaleidescape Part No. 101-0181-04 Rev 1 Page 2
Before Beginning
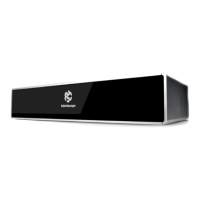
1. Verify that the server is powered ON. When
the server is powered on, the front panel
glows either blue or amber.
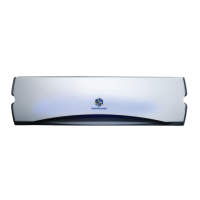
2. Open the front panel. If the server is not
powered on, press the POWER button. If
the front panel does not light up, check
the power connection before calling
Kaleidescape Support.
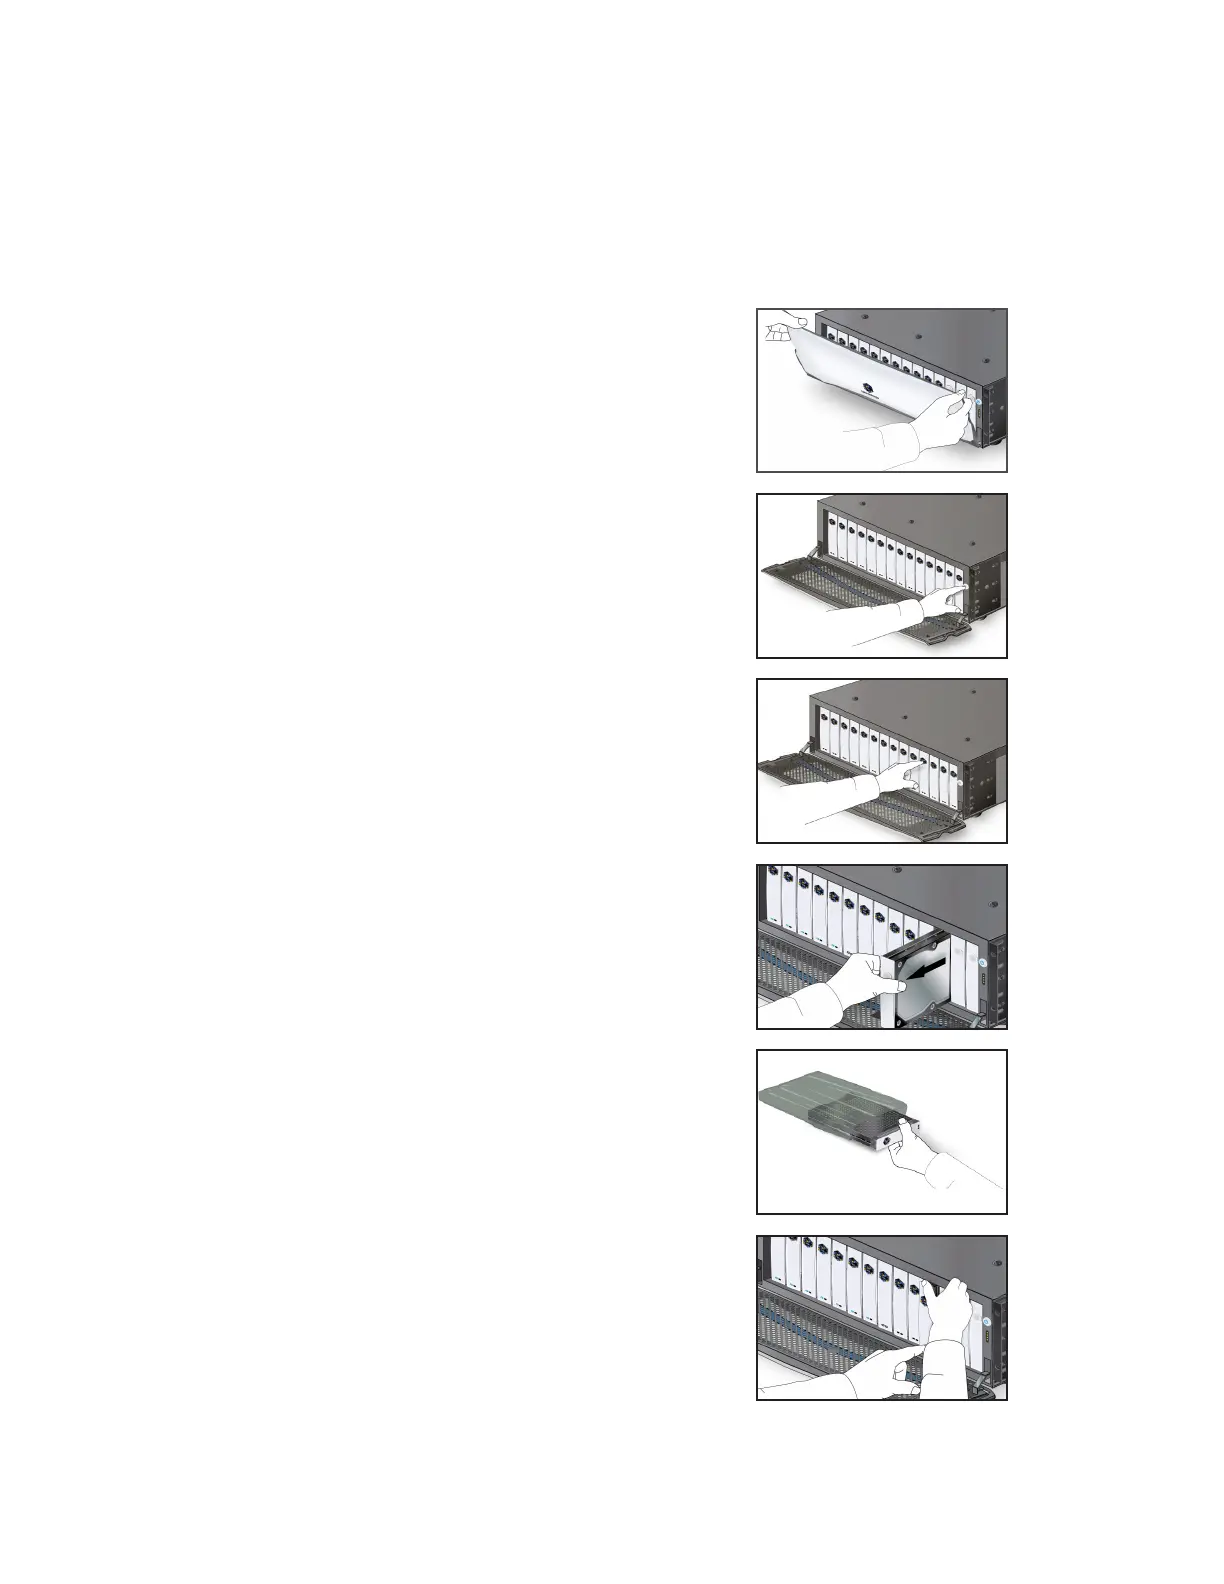
Remove the Old Disk Cartridge
3. Press the EJECT button (Kaleidescape logo)
on the disk cartridge.
Wait 10 seconds before removing the disk
cartridge.
4. Remove the disk cartridge from the server,
sliding it gently out of the slot.
5. Verify that the serial number on the disk
cartridge that was removed matches the
serial number on the RMA.
Insert the New Disk Cartridge
6. Remove the new disk cartridge from
the antistatic bag. Always handle disk
cartridges carefully.
7. Insert the new disk cartridge into the empty
slot, logo to the top.
Push rmly but gently on the top and
bottom of the disk cartridge until the disk
cartridge locks into place.
8. Wait approximately 1 minute. Verify that the
status light is a solid blue or blinking blue
(the hot spare) on each disk cartridge. If
amber, call Kaleidescape Support.
The gures on the following pages illustrate the replacement procedure
for an arbitrary slot.