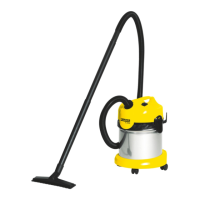
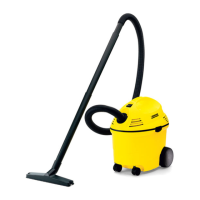
K 2801 / K 2801 plus
10
English
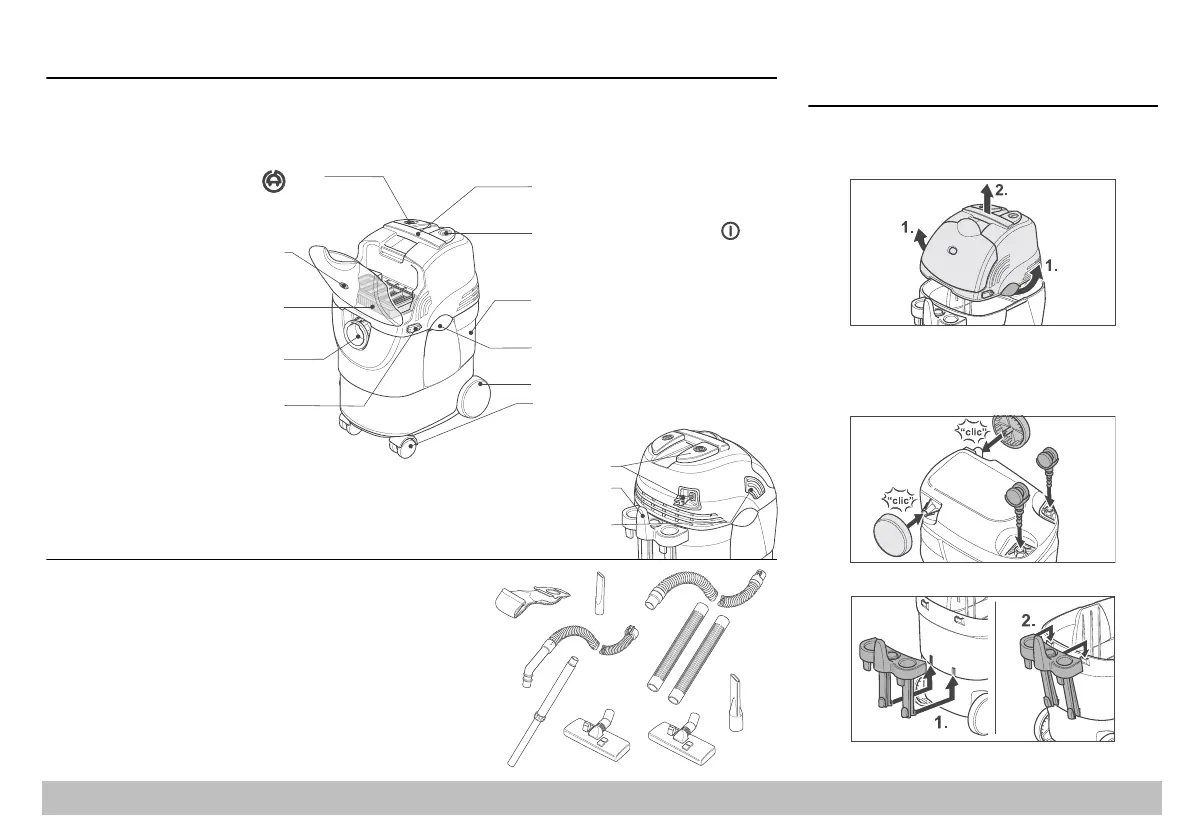
Supplied items
When unpacking the unit, check that the contents are complete. Wheels (5), swivel castors (6) and
accessories bracket (7) must be attached before the unit is switched on. Please inform your dealer if
there has been any damage during transportation.
a
e
a
e-up
u
on
Press to wind up the mains cable
automatically
0A Flat pleated filter
installed in the unit) filters suspended
atter and protects the suction motor
Suction connection
or connection of suction hose
Filter shaker
anual
arry
an
e
For carrying the appliance on stairs, etc.
2ON/OFF Switch
Press to switch on; press again
to switch off
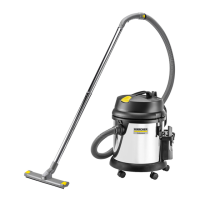
3 Dirt container, 25 l
for holding wet or dry dirt
4 Container fastener (2x)
5 Wheel (2x)
6 Swivel castor (2x)
7 Accessory
compartment
for storing the accessories
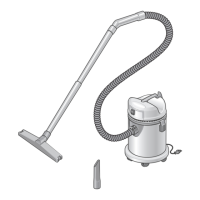
Accessories
A Paper filter bag
B Suction hose, 2 m
C Telescopic suction tube,
NW 35 mm, adjustable length
D Crevice nozzle
NW 35 mm, for edges, crevices and
around radiators
E Wet and dry vacuuming
tool
NW 35 mm, can be switched over to
clean carpets or hard surfaces
* These accessories are also included
with the K 2801 plus
F* Dry vacuuming tool
NW 35 mm, can be switched over to
clean carpets or hard surfaces
G* Suction hose, 2 m
NW 60 mm
H* 2x suction tube
NW 60 mm
I* Crevice nozzle
NW 60 mm
1 Filter status display
ilter status display is lit red if the paper
ilter bag is full or if the flat pleated filter or
he accessory is blocked.
12
10B Microfilter
(installed in the unit)
A
B
C
E
D
G*
H*
I*
F*
Preparing the vacuum cleaner
for use
Undo both fasteners and take the motor
housing off the dirt container.
Take the wheels and swivel castors out of the
dirt container and press them into the
designated sockets. The wheels “click” into
position.
Attach the accessories bracket.