5
Water Connection
· See technical data for connected values.
· Screw the quick coupler female to your garden
hose (not supplied) and the quick coupler male
onto the water connection of the appliance.
· Connect a water supply hose (not supplied) to the
appliance and the water pipe.
Suction
Observe the following if you are drawing water from
an open container:
– Unscrew the union element from the water
connection of the appliance, and attach a suction
hose with filter (order no. 4.440-238) directly to
the appliance.
– Allow the pump to operate without the high-
pressure hose until water appears at the high-
pressure outlet without any more bubbles.
– Then re-attach the high-pressure hose.
Note:
Dirt in the feed water could lead to the appliance
being damaged. To avoid this risk, we recom-
mend fitting a filter with 3/4" connection .
Hand-held Spray Gun
with safety ratchet and high-pressure hose
· Connect the high-pressure hose to the high-
pressure outlet.
Note:
The safety ratchet does not lock the lever of the
gun during operation but only prevents it from
opening unintentionally.
Spray Wand
with Pressure Regulator
· Push the spray wand against the spring into the
bayonet connector of the gun, and then rotate it
through 90 ° until it clicks into place.
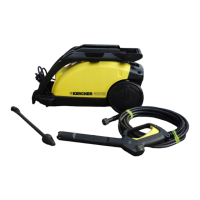
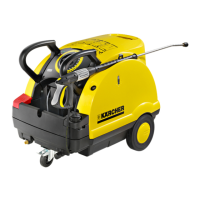
1 High-pressure hose
2 Safety ratchet
3 Hand-held spray gun
4 Spray wand extension
5 Spray wand with pressure regulator
6 Washing brush
7 High-pressure outlet
8 Detergent dosing-valve
9 Appliance switch
with motor protecting switch
10 Pilot lamp
11 Detergent tank
12 Transport bracket
13 Locking mechanisms for transport
bracket
14 Holder
for winding up the connection lead
15 Connection lead
16 Water connection with screen
17 Quick coupler male
18 Quick coupler female
19 Carrying handle
1. Starting
· Please contact your dealer immediately if, on
unpacking the appliance, you discover damage
has been caused during transportation.
Electrical Connection
· See technical data of connected values.
· Check whether the voltage shown on the rating
plate corresponds to that of the power source.
Note:
If you are using an extension cable, it should
always be completely unwound from the cable
drum and have a sufficient cross-sectional area:
Up to 25 ft = 12/3 AWG; 25 to 50 ft = 10/3 AWG