English 7
When unpacking the product, make sure
that no accessories are missing and that
none of the package contents have been
damaged. If you detect any transport dam-
ages please contact your dealer.
You will find the swivel casters in the con-
tainer. The swivel casters must be mounted
on the appliance.
Note: Please refer to page 2 for figures of
the appliance and the operation.
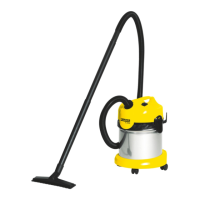
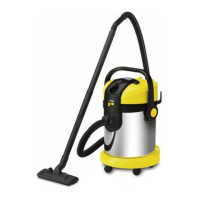
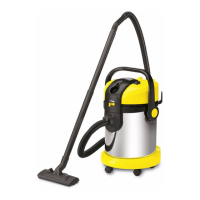
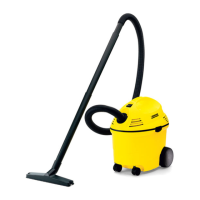
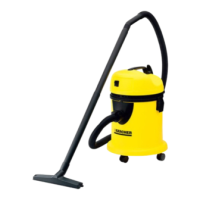
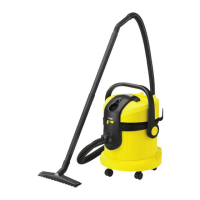
1 Carrying handle
2 ON/OFF switch
3 Storage, power cord
4 Motor casing with clip closure
5 Storage for suction tubes and accesso-
ries
6 Mains cable with mains plug
7 Swivel casters
8 Container
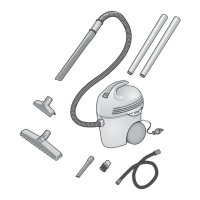
9 Suction hose connection
10 Suction hose
11 Suction tubes 2 x 0.5 m
12 Floor nozzle with hard surface insert
13 Crevice nozzle
14 Upholstery nozzle
15 Filter bag
16 Cartridge filter (already assembled)
Figure 1
" Remove the motor casing and take ac-
cessories out of the container.
Figure 2
" Fit the swivel casters on the container
bottom. Insert filter bag if required.
Figure 3
" Put motor casing onto container and lock
it.
Figure 4
" Connect accessories.
몇 Always work with an inserted car-
tridge filter - during wet as well as dry
vacuum cleaning!
Figure 5
" Connect the mains plug and turn on the
appliance.
몇 Work only with a dry cartridge filter!
" Therefore: Always let the cartridge filter
dry thoroughly before using it!
"
For a dust-free disposal of the vacuuming
material we recommend to insert the paper
filter bag as well. This provides the addi-
tional advantage that the cartridge filter will
not become contaminated that quickly.
몇 Added filter bags can burst!
" Change filter bag earlier if you vacuum
cleaning fine dust particles for a longer
period.
" Use a preliminary separator
while sucking in ash or rust
particles (order no. 2.863-
139).
Figure 6
" Vacuum cleaning of hard surfaces:
Use the hard surface insert.
Figure 7
" Vacuum cleaning of carpets:
Work without the hard surface insert.
몇 Do not use a filter bag!
몇 Switch off the appliance immediately
if there is foam, liquid escape or if the
container is full!
Figure 8
" Using the accessories shown it is possi-
ble to vacuum up liquids.
Note: If the container is full a float closes the
suction opening and the appliance works at
a higher speed. Switch off the appliance im-
mediately and empty the container.
Before Startup
Description of the Appliance
Attaching the Accessories
Commissioning and operation
Dry vacuum cleaning
Wet vacuum cleaning