

H
Henry HunterSep 8, 2025
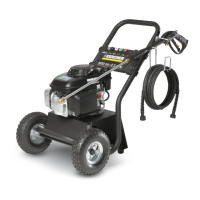
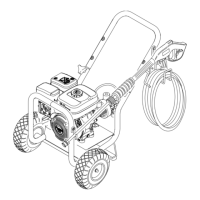
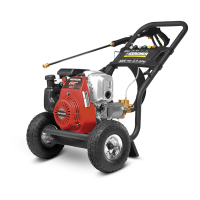
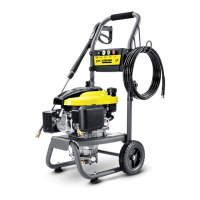
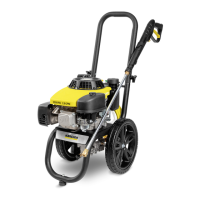
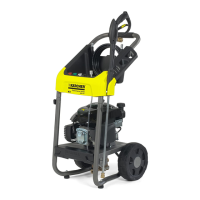
What to do if my Kärcher G 2600 PC Pressure Washer is not dispensing detergent?
- JJoseph Lopez MDSep 8, 2025
If your Kärcher Pressure Washer is not dispensing detergent, start by checking the detergent suction tube to ensure it's properly connected. If connected, and detergent is too thick, dilute it. For optimal results, use Kärcher® detergent. Also, check the filter on the detergent suction tube for clogs and rinse it with warm water to remove any debris. Inspect the detergent suction tube for damage or clogs, removing any obstructions or replacing the tube if necessary. Ensure that the black detergent nozzle is attached, not a high-pressure nozzle. Open the metering valve. Finally, make sure that the spray nozzle is not obstructed; if it is, blow out or remove the debris with a fine needle.