Do you have a question about the Kärcher K 399 M and is the answer not in the manual?
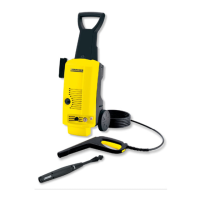
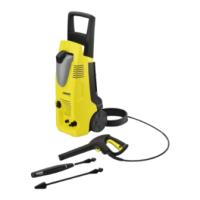
Identifies key parts of the high-pressure cleaner unit.
Identifies parts of the spray gun and lance.
Identifies hoses and accessory connections.
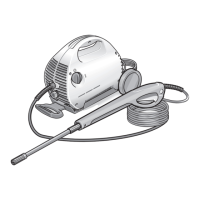
Assemble the spray gun and connect it to the unit.
Connect the spray lance to the spray gun.
Screw the high-pressure hose onto the unit.
Connect the unit to the water supply.
Ensure the water tap is fully open.
Connect the unit to the electrical power source.
See page 18 for further details.
Adjust the pressure setting for the spray lance.
Turn the unit switch to the "1" position.
Release the safety catch on the handgun.
Press the trigger lever to start the high-pressure jet.
Be aware of the recoil force when operating.
Follow all safety instructions during use.
Set the unit to the low-pressure setting for detergent.
Do not use detergent in high-pressure mode.
Hang the hose in the detergent reservoir.
Turn on the unit to draw detergent.
Release the safety catch on the spray gun.
Press the lever to dispense detergent.
Turn the unit switch to the "0" position.
Disconnect the unit from the electrical power source.
Close the water supply tap.
Press the lever to release residual pressure.
Secure the handgun with the safety catch.
Clean the filter for the detergent suction hose.
Clean the strainer in the water inlet.
Store the unit in a frost-free room to prevent damage.
Use the unit exclusively for non-industrial purposes.
Never permit children, unattended operation, explosive areas.
Never direct high-pressure jet at people, animals, unit, or electrical parts.
Protective devices must not be changed or circumvented.
Proper disposal of packaging, old equipment, and water saving.
Assembly, connection requirements, electrical and water.
Dangers of high-pressure jet on tyres, electrical shock, and recoil.
Connect the unit to a water source.
Adjust the spray lance for desired pressure.
Prepare the unit for detergent application.
Steps for effective cleaning with detergent.
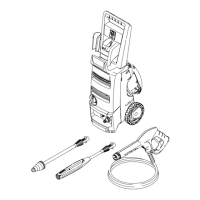
Attach relevant accessories to the unit.
Procedures for starting and stopping the unit.
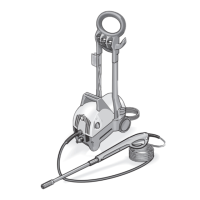
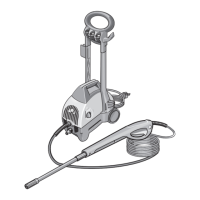
Proper storage and moving of the unit.
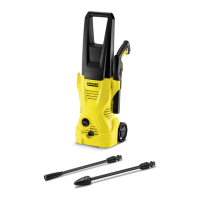
Overview of optional accessories to expand unit functionality.
Recommended cleaning agents and routine care.
Troubleshooting common issues with the unit.
Specifications, guarantee, and EU conformity details.
| Voltage | 230 V |
|---|---|
| Frequency | 50 Hz |
| Power rating | 1.6 kW |
| Max Pressure | 130 bar |
| Motor Power | 1.6 kW |