Do you have a question about the Kärcher K 5.640 and is the answer not in the manual?
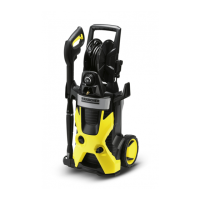
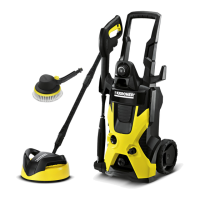
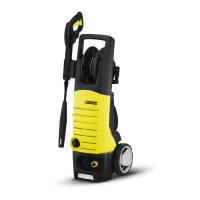
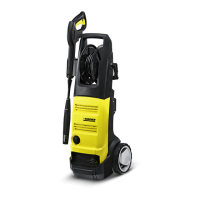
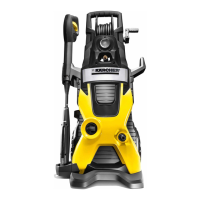
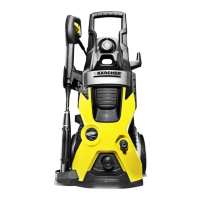
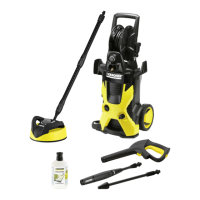
High-pressure cleaner designed for domestic use with KÄRCHER approved accessories and detergents.
Guidance on recycling packaging, old appliances, and proper disposal methods.
Information about ingredients is available at the provided KÄRCHER website.
Warranty terms are country-specific, covering faulty material or manufacturing defects.
Avoid wet hands, check cords and parts for damage before every use.
Ensure watertight connections, use approved extension cables, and unroll cables fully.
Maintain distance from painted surfaces, protect cables from damage, and use correctly.
Prevents unintentional operation of the appliance.
Locks the trigger lever to prevent accidental starts.
Prevents exceeding working pressure by stopping the pump when the trigger is released.
Ensure stability on an even surface before any work on or with the appliance.
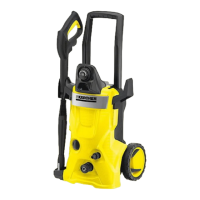
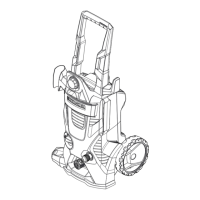
Check contents of the appliance against the illustration on the packaging upon unpacking.
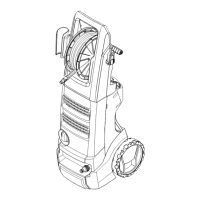
List of appliance parts with reference to fold-out page illustrations.
Push wheels into intake and secure them with plugs, aligning the plug properly.
Insert bottom holder into recesses, push forward, then insert top holder and push down.
Press in and lock the storage hook into the top position.
Place transport handle into intake, use heel or mallet to position it firmly.
Appliance must not be used on drinking water supply without a system separator as per EN 12729.
Connect using a fibre-reinforced hose (min. diameter 1/2 inch, min. length 7.5 m).
Suitable for use with KÄRCHER suction hose with backflow valve for drawing from water butts or ponds.
Insert high pressure hose tightly into quick coupling until it locks audibly.
Push the spray lance into the trigger gun and fasten by turning it through 90°.
Open water tap, insert mains plug, and turn on appliance.
Ensure firm footing and grip. Device switches on when trigger is pulled and off when released.
Adjust pressure between 'Min' and 'Max'. Set to 'Mix' for detergent use.
For particularly dirty items. Not suitable for car tyres or sensitive surfaces.
Suitable for use with detergents. Adjust dosage regulator for detergent suction.
Use only KÄRCHER detergents and care products to avoid premature wear and invalidating warranty.
Insert detergent reservoir into connection with opening facing down.
Adjust suction volume using the dosage regulator for detergents.
Release and lock the trigger gun lever.
Turn appliance off using the '0/OFF' switch and insert trigger gun in its holder.
Release lever on trigger gun to release any remaining system pressure.
Detach appliance from water supply only when no system pressure exists.
Lock trigger gun, turn off appliance, turn off tap, pull mains plug.
Lift by carrying handle or pull by transport handle.
Remove detergent reservoir, secure appliance against shifting and tipping.
Park on even surface, stow away cable, hose, and accessories.
Completely drain water and store appliance in a frost-safe room to prevent frost damage.
Remove and clean filter from suction hose and sieve in water connection.
Use only original KÄRCHER spare parts.
Check trigger gun, voltage, and mains connection cable.
Check spray lance setting, ventilate appliance, check water supply and sieve.
Check for voltage reduction; switch on trigger gun first, then appliance switch.
Clean high-pressure nozzle and check water flow quantity.
Slight leakage from pump is normal; contact service if leakage increases.
Check spray lance position, dosage regulator settings, and reservoir placement.
Details on maximum feed temperature, feed volume, feed pressure, and suction height.
Information on voltage, connected load, mains fuse, and protection class.
Specifications for working pressure, maximum permissible pressure, and water flow rate.
Physical dimensions, weight ready to operate, detergent flow rate, and recoil force.
Hand-arm vibration and sound pressure/power levels with uncertainty values.
Declares compliance with relevant EU basic safety and health requirements.
Identifies the product as a high-pressure cleaner, type 1.181-xxx.
Lists harmonized and conformity evaluation standards applied to the product.
| Cable length | 5 m |
|---|---|
| Power Source | Electric |
| Power | 2100 W |
| Max. water inlet temperature | 40 °C |
| Motor Power | 2100 W |