10 English
Scope of delivery
The scope of delivery for the appliance is shown on the
packaging. Check the contents for completeness when
unpacking. If any accessories are missing or in the
event of any shipping damage, please notify your deal-
er.
Warranty
The warranty conditions issued by our relevant sales
company apply in all countries. We shall remedy possi-
ble malfunctions on your appliance within the warranty
period free of cost, provided that a material or manufac-
turing flaw is the cause. In a warranty case, please con-
tact your dealer (with the purchase receipt) or the next
authorised customer service site.
(See overleaf for the address)
Further warranty information (if available) can be found
in the service area of your local Kärcher website under
"Downloads".
Symbols on the device
Device description
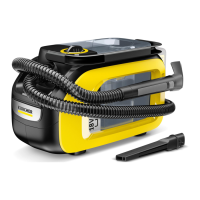
The device is equipped with different equipment de-
pending on the model selected. The specific equipment
is described on the device packaging.
For the figures, please refer to the graphics page.
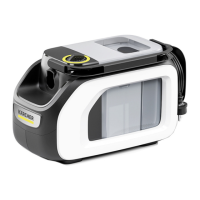
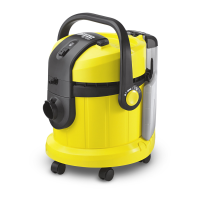
Illustration A
1 Spray suction hose connection
2 Waste water tank with lid
3 Fresh water tank with lid
4 Holder for spray suction hose handle
5 Tank cap
6 Power switch (I (On) / O (Off))
7 Carrying handle
8 Storage for sponge, brush, detergent bag
9 Holder for mains cable and spray extraction floor
nozzle
10 Mains cable
11 Spray suction hose and handle with spray lever and
locking button
12 Spray extraction upholstery nozzle
13 Spray extraction crevice nozzle
14 * Spray suction tubes 2 x 0.5 m
15 * Spray extraction floor nozzle
16 Detergent RM 519 (100 ml)
* optional
Initial startup
Pre-cleaning
Note
As the device does not have a dry vacuum function, if
necessary remove coarse-grained dirt (e.g. crumbs)
with a commercially available vacuum cleaner before
cleaning the textiles.
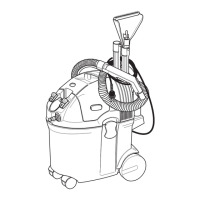
Connecting the spray suction hose
1. Press the spray suction hose into the suction hose
connection on the device until it latches into place.
● To remove, press the latch and pull the spray suc-
tion hose out.
Illustration B
2. Fit the accessory as required. See chapter Install-
ing accessories.
Filling the fresh water tank
ATTENTION
Only switch on the device when the fresh water tank and
waste water tank are installed.
ATTENTION
The fresh water and waste water tanks must be firmly
seated in the device.
ATTENTION
The use of unsuitable detergents can damage the de-
vice and result in loss of eligibility for warranty claims.
Note
If necessary, use KÄRCHER RM 519 detergent for
cleaning upholstery.
● Observe the manufacturer's dosing quantity recom-
mendations when dosing with detergent.
● A dosage of approx. 100 ml of detergent is recom-
mended per tank filling.
● Pour in the detergent and then fill up to "Max" with
water.
● The total filling quantity is a maximum of 1.7 litres.
Note
The fresh water tank can be removed at any time for fill-
ing or be filled directly on the device.
Filling the water reservoir directly on the device
1
Pull the tank cap upwards and turn sideways. Dose
the detergent according to the specifications and
then fill the tank with tap water up to the "MAX" mark.
Illustration H
2 Close the tank cap.
Removing the water tank for filling
1 Pull out the water tank vertically upwards by the re-
cessed grip.
Illustration I
2 Pull the tank cap upwards, turn it sideways and fill
the water tank with detergent and tap water up to the
"MAX" mark.
Illustration J
or
Unlock the tank lid, remove it and fill with detergent
and tap water up to the "MAX" mark.
Illustration K
3 Close the tank cap or fit the tank lid making sure that
it is firmly seated.
4 Fit the water tank down to the bottom of the device.
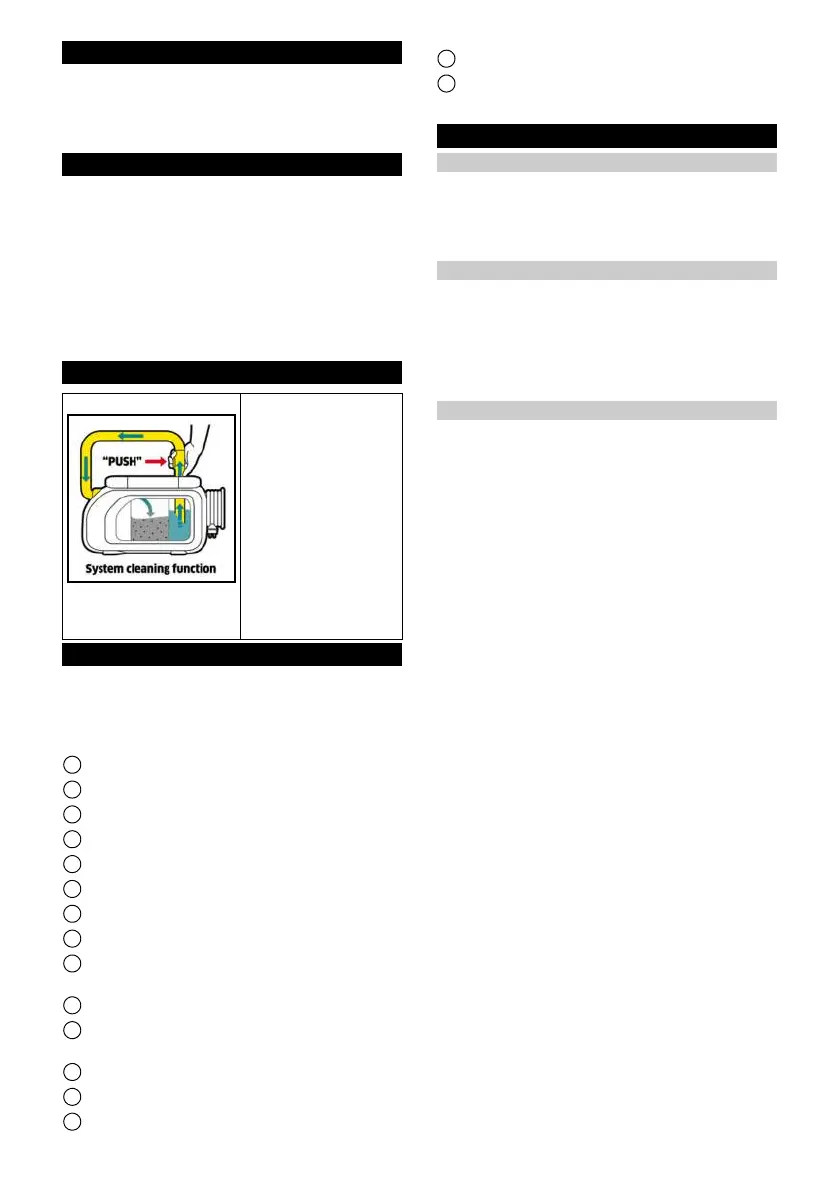
A symbol for system
cleaning after use is pres-
ent on the inside of the
fresh water tank:
● Fill the fresh water
tank with tap water.
Then fully insert the
crevice nozzle into
the tank opening and
switch on the device
while simultaneously
holding the spray le-
ver pressed.
See also chapter
Ending operation