54
Retro / Back side
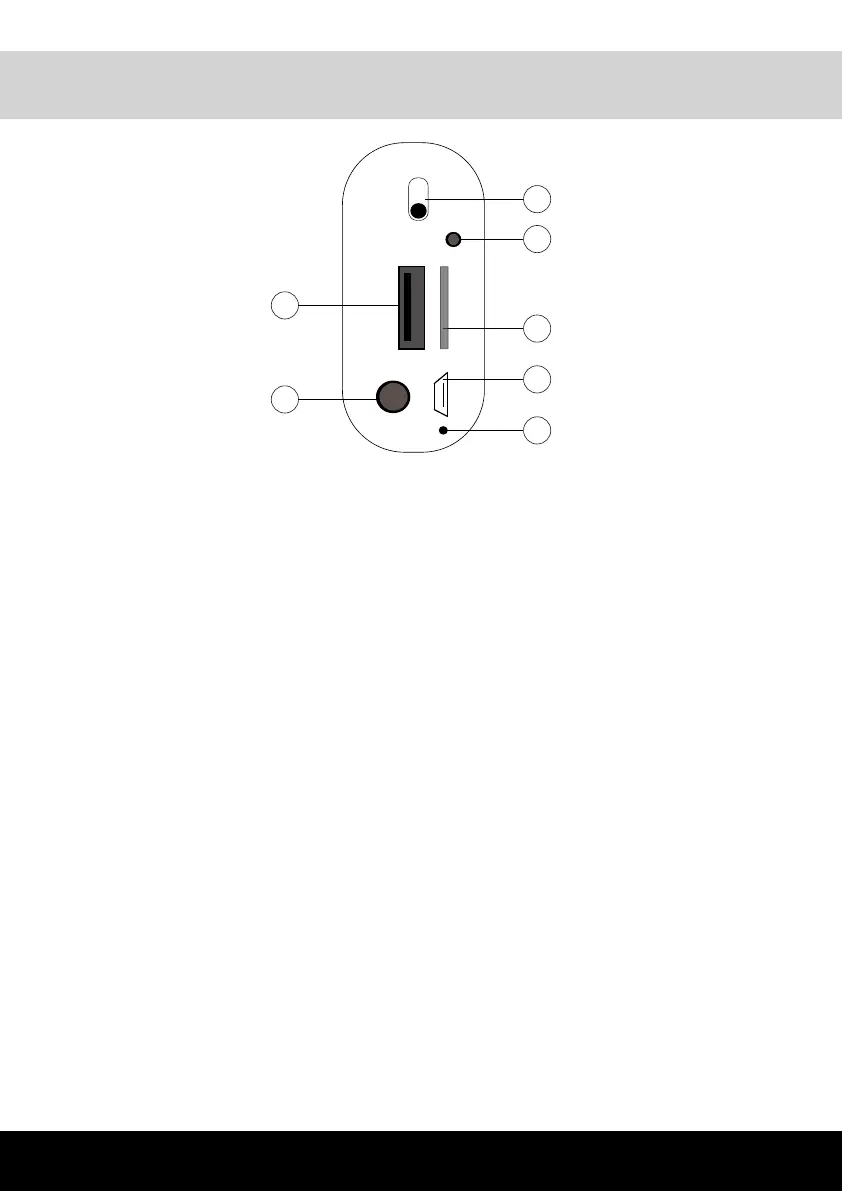
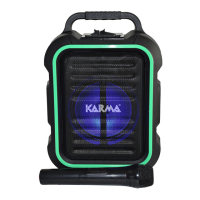
1. TASTO DI ACCENSIONE
2. PRESA AUX
Qui potete collegare una eventuale sorgente
esterna tramite connettore stereo jack 3,5mm.
3. PRESA USB
Collegate qui una chiavetta con brani Mp3. La
formattazione dovrà essere di tipo FAT32
4. PRESA TF
E’ la presa nella quale inserire una eventuale
scheda microSD contenente brani MP3. Dovrà
essere in formato FAT 32.
5. PRESA MIC
Collegate il microfono in dotazione alla presa (5).
Potrete ora amplicare la vostra voce o cantare
sopra un brano riprodotto tramite USB / micro SD
/ Bluetooth sfruttando l’eetto eco che esalterà la
vostra prestazione.
6. PRESA DI RICARICA
Collegate il cavo USB in dotazione alla presa di
ricarica micro USB dell’apparecchio e attendete
che il led(6a) si spenga. Durante il funzionamento,
nel caso in cui la carica risulti insuciente, il
diusore emetterà una nota di avviso prima di
spegnersi automaticamente per salvaguardare
l’integrità della batteria.
7. LED
Premendolo più volte potrete scegliere una delle
3 light eects. Mantenendo premuto il tasto
disattiverete i led.
1.
ON/OFF BUTTON
2.
AUX SOCKET
You can connect here an external source through
3,5mm jack stereo connector.
3.
USB SOCKET
Connect here a USB stick with Mp3 tracks.
It must be in FAT32 format.
4.
TF SOCKET
Insert into this slot a microSD card with MP3
tracks. It must be in FAT 32 format.
5.
MIC SOCKET
Connect the inclued microphone to the socket
(5). You can now amplify your voice or sing over
a song played via USB / micro SD / Bluetoot,
using the echo eect that will enhance your
performance.
6.
CHARGING PORT
Connnect the included USB cable to the xture’s
micro USB charging port and wait for the led
(6a) to turn o. During operation, if the charge
is not sucient, the speaker will emit a warning
note, before automatically turning o to save the
integrity of the battery.
7.
LED
Press it repeatedly to select on of the 3 light
eects. With a long press you will disable the leds.
5
3
6a
6
4
2
1