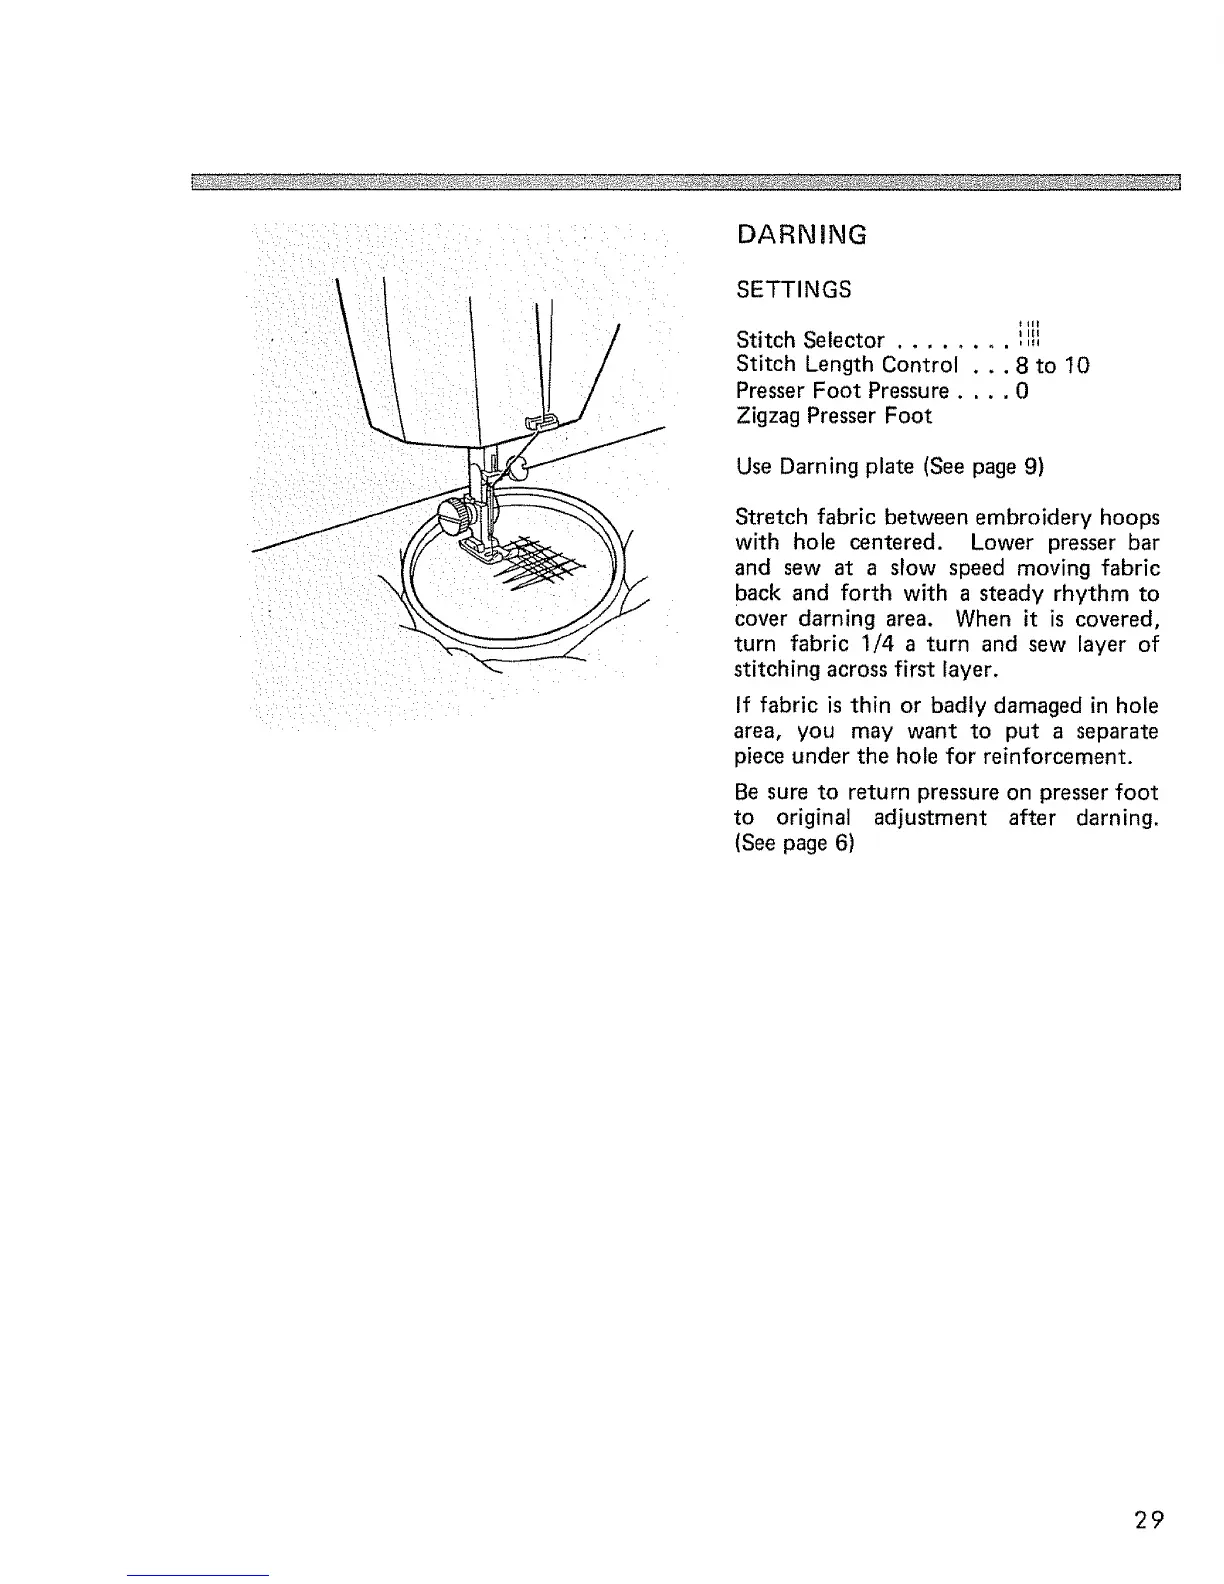
DARNING
SETTINGS
t II1
Stitch Selector ........ ',',II
Stitch Length Control . . . 8 to 10
Presser Foot Pressure .... 0
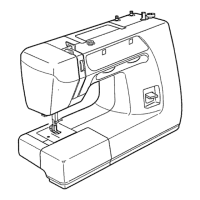
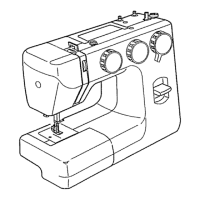
Zigzag Presser Foot
Use Darning plate (See page 9)
Stretch fabric between embroidery hoops
with hole centered. Lower presser bar
and sew at a slow speed moving fabric
back and forth with a steady rhythm to
cover darning area. When it is covered,
turn fabric 1/4 a turn and sew layer of
stitching across first layer.
If fabric is thin or badly damaged in hole
area, you may want to put a separate
piece under the hole for reinforcement.
Be sure to return pressure on presser foot
to original adjustment after darning.
(See page 6)
2£