5
ENGLISH
FIRST STEPS
This Owner’s Guide provides specific operating instructions for
your model. Use the refrigerator only as instructed in this
Owner’s Guide. Before starting the refrigerator, follow these
important first steps.
INSTALLATION
• Choose a place that is near a grounded electrical outlet. Do
Not use an extension cord or an adapter plug.
• For the most efficient operation, the refrigerator should be
located where surrounding temperatures will not drop
below 40° F (5° C) or exceed 110° F (43° C).
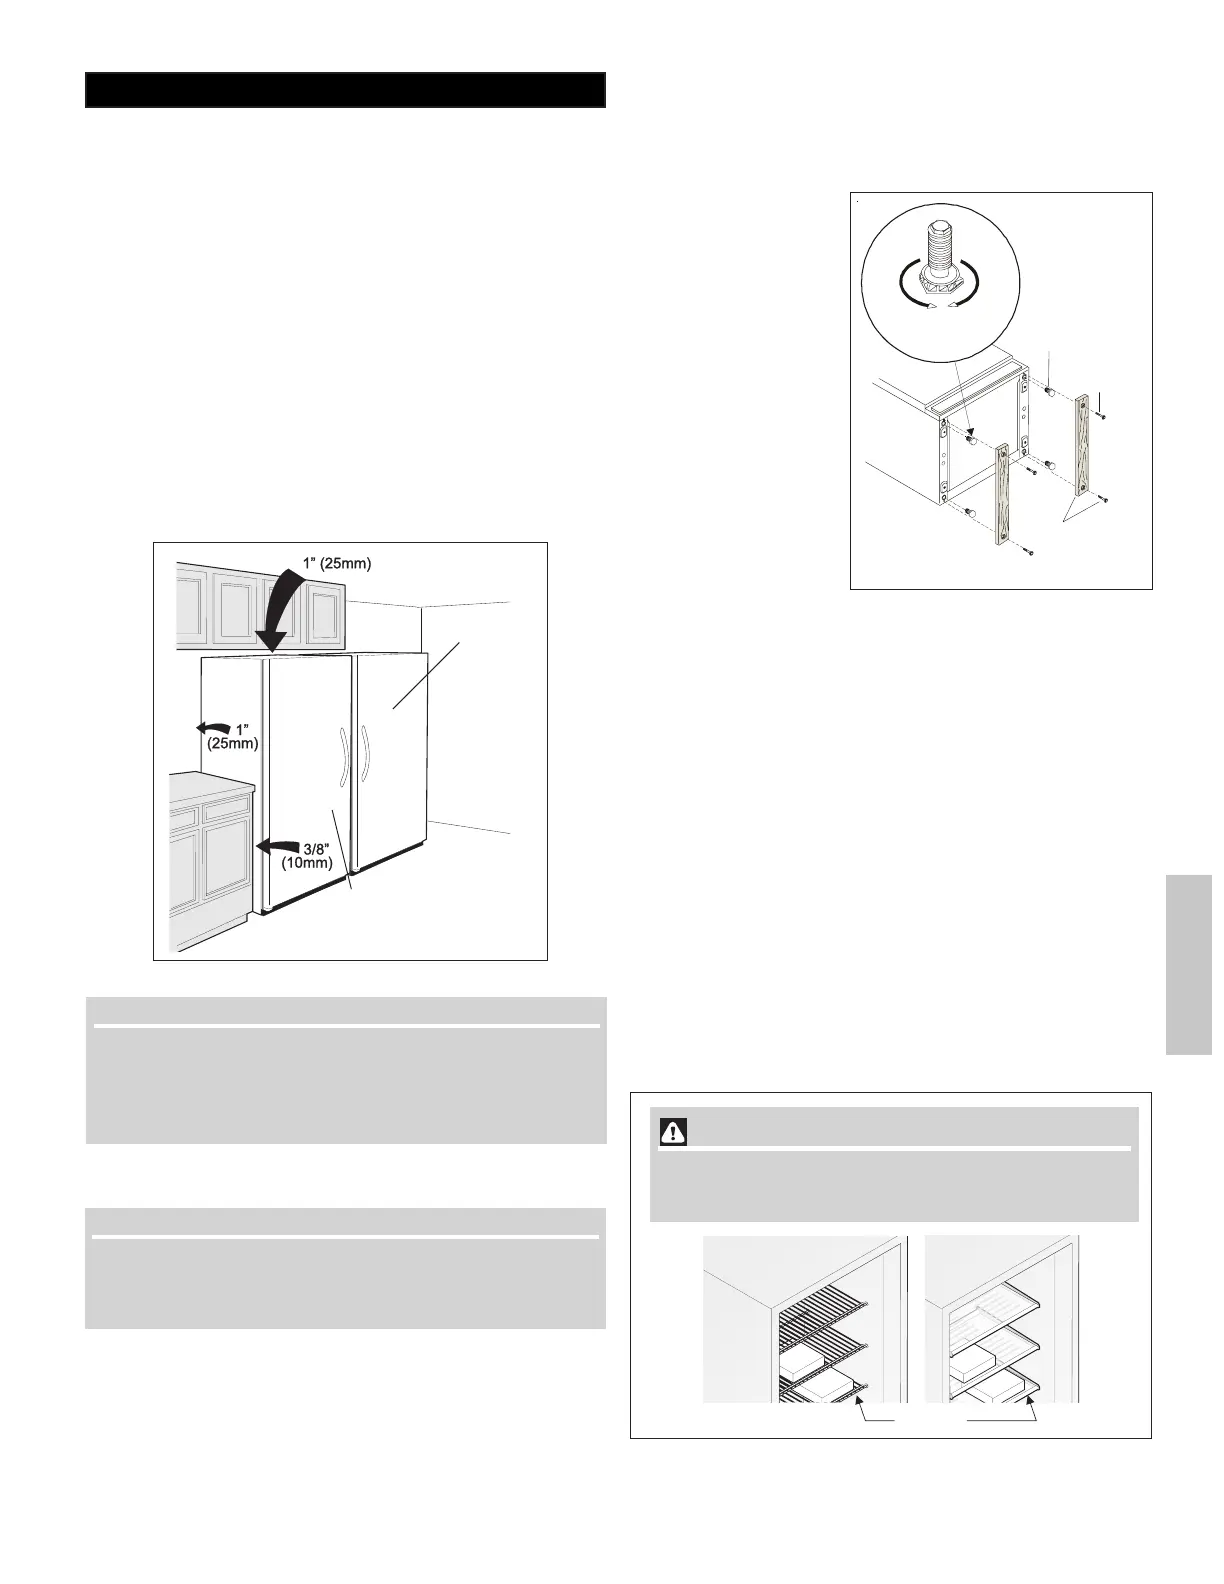
• Allow the following clearances for ease of installation,
proper air circulation, and electrical connections:
Sides 3/8”
Back & Top 1”
DOOR OPENING
LEVELING
The refrigerator must have all bottom corners resting firmly on a
solid floor. The floor must be strong enough to support a fully
loaded refrigerator . NOTE: It is Very Important for your
refrigerator to be level in order to function properly. If the
Leveling Instructions for all Refrigerator/Freezer Pair:
• Remove two leg levelers provided in literature bag. While
unit is lying on its back for wood skid removal, install both
leg levelers in rear of unit.
• Level door of first unit using all four levelers and slide unit
into place. Recheck for levelness and adjust if necessary.
• Measure distance from floor to bottom of door on first unit.
Adjust and level second unit so door height matches.
• Leg Level Adjustments
• One full turn of all four leg levelers will raise door 5/32”.
• One full turn of both front leg levelers will raise door
3/16” and tilt top of door back 7/16”.
• One full turn of both rear leg levelers will lower door
1/32” and tilt top of door forward 7/16”.
• One full turn of both side leg levelers will raise door
3/16” and tilt top of door 3/8”.
• Slide second unit into place leaving a minimum gap of 3/16”
between units for door swing clearance.
• This last step may require at least one extraction of the
second unit to properly align units in a “built-in” application.
NOTENOTE
NOTENOTE
NOTE
The exterior walls of the refrigerator may become quite warm
as the compressor works to transfer heat from the inside.
Temperatures as much as 30° F warmer than room
temperature can be expected.
• Do Not block the toe grille on the lower front of your
refrigerator. Sufficient air circulation is essential for the
proper operation of your refrigerator.
NOTENOTE
NOTENOTE
NOTE
If your refrigerator is placed with the door hinge side against a
wall, you may have to allow additional space so the door can
be opened wider.
CAUTION CAUTION
CAUTION CAUTION
CAUTION
To allow door to close and seal properly, donot let food
packages extend past the front of the shelves
Shelf Front
refrigerator is not leveled
during installation, the
door may be misaligned
and not close or seal
properly, causing
cooling, frost, or moisture
problems.
To Level Refrigerator:
After discarding crating
screws and wood base,
use a carpenter’s level to
level the refrigerator from
front-to-back. Adjust the
plastic leveling feet in
front, ½ bubble higher, so
that the door closes
easily when left halfway
open.
Unpacking and Leveling
Plastic
Levelin
Feet
Cratin
Screw
Discard The (4) Cratin
Screws
And (2) Wood Bases
Tu rn
Left To
Raise
Tu rn
Right To
Lower
Unpacking and Leveling
Installation
Refrigerator
Freezer