Do you have a question about the Kenmore 60554 and is the answer not in the manual?
Indicates an imminently hazardous situation potentially leading to death or serious injury.
Indicates a potentially hazardous situation which, if not avoided, could result in death or serious injury.
Indicates a potentially hazardous situation which, if not avoided, may result in minor or moderate injury.
Verify disposer height, sink clearance, width, and pipe alignment before installation.
Remove existing P-trap and sink flange from the sink drain assembly.
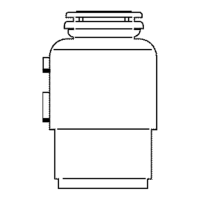
Take apart the disposer's mounting assembly to prepare for installation.
Seal and press the sink flange into the sink drain hole using plumber's putty.
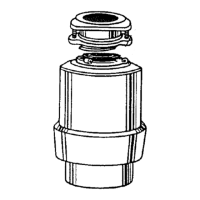
Assemble the mounting rings and secure them to the sink flange with screws and snap ring.
Disconnect power, drain, and electrical connections, then detach the old disposer.
Clear any blockages from the sink drain line and P-trap to prevent future issues.
Remove knockout plug from disposer inlet if connecting a dishwasher.
Ensure correct voltage, amperage, and wiring for safe electrical connection.
Wire the disposer to the power source, ensuring proper grounding for safety.
Connect the discharge tube using two bolts and gasket for the waste drain connection.
Connect the discharge tube using one bolt and gasket for the waste drain connection.
How to operate continuous feed disposers: run water, turn on switch, add waste, then flush.
How to operate batch feed disposers: add waste, use stopper, turn to start, then flush.
| Model Number | 60554 |
|---|---|
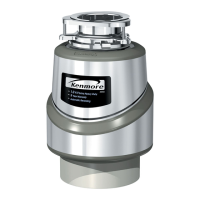
| Brand | Kenmore |
| Category | Garbage Disposal |
| Grinding Chamber Material | Stainless Steel |
| Sound Insulation | Yes |
| Anti-Jamming Feature | Yes |
| Overload Protection | Yes |
| Feed Type | Continuous |