Do you have a question about the Kenmore 721.80033 and is the answer not in the manual?
Instructions to read before beginning installation, including model number location.
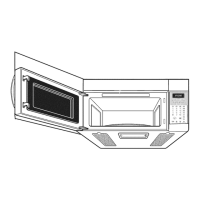
Important safety information, oven dimensions, weight, and electrical rating.
Critical instructions regarding appliance grounding and avoiding electrical shock.
Warnings and instructions to avoid exposure to excessive microwave energy.
Guidelines for ensuring adequate space and structural support for installation.
Lists and describes the parts provided with the oven for installation.
Lists essential tools and materials needed for the installation process.
Details on locating the outlet, grounding, and avoiding shock.
Explains three venting methods (Roof, Wall, Room) and general installation tips.
Details standard fittings, their equivalent lengths, and total duct length limitations.
Instructions for removing shipping materials and preparing the unit for installation.
Specific instructions for units intended for room-vented installation.
Detailed steps for preparing the blower unit for wall-vented installation.
Instructions for preparing the blower unit for roof-vented installation.
Guidance on using templates to mark wall and cabinet locations for mounting.
Instructions for drilling holes in the wall and cabinet, with safety warnings.
Steps for drilling holes and securing the mounting plate to the wall, including stud requirements.
Instructions for preparing the rear wall cutout and exhaust adaptor for specific venting types.
Instructions for lifting and attaching the microwave oven to the installed mounting plate.
Steps for completing roof venting, cord management, filter installation, and checking operation.
| Brand | Kenmore |
|---|---|
| Model | 721.80033 |
| Category | Microwave Oven |
| Language | English |