ASSEMBLING YOUR NEW HEATER
4
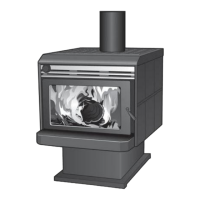
Firebricks (Slimline Firebox)
Slimline fireboxes use 6 firebricks and a ceramic
base liner in the arrangement shown below.
Place the base liner down so that it is flush
against the front of the firebox. Place two
firebricks on each side standing upright. Place
two firebricks at the back laying down sideways.
Now place the brick retainer along the back
firebricks so that the lip hangs over the front of
the bricks.
If necessary, push the side bricks towards the
back of the heater so they sit against the brick
retainer. This arrangement prevents the back
bricks from falling forward.
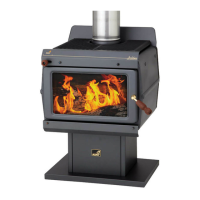
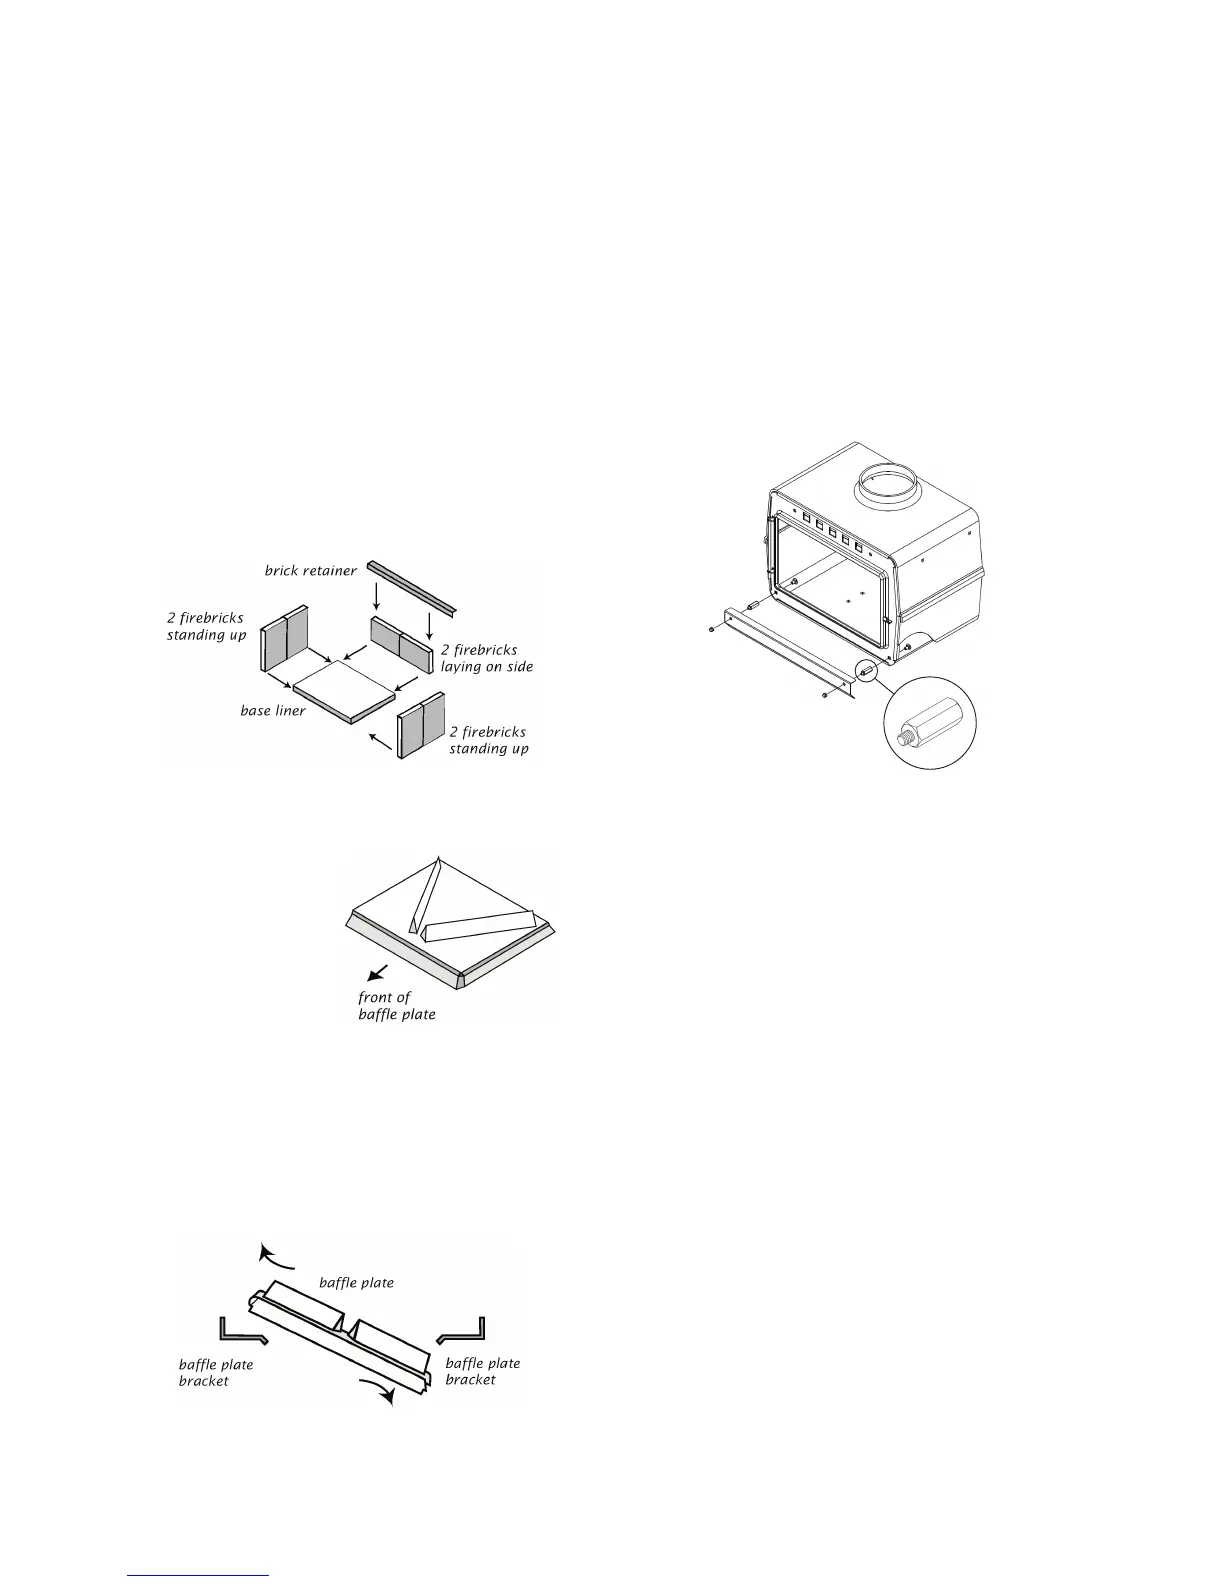
All Models - Baffle Plate
The baffle plate
MUST be installed
prior to operating the
appliance. Ensure
that the baffle plate is
pointing forward.
The left side of the
plate s h ould be
directed over the
plate bracket and pushed against the top left
edge of the firebox. The right hand side should
then be lifted up over the right hand bracket. The
plate can now be allowed to rest into position.
Ensure the plate is sitting evenly on both
brackets, and is pushed all the way to the back of
the heater.
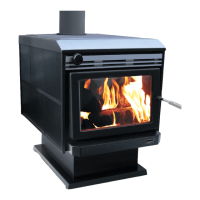
Kick Plate
(For Jindabyne only) To assemble the kick plate,
use the two short locating screws provided.
Insert the screws from the inside of the firebox and
then screw the spacer to the front, as shown in the
diagram below. Use the spacers with the threaded
tip.
Now, place the kick plate against the spacers and
secure with the two dome nuts provided.
 Loading...