Do you have a question about the Kenwood DPX-4010 and is the answer not in the manual?
CAUTION: Use of controls or adjustments or performance of procedures other than those specified herein may result in hazardous radiation exposure.
This equipment may generate or use radio frequency energy. Changes or modifications to this equipment may cause harmful interference.
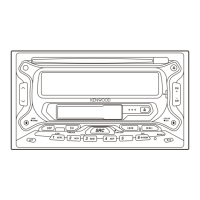
Insert the unit all the way in until it is fully locked in place. Otherwise it may fall out of place when jolted.
Make sure to ground the unit to a negative 12V DC power supply. Do not open the top or bottom covers of the unit.
Turning on the power: Press the SRC (source) button. Turning off the power: Press the PWR OFF button for at least one second.
Volume: Press the + button to turn up the volume. Attenuator: This function allows you to turn down the volume quickly.
Press the SRC button to select tuner mode. Use seek or manual tuning to find stations. 'TUNER' is displayed when selected.
Store frequencies of stations for quick recall. You can recall stations with a single touch of a button.
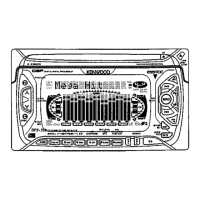
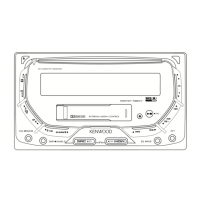
Open faceplate, insert cassette with tape exposed to the right. Push back faceplate until it locks. Tape starts playing.
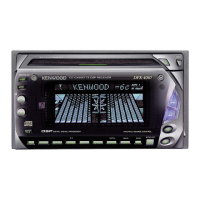
Insert CD label-up. Use SRC to select CD mode. CD starts playing. Pause/Restart with button.
Corrects audio signal and produces sound effects using digital control. Reproduces virtual sound fields like concert hall.
Choose from sound quality presets: 'Rock', 'Pops', 'Vocal', 'Heavy', 'Flat'. Press EQ button to cycle.
Control Volume, Source (SRC), and Attenuator (ATT) using remote buttons.
Disconnect battery. Connect wires (ground, battery, ignition). Connect harness. Install unit. Reconnect battery. Press reset.
Connect antenna, illumination, power, motor antenna wires. Follow diagram for speaker and power connections.
Install unit into car bracket using supplied screws. Hole positions may vary by car model.
Check fuse for no power. Turn off Attenuator or reset settings for low volume. Try new tape if it won't load.
Press reset for unresponsive buttons. Clean tape head for poor sound. Extend antenna for poor reception.
Check battery wire for memory erase. Load CD label-up for eject issues. Clean CD for skips. Turn off random play for track issues.
Connect changer cable. Clean dirty/scratched CDs. Load discs correctly. Check CD-R/RW finalization.
Addresses EJECT, No Disc, Error 04, Blank, No Track, Error 77/99, Hold, No Text/Title/Name, and player malfunctions.
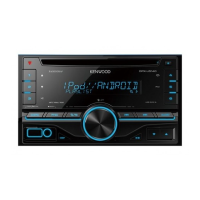
| Type | CD Receiver |
|---|---|
| Channels | 4 |
| RMS Power Output | 22 watts |
| Peak Power Output | 50 watts |
| CEA-2006 Compliant | Yes |
| CD Playback | Yes |
| MP3 Playback | Yes |
| WMA Playback | Yes |
| AAC Playback | Yes |
| USB Input | Yes |
| Auxiliary Input | Yes |
| Bluetooth | Yes |
| Preamp Voltage | 2.5 volts |
| iPod Compatibility | Yes |
| HD Radio | No |
| ID3 Tag Display | Yes |
| Radio Data System (RDS) | Yes |
| Remote Control | Yes |
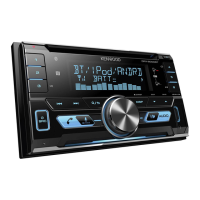
| Faceplate | Detachable |
| Display Type | LCD |
| DIN Size | 2-DIN |
| RMS Power Bandwidth | 20 Hz - 20 kHz |
| Tuner | AM/FM |