EasyManua.ls Logo

Kenwood KCH-19 User Manual

Kenwood KCH-19
18 pages
To Next Page IconTo Next Page
Page #1 background imageLoading...
Page #1 background image
SERVICE MANUAL
COPYRIGHT © 2014 JVC KENWOOD Corporation
No.RA019<Rev.001>
2014/11
B5B-7170-00
CONTROL HEAD KIT
RA019<Rev.001>201411SERVICE MANUALB5B-7170-00
KCH-19
COPYRIGHT © 2014 JVC KENWOOD Corporation
Note :
Lead free solder used in the board (material : Sn, Ag, In, Bi, melting point : 227 Centigrade)
TABLE OF CONTENTS
1 PRECAUTION. . . . . . . . . . . . . . . . . . . . . . . . . . . . . . . . . . . . . . . . . . . . . . . . . . . . . . . . . . . . . . . . . . . . . . . . . 1-3
2 SPECIFIC SERVICE INSTRUCTIONS . . . . . . . . . . . . . . . . . . . . . . . . . . . . . . . . . . . . . . . . . . . . . . . . . . . . . . 1-3
3 DISASSEMBLY . . . . . . . . . . . . . . . . . . . . . . . . . . . . . . . . . . . . . . . . . . . . . . . . . . . . . . . . . . . . . . . . . . . . . . . 1-6
4 ADJUSTMENT . . . . . . . . . . . . . . . . . . . . . . . . . . . . . . . . . . . . . . . . . . . . . . . . . . . . . . . . . . . . . . . . . . . . . . . . 1-7
5 TROUBLESHOOTING . . . . . . . . . . . . . . . . . . . . . . . . . . . . . . . . . . . . . . . . . . . . . . . . . . . . . . . . . . . . . . . . . . 1-7
T
his product complies with the RoHS directive for the European market.
This product uses Lead Free solder.
Question and Answer IconNeed help?

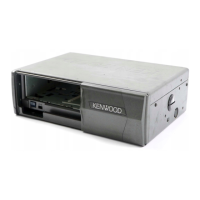
Do you have a question about the Kenwood KCH-19 and is the answer not in the manual?

Kenwood KCH-19 Specifications

General IconGeneral
Maximum Output Power50W x 4
DIN Size1 DIN
Display TypeLCD
Remote ControlYes
MP3 PlaybackYes
WMA PlaybackYes
Radio TunerFM/AM
USBYes
AUXYes
Compatible Audio FormatsMP3, WMA

Summary

SECTION 1 PRECAUTION

SECTION 2 SPECIFIC SERVICE INSTRUCTIONS

2.1 CIRCUIT DESCRIPTION

Details the LCD, indicator LEDs, key detection, light sensor, and power supply circuits, including their interconnections and functions.

SECTION 3 DISASSEMBLY

3.1 Precautions for Disassembly

Provides steps and warnings for safely removing the speaker hardware fixture and holder from the unit.

3.2 Precautions for Reassembly

Offers guidance on correctly installing the holder and speaker hardware fixture during reassembly.
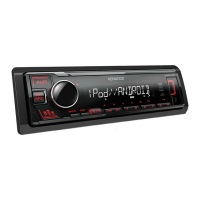
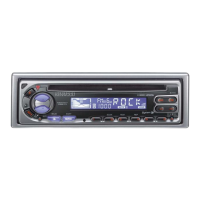
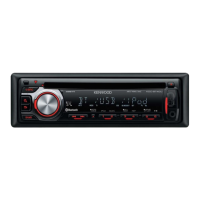
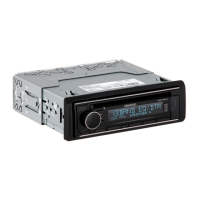
SECTION 4 ADJUSTMENT

SECTION 5 TROUBLESHOOTING

Related product manuals