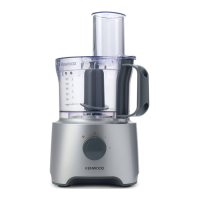
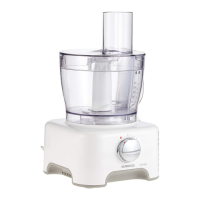
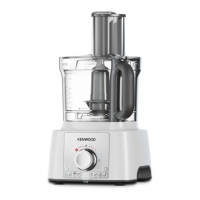
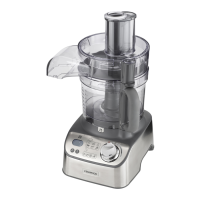
4
Key
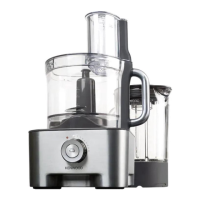
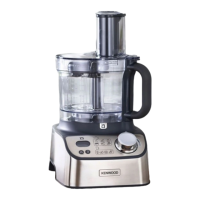
1
Pusher
2
Feed tube
3
Lid
4
Knife blade
5
Bowl
6
Power unit
7
Cord clip
8
Grating/slicing disc
9
Lid handle
10
On/off switch + Pulse
Express Serve (if supplied)
11
Slinger plate
12
Food outlet
13
Express Serve Bowl
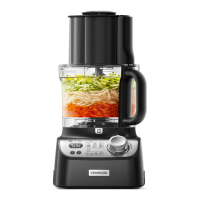
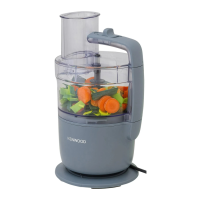
To Use Your Food
Processor
Main bowl
Refer to Illustrations
A
-
N
Important
O
Your processor is not suitable for
crushing or grinding coffee beans,
or converting granulated sugar to
caster sugar.
O
When adding almond essence or
flavouring to mixtures avoid contact
with the plastic as this may result in
permanent marking.
Hints & tips
O
Use the pulse (P) for short bursts.
The pulse will operate for as long as
the control is held in position.
O
Some foods may discolour the
plastic. This is perfectly normal and
will not harm the plastic or affect
the flavour of your food. Rub with
a cloth dipped in vegetable oil to
remove the discolouration.
Knife Blade
O
Bread Dough - Place the dry
ingredients in the bowl first and
then add the liquid. Process until
a smooth elastic ball of dough is
formed.
O
Use the handle on the lid to support
if the appliance starts to move on
the worktop.
O
For coarser textures use the pulse
control.
O
Take care not to over-process.
O
When making pastry use fat straight
from the fridge cut into 2cm cubes.
Prune Marinade
300g Honey, 50g Prunes and 50ml
Water.
Store in fridge overnight.
Process for 4 seconds using Pulse
Note:
O
For non-rewireable Plug Type G the fuse cover MUST be refitted when replacing the
fuse. If the fuse cover is lost then the plug must not be used until a replacement can
be obtained. The correct fuse cover is identified by colour and a replacement may be
obtained from your Kenwood Authorised Repairer (see Service).
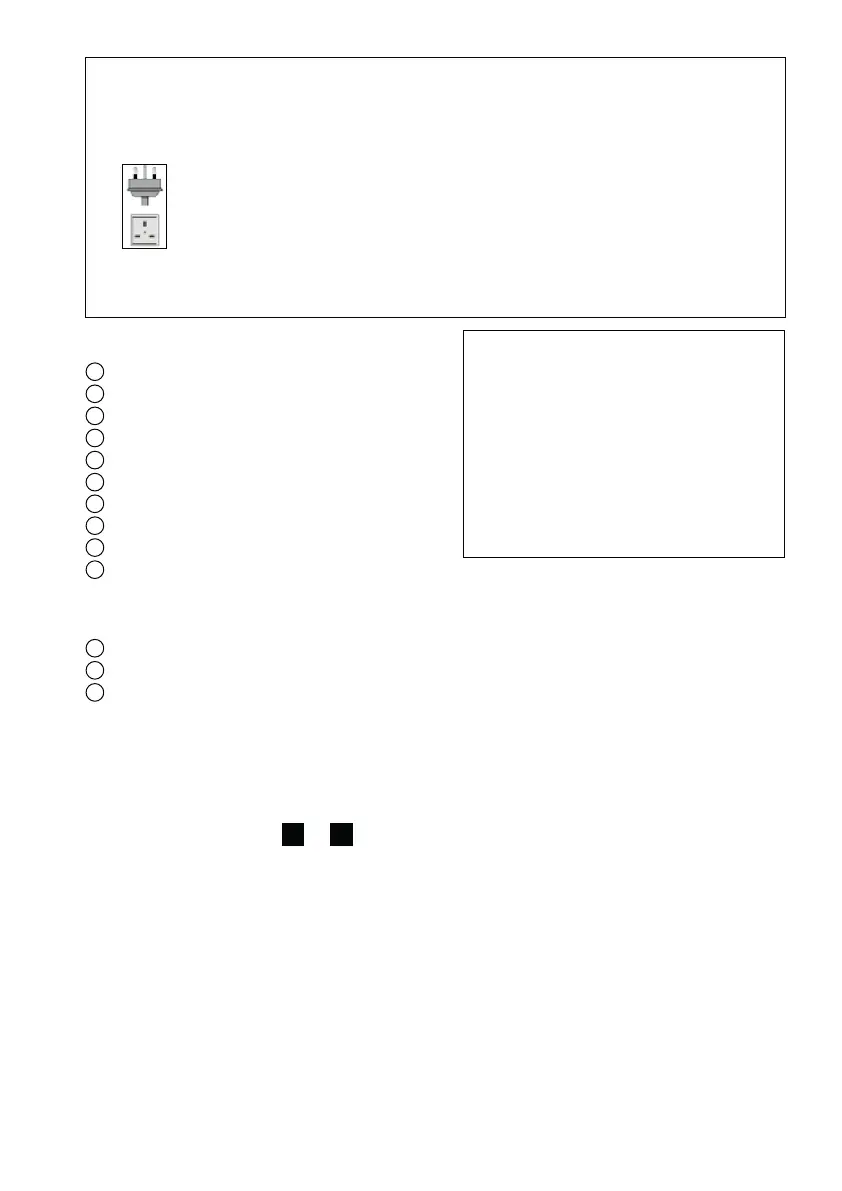
Plug Type G
O
This appliance conforms to EC Regulation 1935/2004 on materials and articles intended
to come into contact with food.
 Loading...