EasyManua.ls Logo

Keter DETROIT - XL TALL User Manual

Keter DETROIT - XL TALL
16 pages
To Next Page IconTo Next Page
Page #1 background imageLoading...
Page #1 background image
290862_rev.00_10/20
Keter Italia
Via Ing. Taliercio 2, 31024 Ormelle TV
Tel: +39 0422 745900, Fax +39 0422 745929
DETROIT  XL TALL
EN - Assembly instructions FR - Instructions de montage DE - Montageanleitung IT - Istruzioni di montaggio ES - Instrucciones de
montaje PT - Instruções de montagem NL - Montagevoorschrift EL - Οδηγίες συναρµολόγησης PL -Instrukcja montażu ZH -
装配说
HU- Összeszerelési útmutató HR - Upute za montažu RO - Instruciuni de asamblare SL - Navodila za montažo BG - Инструкция
за монтаж RU - Инструкция по монтажу UA - Інструкція з монтажу CZ - Návod k montáži SK - Montážne pokyny LT - Montavimo
instrukcija LV - Uzstādīšanas instrukcija ET - Paigaldamise juhend
Question and Answer IconNeed help?

Do you have a question about the Keter DETROIT - XL TALL and is the answer not in the manual?
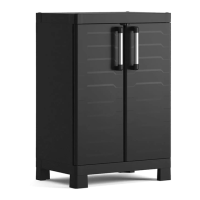
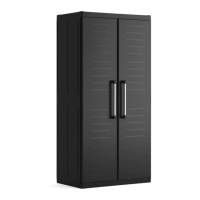
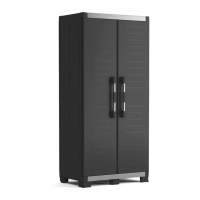
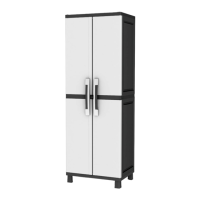
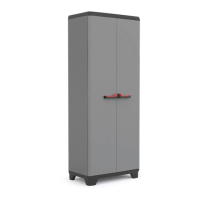
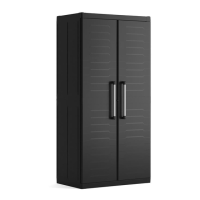
Keter DETROIT - XL TALL Specifications

General IconGeneral
Product TypeStorage Cabinet
MaterialResin
Assembly RequiredYes
Weather ResistantYes
UV ProtectedYes
ColorGray
FeaturesLockable, Adjustable Shelves

Summary

Keter Detroit XL Tall Assembly Overview

Product Identification

Identifies the 'DETROIT - XL TALL' product model for assembly.

Assembly Parts List

Lists all components and hardware required for the assembly process.

General Assembly Guidelines

Provides essential guidance for safe and effective assembly.

Cabinet Frame Construction

Step 1-2: Base Assembly

Assembling the base unit using XBT components.

Step 3-4: Attaching Side Panels

Attaching the side panels (XB, XPL) to the base.

Step 5-6: Installing Top Supports

Installing the top frame support components (XGB, XGPL).

Step 7-8: Completing Outer Shell

Attaching remaining side and rear panels (XB, XPL).

Internal Components and Shelving

Step 9: Installing Shelf Supports

Installing shelf supports and crossbars (DSU4, XGD) into the frame.

Step 10-11: Securing Connections

Securing various connection points on the base and sides.

Step 12-13: Base Frame Assembly

Further assembly and attachment of components to the base frame.

Step 14: Attaching Top Panel

Securing the top panel to the assembled cabinet structure.

Step 15-17: Installing Door Components

Installing door components and fixing elements.

Finishing and Securing

Step 16: Attaching Door Handles

Detailed instructions for securely attaching the door handles.

Step 17-19: Final Shelf Supports

Final installation of shelf supports and locking mechanisms.

Step 20: Wall Fastening

Instructions for securely fastening the cabinet to the wall for stability.

Post-Assembly Notes

Information regarding potential extra small parts after assembly.

Related product manuals