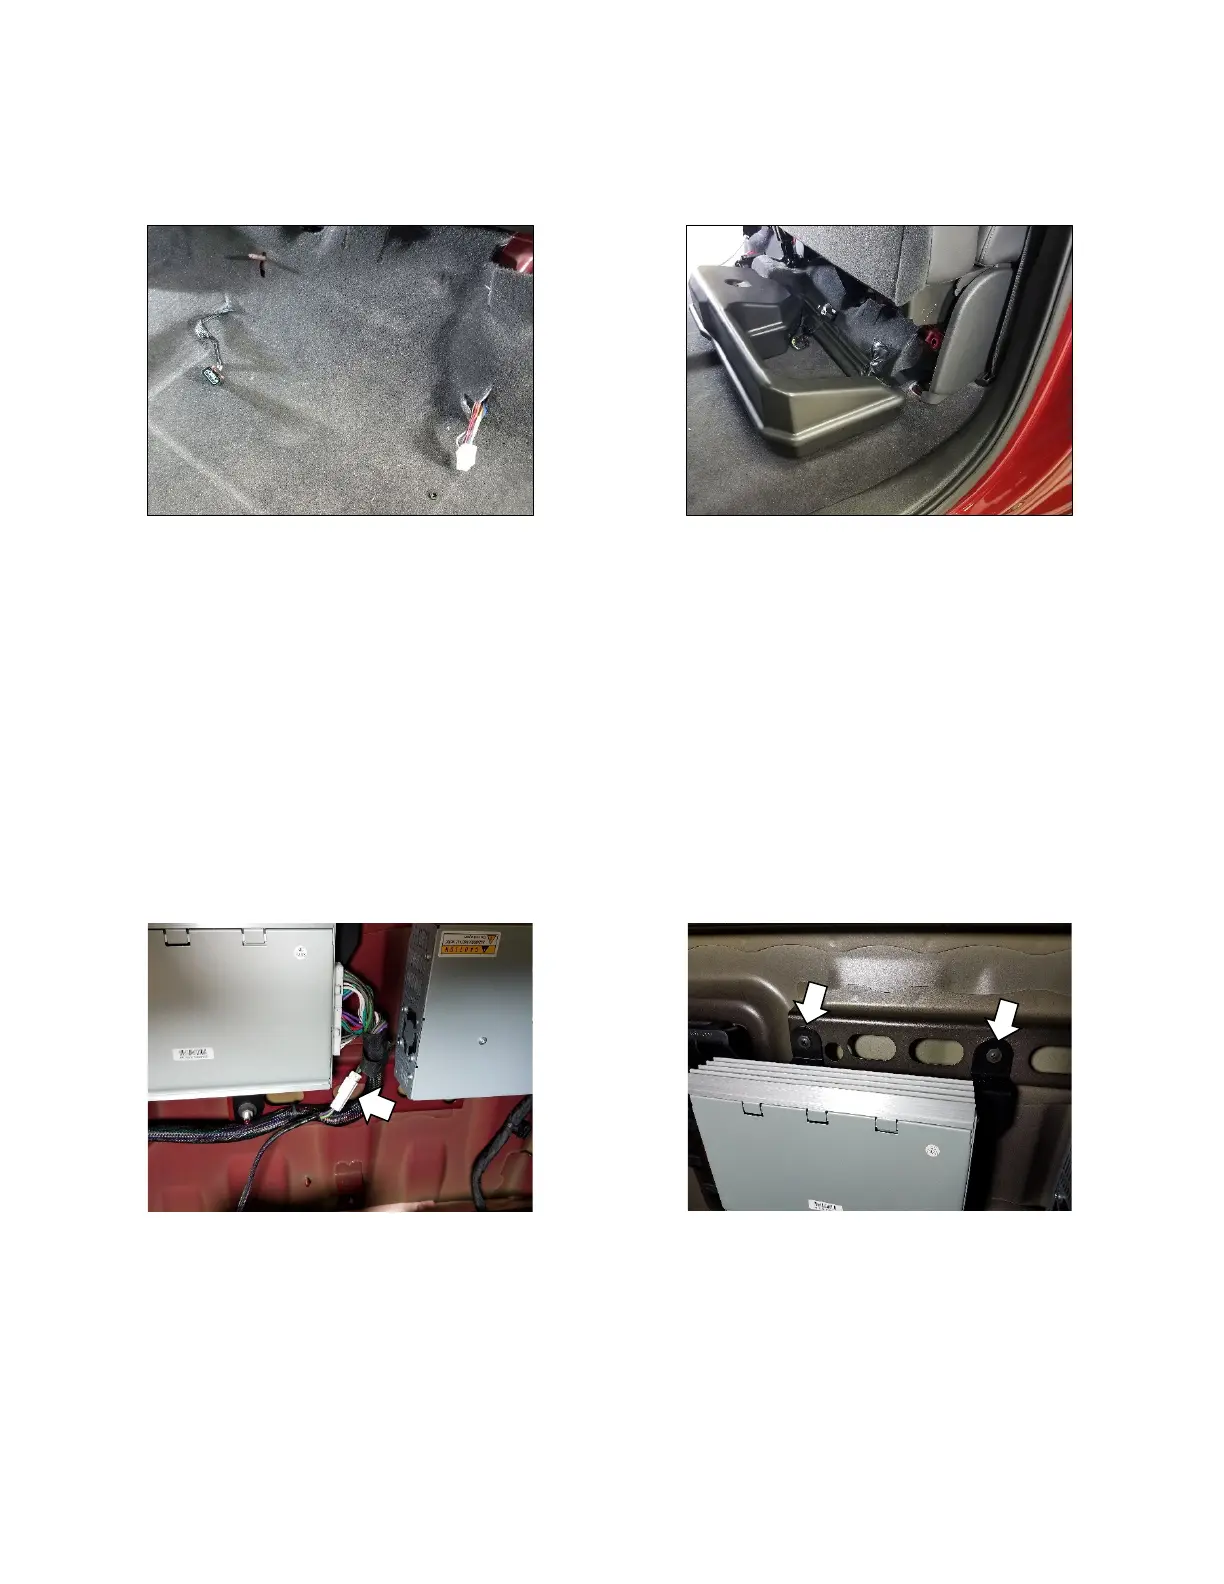
23. Route the black four pin subwoofer connector out of the hole that was cut near the stud where
the jack tools attach. Route the white amplifier connector behind seat bolts and out of the hole
that was cut near outer seat bolt. Fig. 21
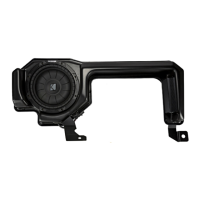
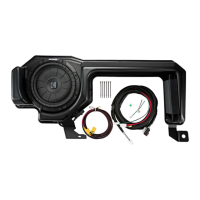
24. Make wire harness connections to subwoofer and amplifier and set subwoofer in place aligning
brackets with the stud and seat bolt hole. Fig. 22
25. Reinstall the jack tool bag and nut.
NOTE: MAKE SURE WIRE HARNESS IS NOT BEING CRUSHED UNDER JACK
TOOL BAG!
26. Reinstall seat bolt. Torque to 109Nm (80ft/lb)
27. Mount the amplifier/bracket assembly over the studs on the back wall and secure with supplied
nuts. Torque to 4Nm (35in/lb) Fig. 23
NOTE: In rare instances, the upper mounting studs may be missing. If the
upper mounting studs are missing use the supplied self-drilling screws to
secure the top of the amplifier bracket. Fig. 24
28. Secure amplifier harness to back wall and connect to the amplifier.
29. Connect the two-pin connector of the amplifier to the two-pin connector of the subwoofer
harness. Fig. 23 (arrow)