7
EN
4. Installation in the vehicle
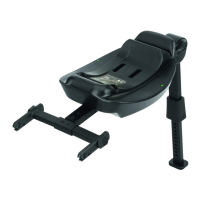
e support leg must be folded out before installation in the vehicle.
Check now whether the Isox hooks are opened (see point 5. Removal).
Now slide the connectors onto the Isox anchor ttings and push rmly
against them (g. 1).
WARNING
e correct engagement/latching will be conrmed
by the Isox indicator on the left and right connec-
tor (g. 1). Check by pulling on the platform that
both connectors are securely locked.
As the nal step of the installation, the support leg must be adjusted.
Swing the support leg xing cover backwards (g. 2, no. 1) and slide
the support foot out until it rests on the vehicle oor and the support
foot indicator shows ‘green’ (g. 2, no. 2). Now lift the platform a little,
until the support leg xing cover snaps forward again and the ‘red’
support leg indicator is no longer visible from the xing cover (g. 3).
Check that the mechanism is properly locked by trying to slide the
support foot in without moving the support leg xing cover. If the sup
-
port foot does not move, it is correctly locked in place.
You must always use the Isox platform with the support leg folded
out and the support foot correctly adjusted!
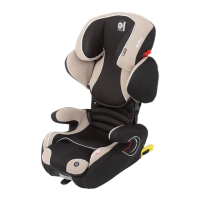
Now you can install your Kiddy child seat according to its instructions
on your Isox platform. Check that all systems are properly locked or
adjusted before each trip.