14
Introduction
Daily use
KIMAX2
Menu
Configuration
Calibration
Protecting
calibration
Electrical
installation
Sensor
installation
Additional
information
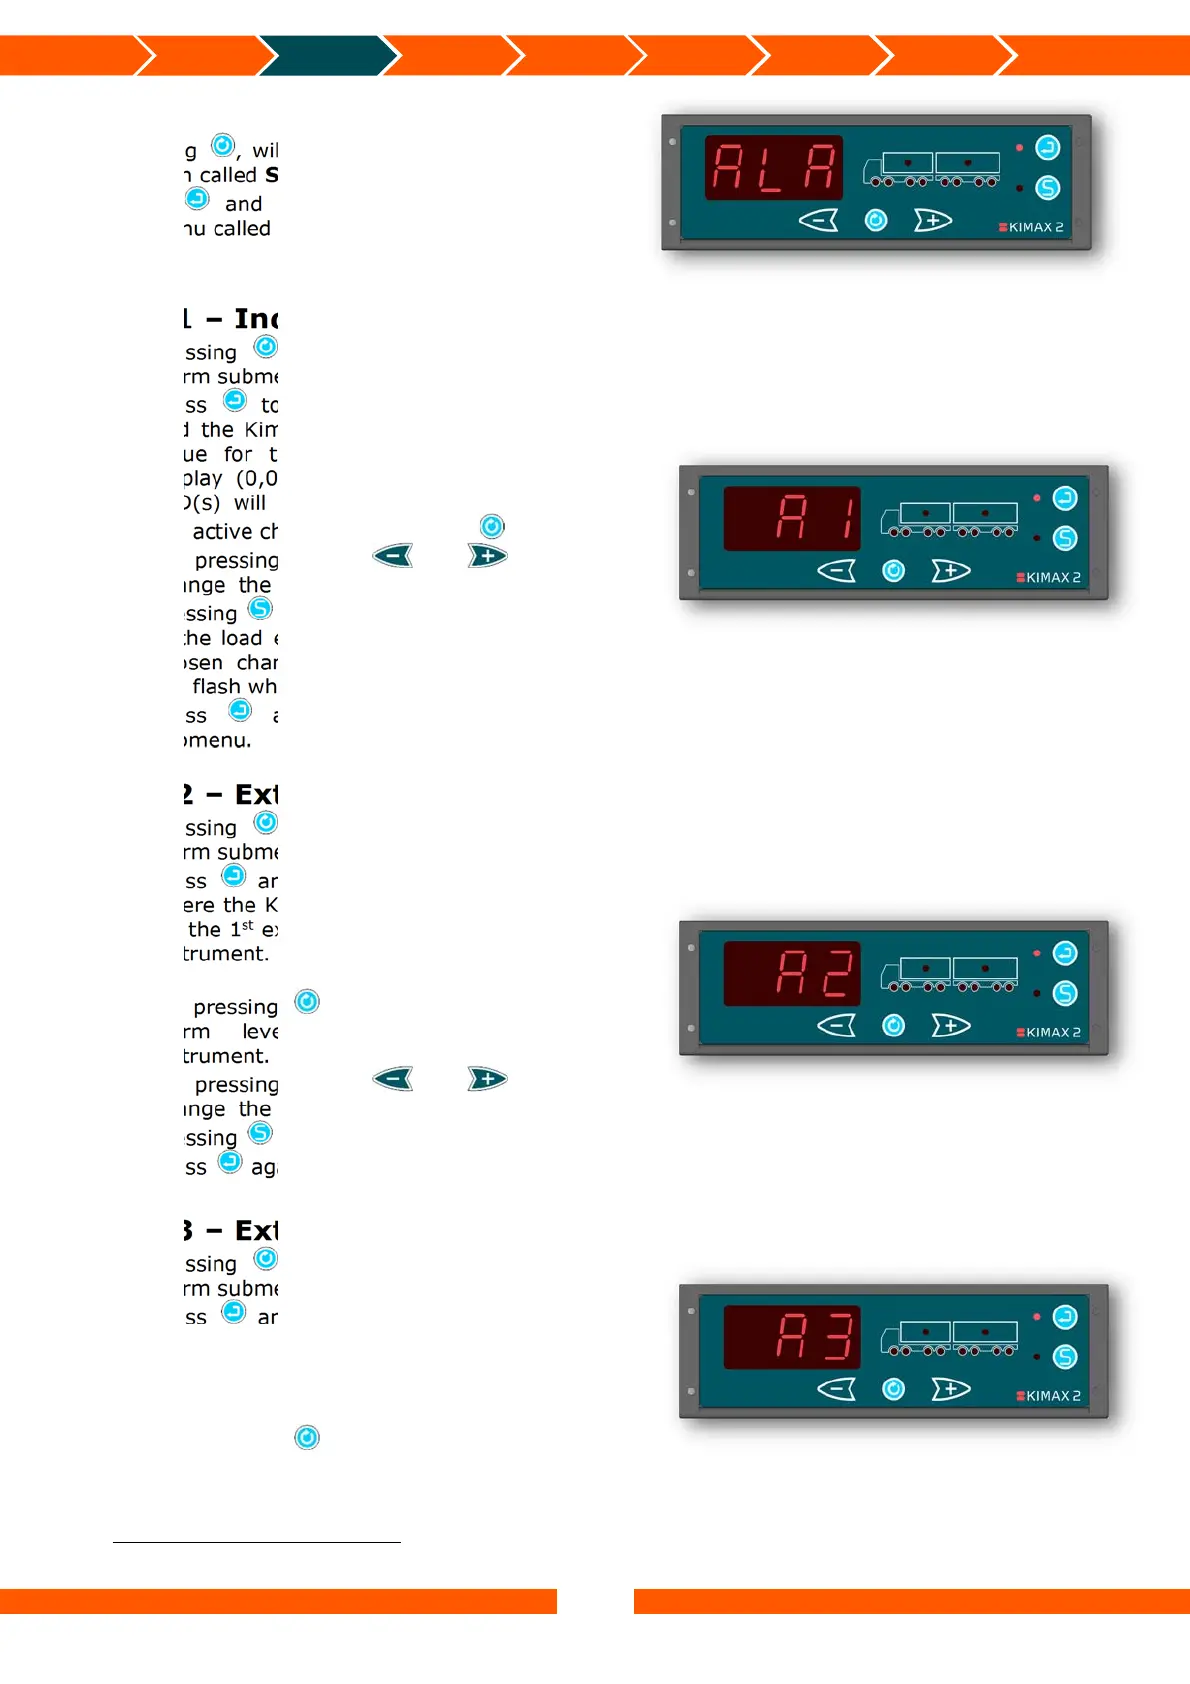
ALA – Alarms
Pressing , will take you on to the next menu
position called SUP.
Press and you will go to the first alarm
submenu called A1.
A1 – Individual Axle Alarm
Pressing , will take you on to the next
alarm submenu position called A2.
Press to enter the A1 alarm submenu
and the Kimax 2 will show the stored A1 -
value for the first active channel in the
display (0,00 t – 99,9 t). The related axle
LED(s) will be on. You can rotate between
the active channels by pressing .
By pressing either or you can
change the value and save the change by
pressing for each individual channel.
If the load exceeds the stored value for the
chosen channel the associated axle LED(s)
will flash when the Kimax 2 is in run mode.
Press again to leave the A1 alarm
submenu.
A2 – External Vehicle Alarm
Pressing , will take you on to the next
alarm submenu position called A3.
Press and you will enter the A2 menu,
where the Kimax 2 will show the alarm level
for the 1
st
external vehicle alarm of the truck
instrument. All the assigned truck LEDs will
be on.
By pressing , it is possible to see the
alarm level for a connected trailer
instrument.
By pressing either or you can
change the value and save the change by
pressing for each instrument.
Press again to return from the A2 menu.
A3 – External Vehicle Alarm
8
Pressing , will take you on to the next
alarm submenu position called A4.
Press and you will enter the A3 menu,
where the Kimax 2 will show the alarm level
for the 2
nd
external vehicle alarm of the truck
instrument. All the assigned truck LEDs will
be on.
By pressing , it is possible to see the
alarm level for a connected trailer
instrument.
8
Not available in all versions.
 Loading...