1
2
4
3
5
6
7
8
9
10
11
X
3
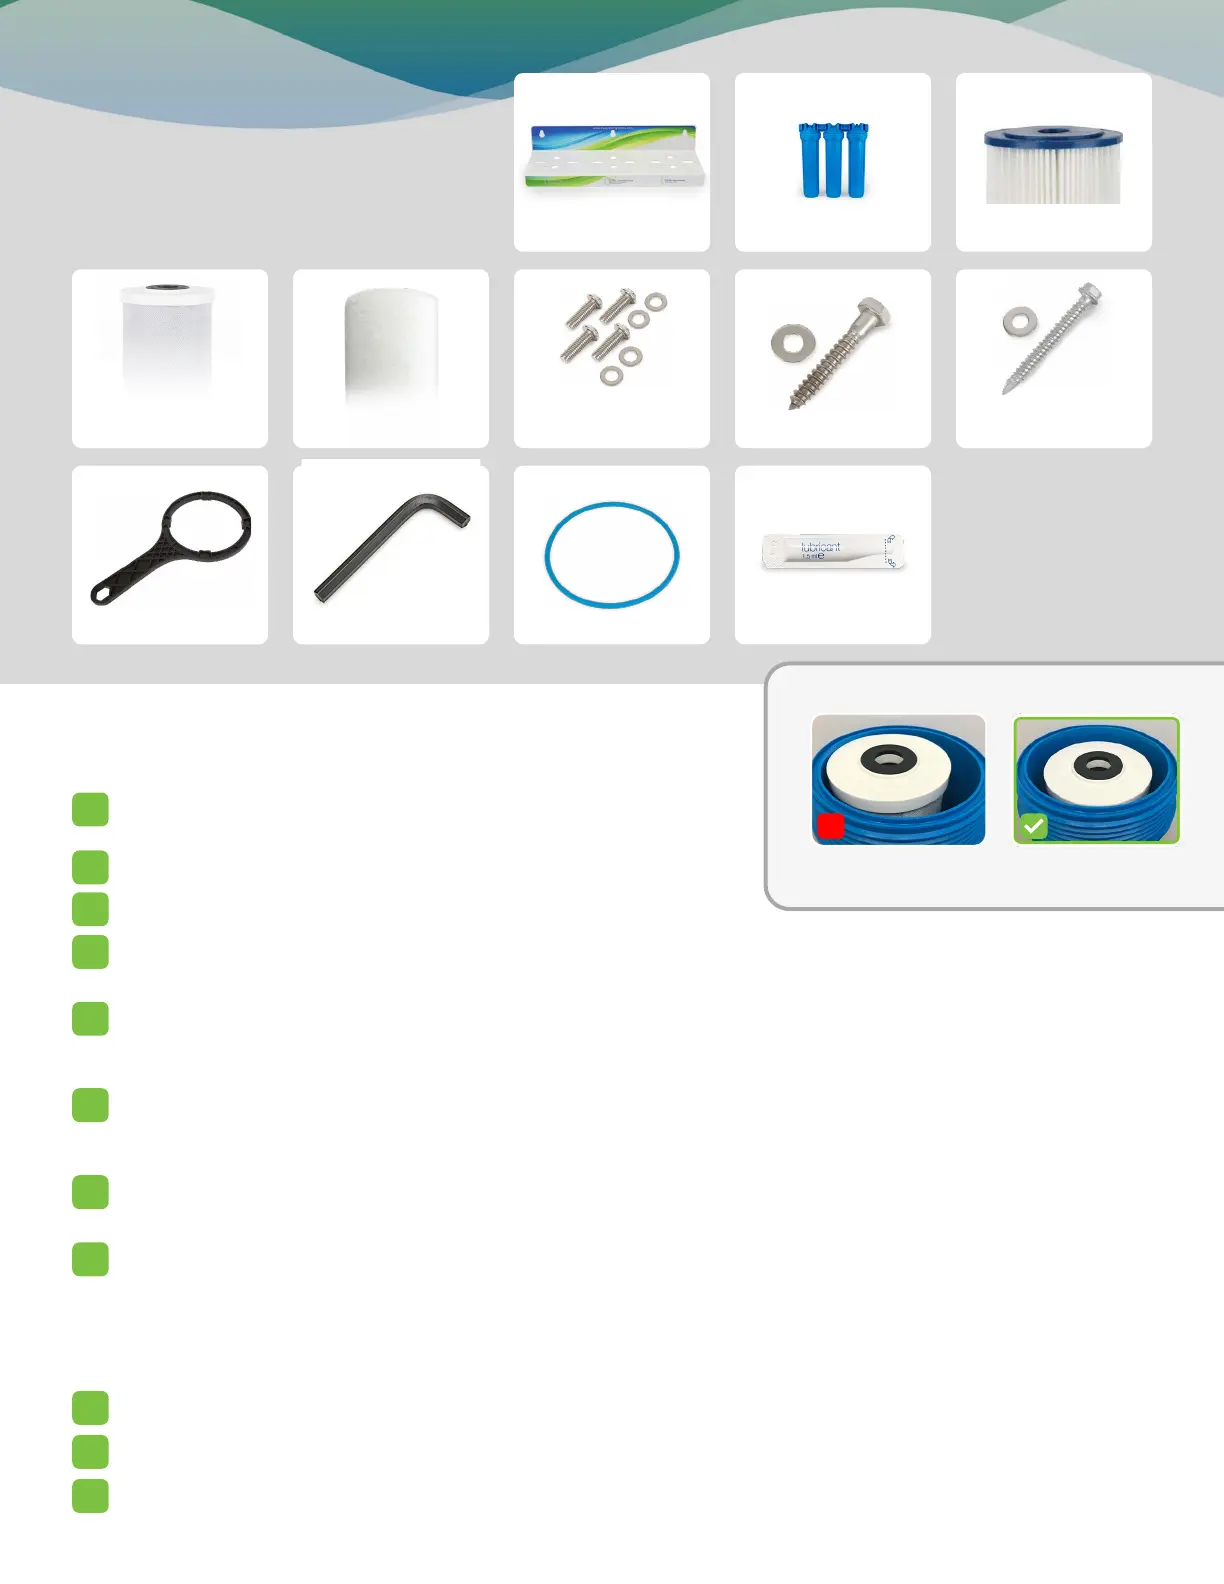
Items Included:
Kind E-3000
Easy Assembly & Installation
BA
Mounting Bracket
(3) Lag Bolts & WasherseSoft” Cartridge
Spanner Wrench Allen Wrench (3) 0-Rings (3) Silicone Lubricant
Sediment Filter
20” Housings
w/Cover Manifold
Chlorine/
Chloramine Filter
(12) Machine Bolts
& Washers
(3) Tapcon Screws &
Washers
D
I
F
K
C
E
J
G
L
H
Please note:
Open package and account for all items before starting installation.
Note: Remove and recycle all cardboard used for packaging.
Determine the location and water ow direction for the system.
Turn off the main water supply line to the home.
Ensure all cartridges are centered and
properly seated down into housing.
Open the nearest faucet (cold water) and leave it open.
Note: Ensure water comes to a stop, this will help verify the main water supply is off.
Install mounting bracket (A) horizontally to the wall using supplied fasteners.
Note: Be sure to level mounting bracket and properly attach to a wall stud or cement block, ensuring a secure mount. Lag Bolts
(G) require a 1/4” drill bit not included. Tapcons (H) require a 5132” drill bit not included.
Once the mounting bracket (A) is level and properly mounted, remove the cartridge housings from the cover manifold and
install manifold (B) to the mounting bracket orientating the INLET and OUTLET from left to right as marked on the manifold.
Use item (F), (12) stainless steel machine bolts, and washers to attach.
Apply a thin layer of lubricant (L) onto each o-ring (K). Thread housings back onto the corresponding cover counterclockwise.
Snug housings using the supplied wrench (I), do not over-tighten.
Adapt your plumbing connections as needed to the INLET and OUTLET (not included).
Note: When making your threaded connections to the INLET and OUTLET it is necessary to use both Teon Tape and Thread
Sealant - We recommend Rectorseal TRU-BLU which is available at all big box stores.
Note: Plumbing a shutoff valve prior to system and a bypass is recommended, see Typical Installation Diagram
Note: If you purchased the E-3000 UV system, please skip ahead to page 3 of the UV Quick Reference Guide for
installation instructions.
Slowly turn on the main water supply to ll housings.
Allow the open faucet to run (cold water) for 10 minutes to ush the system.
Turn off the faucet and check for leaks, your system is now ready for use!
 Loading...