Do you have a question about the KingSlim DL12 Pro and is the answer not in the manual?
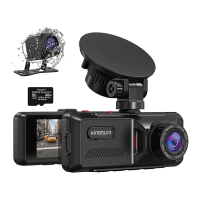
Guidance on inserting the microSD card, including recommended type and formatting before use.
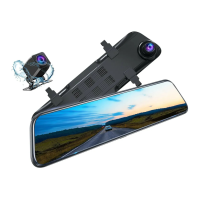
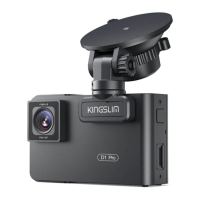
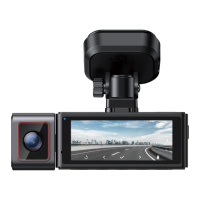
Instructions for mounting the dash cam onto the car's rearview mirror and adjusting the front camera angle.
How to connect the USB power cable and car charger to power the dash cam.
Steps for connecting the GPS module and routing its cable along the A-pillar.
Instructions for installing the rear camera, including positioning options and checking functionality.
Details for Position 2 installation, recommended for reversing guide, and connecting the trigger wire.
Guidance on using the pry tool for neat cable management within the vehicle.
Navigating the settings menu to access the format option for the memory card.
Steps to select and confirm SD card formatting for proper camera operation.
Procedure for starting the dash cam and initiating video recording after setup.
Explanation of the loop recording feature and its default setting for continuous recording.
Information about the G-sensor's function and default sensitivity for emergency recording.
Option to select the recording resolution for the dash cam's video output.
Configuration for loop recording intervals and its behavior when the memory card is full.
Setting to enable or disable audio recording along with video.
Adjusting G-sensor sensitivity for triggering emergency recordings on impact.
Enabling and setting sensitivity for parking mode recording upon detecting impact.
Function to input the vehicle's license plate number into the system.
Setting the screen timeout duration to conserve power while the camera operates.
Choosing between H.264 and H.265 for video compression and storage efficiency.
Selecting the appropriate frequency to prevent video flickering, based on local AC power.
Options for connecting to a computer for storage, UVC camera function, or charging.
Flipping the rear camera video horizontally for a mirror-like view.
Enabling or disabling audible feedback for key presses on the device.
Adjusting the volume level for video playback.
Option to enable or disable the startup sound when the device powers on.
Enabling real-time monitoring of front and rear traffic conditions without delay.
Selection of the user interface language from a list of supported languages.
Setting the date and time formats for accurate recording timestamps.
Formatting the microSD card to ensure compatibility and erase data.
Restoring the dash cam to its original factory settings.
Displaying the current firmware version of the dash cam.
Performing a diagnostic test to check GPS signal reception and accuracy.
Manually selecting the appropriate time zone for accurate time display.
Adjusting the displayed speed to match the vehicle's actual speed.
Configuring a speed threshold that triggers an alarm if exceeded.
Choosing between KM/H and MP/H for displaying the vehicle's speed.
Swiping the screen to cycle through front-only, rear-only, and dual camera views.
Swiping the screen to access the playback menu and select video files.
Using touch gestures to adjust the camera's viewing angle.
Sliding finger on screen to adjust brightness level.
Troubleshooting steps for when the dash cam fails to record video.
Solutions for the dash cam stopping unexpectedly during video recording.
Resolving 'File Error' messages when playing back recorded media.
Tips for clearing a misty image, focusing on lens and windshield cleaning.
Procedure for restarting the device if it freezes or crashes.
Checking audio recording settings if sound is not captured in videos.
Diagnosing and fixing automatic power cycling issues, advising on charging methods.
Advice on protecting the dash cam's lens from physical damage and environmental contaminants.
Warnings against exposing the device to water, noting rear camera waterproofing.
Caution against prolonged exposure to direct sunlight to prevent device damage.
Prohibition of tampering with or exposing the internal battery to prevent hazards.
| Brand | KingSlim |
|---|---|
| Model | DL12 Pro |
| Category | Dash Cameras |
| Language | English |